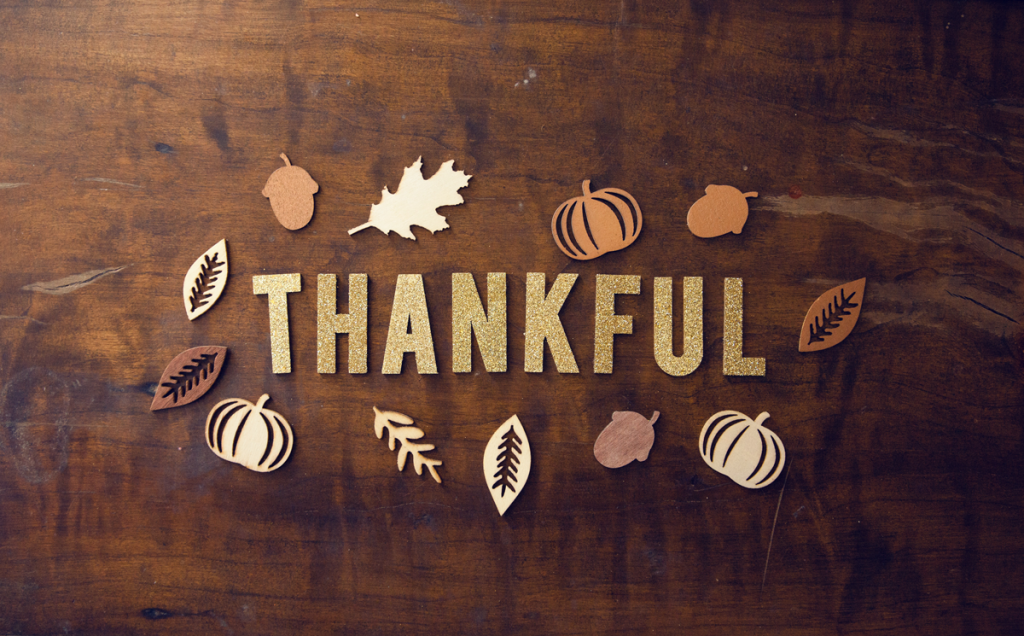
Photo by Gabriel Garcia Marengo on Unsplash
So you’ve decided that you want to install butcher block countertops by Thanksgiving… Congratulations! Whether you’ve been contemplating your decision for months or were suddenly inspired after a late-night Pinterest session, making the decision to move forward with a DIY kitchen renovation is always an exciting step.
However, you may be feeling a bit uncertain about your DIY butcher block project. Where do you begin researching? How should you prepare? Is this a project that you can take on by yourself?
These feelings are totally normal and with a bit of planning, you’ll be able to handle any uncertainty that’s keeping you from installing your dream butcher block countertops by Thanksgiving.
Prompts to Help You Plan Your DIY Butcher Block Countertop Project
Butcher block countertops are a wonderful way to add warmth and character to your kitchen. And let’s face it- the next owners of your home will be dreaming of ripping out your fantasy kitchen before they’ve even unpacked their coffee mugs. Unless you’re planning to move within the next couple of years, you should go full-steam ahead when it comes to building the kitchen that works for you and your budget.
Here are a few questions that can help you start planning your DIY kitchen upgrade project:
- Are you going to purchase new appliances?
- Do you need to replace your sink?
- Are any cupboards changing?
- How will you handle demolition?
It’s also time to start considering wood type, determining the length of your countertops, what materials you’ll need, and how to adhere your butcher block countertops to the cupboards. From here, you can work backwards on your timeline and set a goal for being finished in time for Thanksgiving dinner!
An important part of the planning process is also taking the time to set a budget. Keep in mind that choosing to DIY your kitchen countertops is a great way to save money so you’ll be able to do more for less!
Preparing Your Space for Butcher Block Countertops
Taking a few simple measurements of your space is all that’s needed to begin planning for your new butcher block countertops.
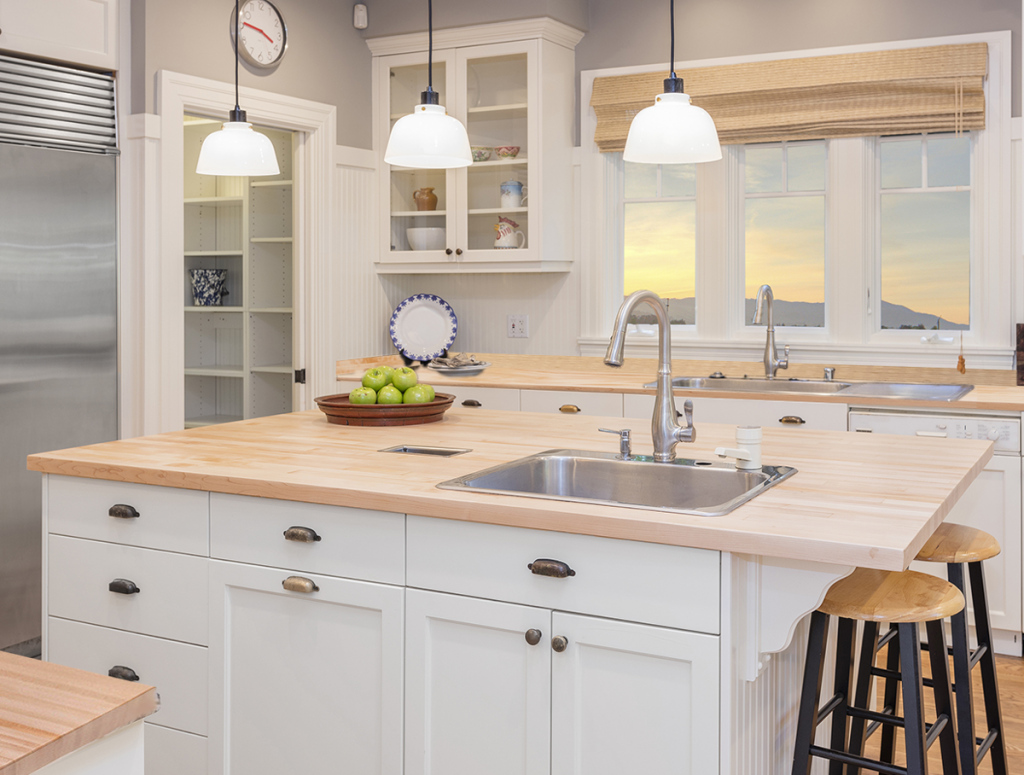
This is a great time to start re-imagining your space. Depending on the size and shape of your kitchen, an island can make your work triangle more efficient. In larger kitchens, installing a butcher block island can serve as a focal point for the space. Two-cook kitchens can enjoy islands that serve as dedicated workstations, especially if it includes a prep sink. Even compact kitchens can consider a rolling butcher block island that can be tucked against a wall when not in use.
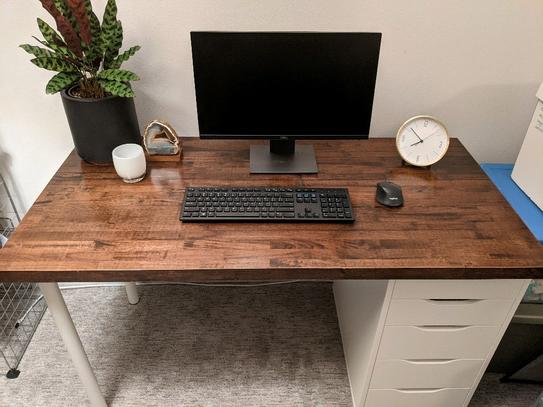
Once you’ve determined your measurements, it’s time to get your Hardwood Reflections countertops ordered at Home Depot. Hardwood Reflections offers eight different wood varieties to choose from. Some varieties are available for in-store purchases, but most are ordered online and shipped by Home Depot. The average order to delivery time is 10 days on in-stock products so plan accordingly! This should be the first order made for your project.
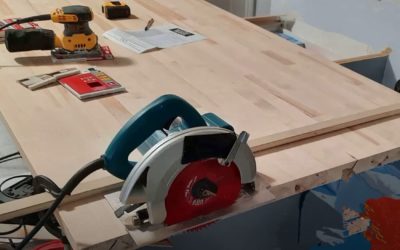
Before the actual renovation begins, it’s also a good idea to prepare your home. While going through a renovation can be a little chaotic at times, some simple planning on your part will make the project go by quicker and easier than expected.
If your kitchen is open to other rooms of the home, you may want to consider hanging plastic sheets from the ceiling to separate the construction area from any living spaces. This will help preserve a place for you to unwind with your family while avoiding getting sawdust all over your home.
It’s also a good idea to think about your food options. Some people purchase a small refrigerator to use so you can keep the essentials close-by. Grilling dinners or using electric pots and pans are also great alternatives to eating out.
Creating a Timeline for Your DIY Butcher Block Project
Once your butcher block is delivered, you’ll want to leave it in the plastic wrap until you’re ready to finish it. Prepare a space in your garage or another dry area where you can safely store your product. Because butcher block countertops are made from wood, this space should be climate-controlled and safe from the elements.
Before installing your countertops, it’s important to make sure that you’ve accurately accounted for the amount of finish product (Mineral Oil or Polyurethane) that you’ll need. We’ve had good experiences using a minimum of three coats with at least 24 hours drying time in-between each layer. You’ll also want to finish the “hidden” sides of your countertops. Some DIYers choose a more permanent lacquer for those sides and edges to ensure there are no water or moisture problems later.
If you’ve chosen to use a food-safe finish oil such as mineral oil, plan to lightly oil your countertops around the 30-day mark and every six months or so to properly maintain your butcher block countertops as well.
Now that your butcher block countertops are successfully installed there’s only one more step to accomplish just in time for Thanksgiving-
Celebrate!