Friendly Reminder:
Be sure you are ready to finish your butcher block within 48 hours of removing the shrink wrap. Why you ask??? Unfinished wood likes to adapt to its environment. This means if you’re in a humid climate, the wood will absorb moisture causing it to swell and potentially crack or warp.
Pro Safety Tip: As always, safety should be your top priority. While sanding and finishing, always remember to use a proper PPE. That’s Personal Protective Equipment. In this case we mean safety glasses, gloves, mask, and proper working environment. (well ventilated)
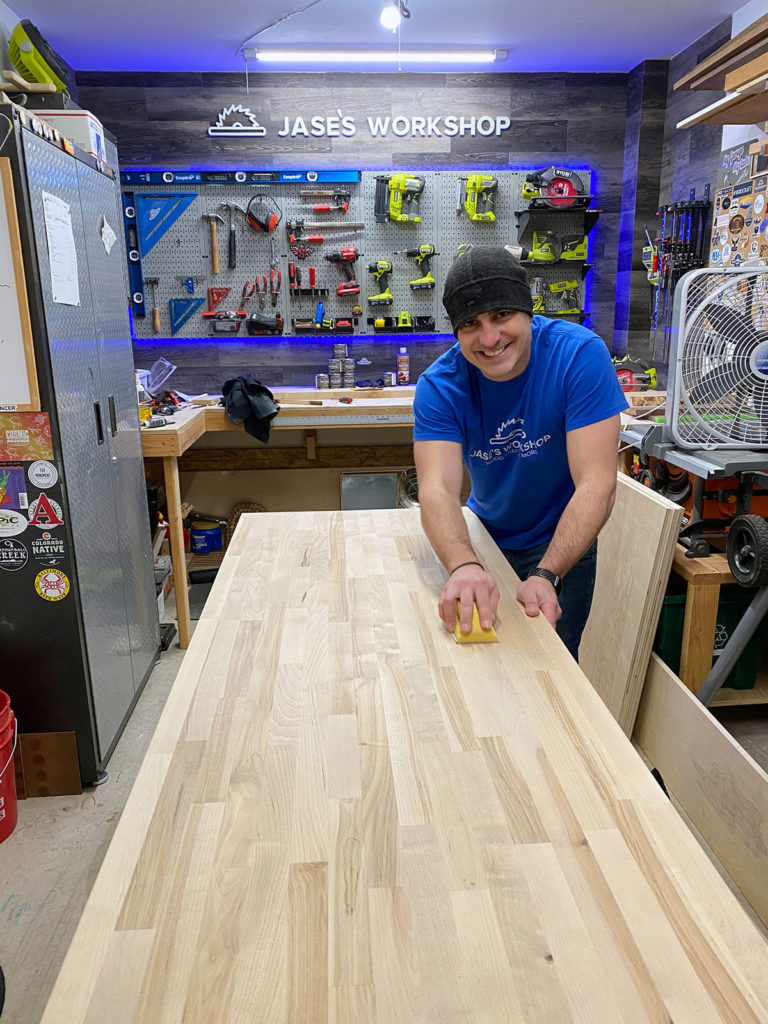
Surface Preparation
Sanding
Sand with the grain of the wood or length of the board. Sanding preparation can differ depending on which type of finish you are using, so be sure to check the label for directions. Most stains and clear coats recommend sanding to a 220 grit. (Remember, we already sanded to 150 grit for you)
PRO TIP – A sanding sponge makes fast work of this task.
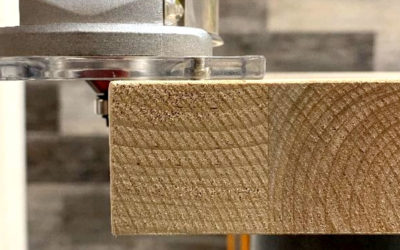
Cut Edges
If you’ve made cuts to your butcher block, those cut edges can be sharp. A quick sanding to those edges will blend them into the already smooth ones we provided.
PRO TIP – Not all edges are the same. Mitered edges should NOT be rounded as you want a nice clean level joint when you put them together.
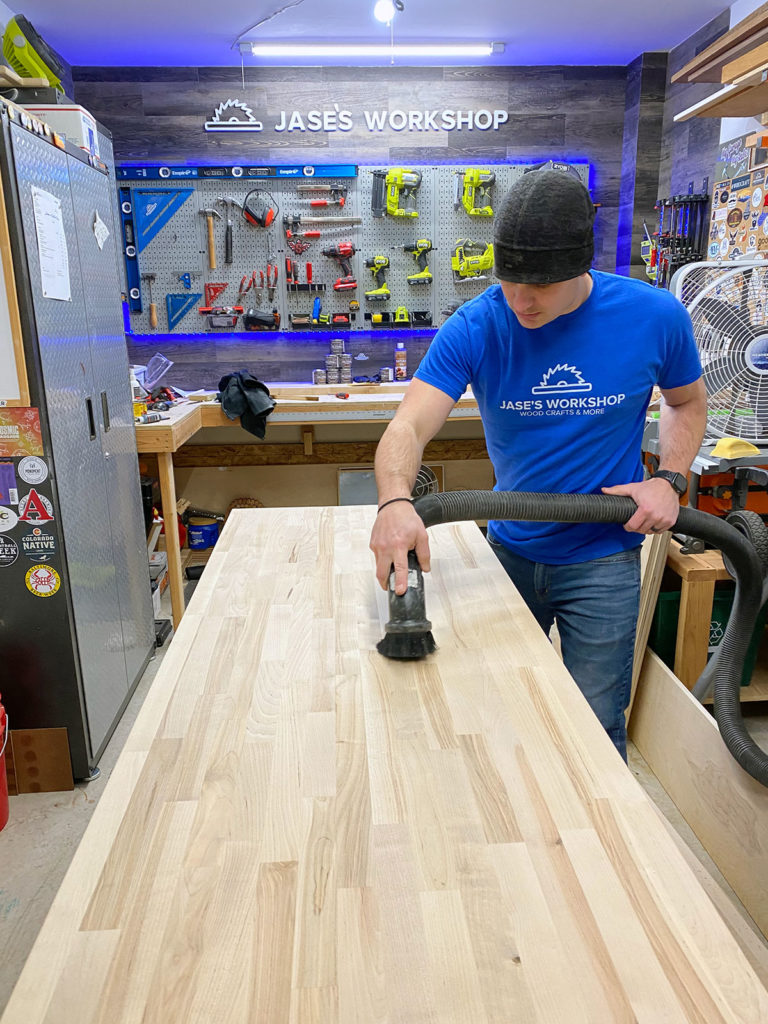
Dust Removal
A quick vacuum with the brush attachment will clear away most of that sawdust. A wipe with a clean damp rag will get the rest.
PRO TIP – Removing the dust gives you better results when applying your finish. Don’t skip this step.
Natural Finishes
Oils and Waxes
Food safe oils and waxes penetrate and hydrate the wood while bringing out the natural character of the wood. These are especially great for butcher block counter tops as the oils and waxes help give it a water-resistant quality.
Application – Apply to a clean and dust free butcher block. For best results, check with the manufacturer’s recommended application process.
PRO TIP – Apply to entire product, not just the surfaces that will be seen.
Upkeep – These products require occasional reapplication to keep the wood from drying out.
MORE: View the Wooden Countertop Food Safe Finish Tutorial
PRO TIP – Not to be used in combination with stains or polyurethanes.
Stains
Oil Based
Penetrate deep into the wood which provides a rich color.
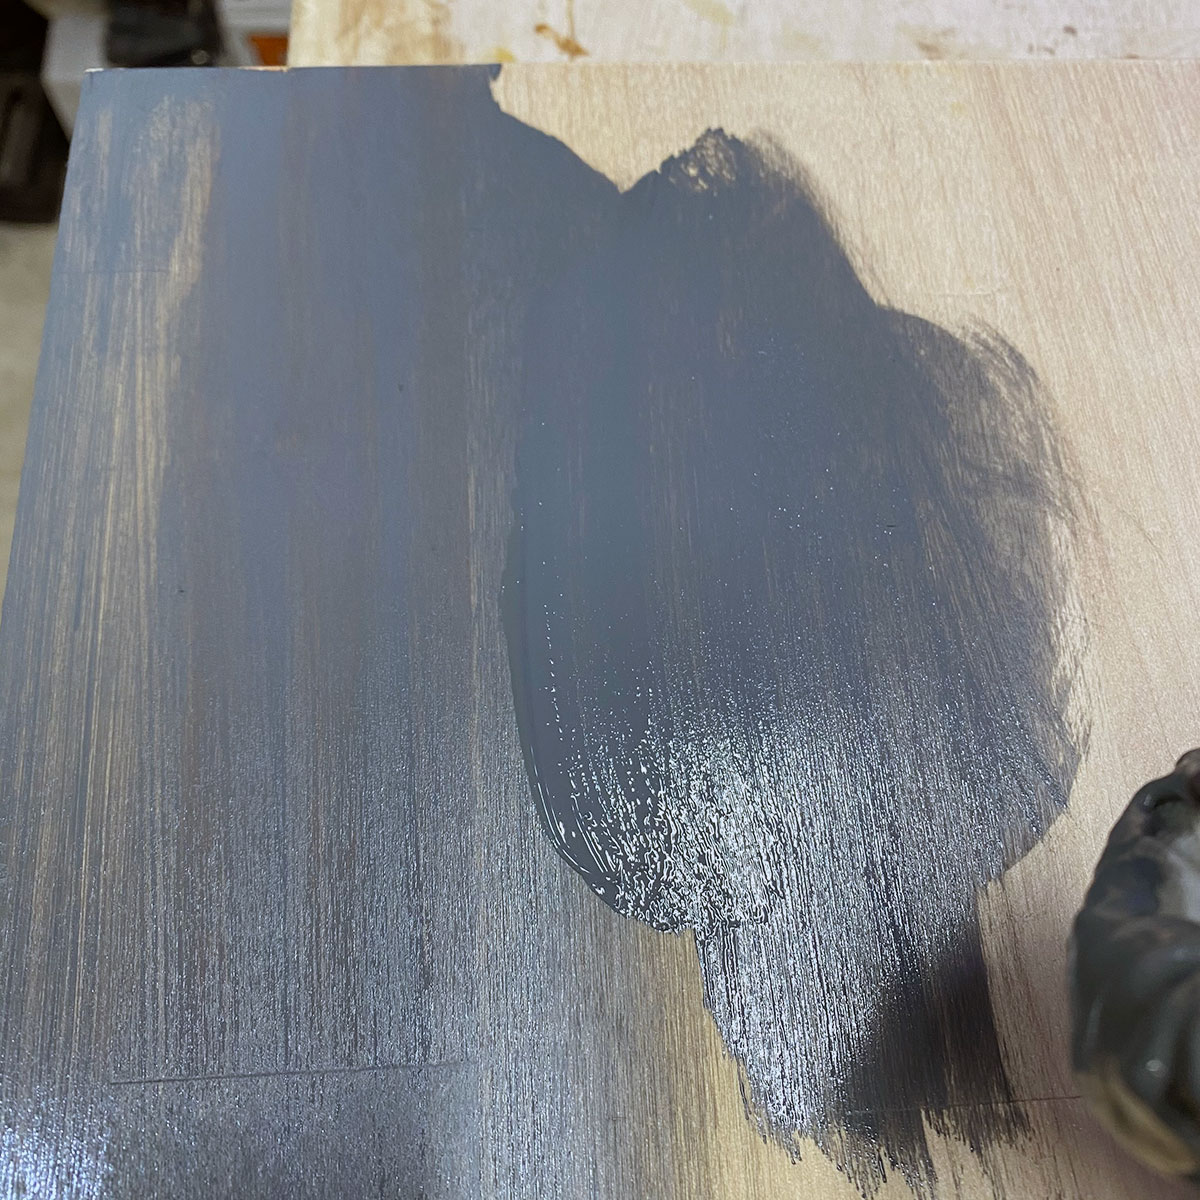
Application – Apply with a brush or soft cloth in the direction of the grain. Refer to manufacturer for dry times and number of coats.
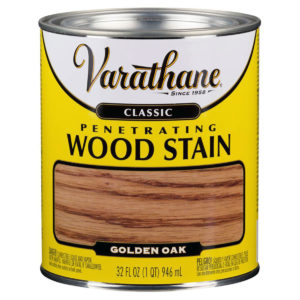
PRO TIP – Water based polyurethane can be used over an oil based stain and vice versa, however you must let the stain dry completely.
Water Based
This type of stain provides users with a larger variety of colors to choose from. It is also easier to work with as it tends to dry fast and clean up easily.
Application – Apply with a brush or soft cloth in the direction of the grain. Refer to manufacturer for dry times and number of coats.
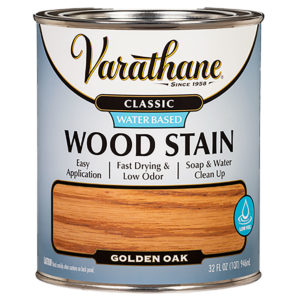
PRO TIP – To reach desired depth of color, apply multiple coats.
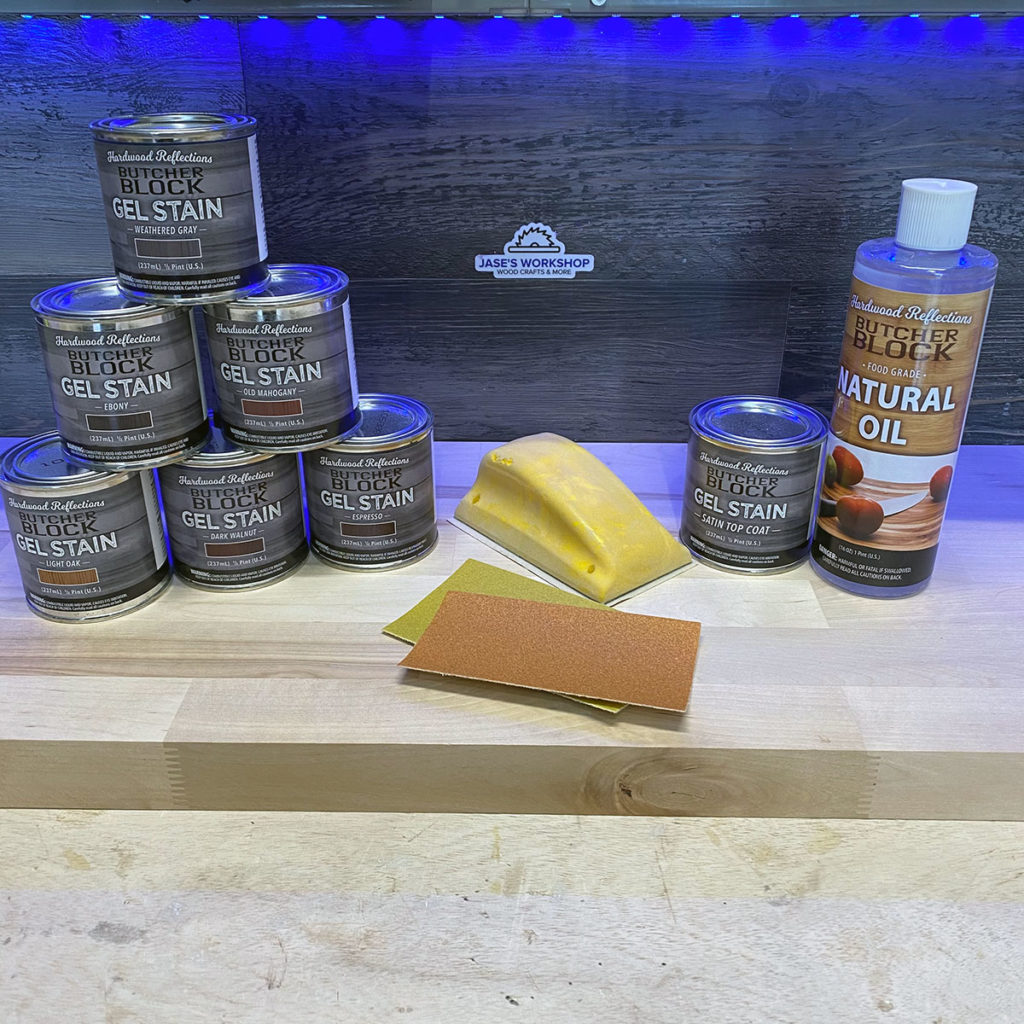
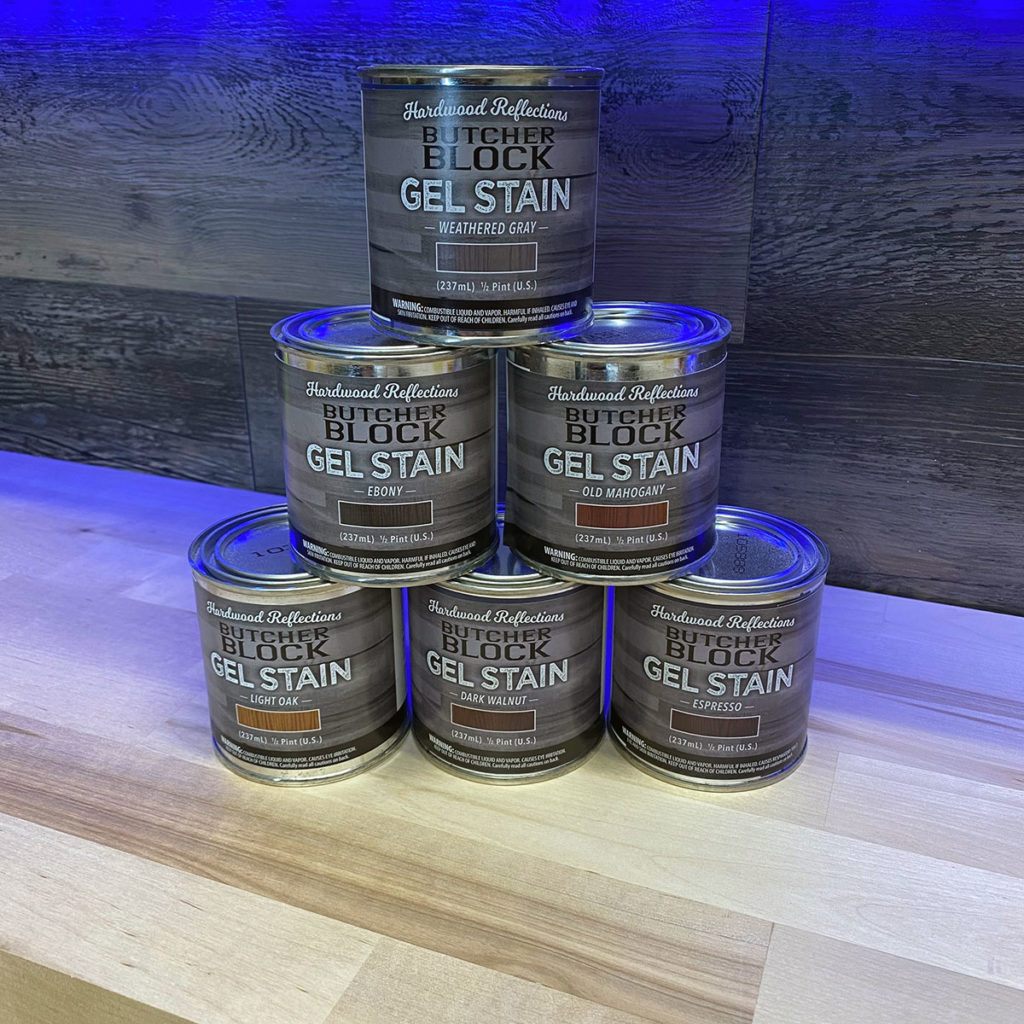
Gel Stains
Oil based stain with a thick gel like consistency helps enhance the beauty of the wood.
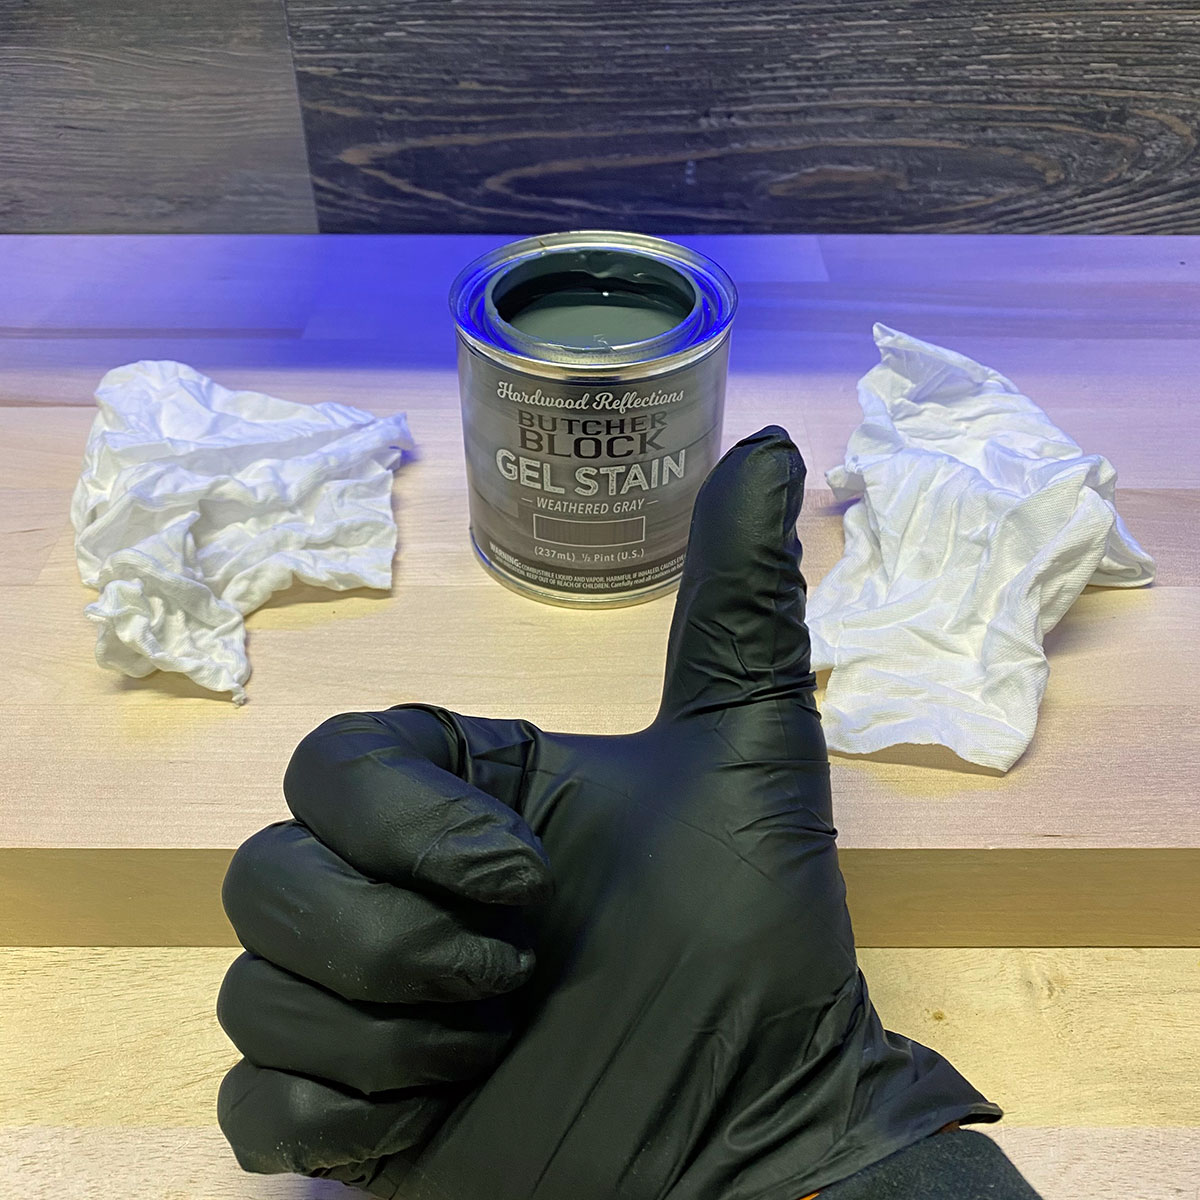
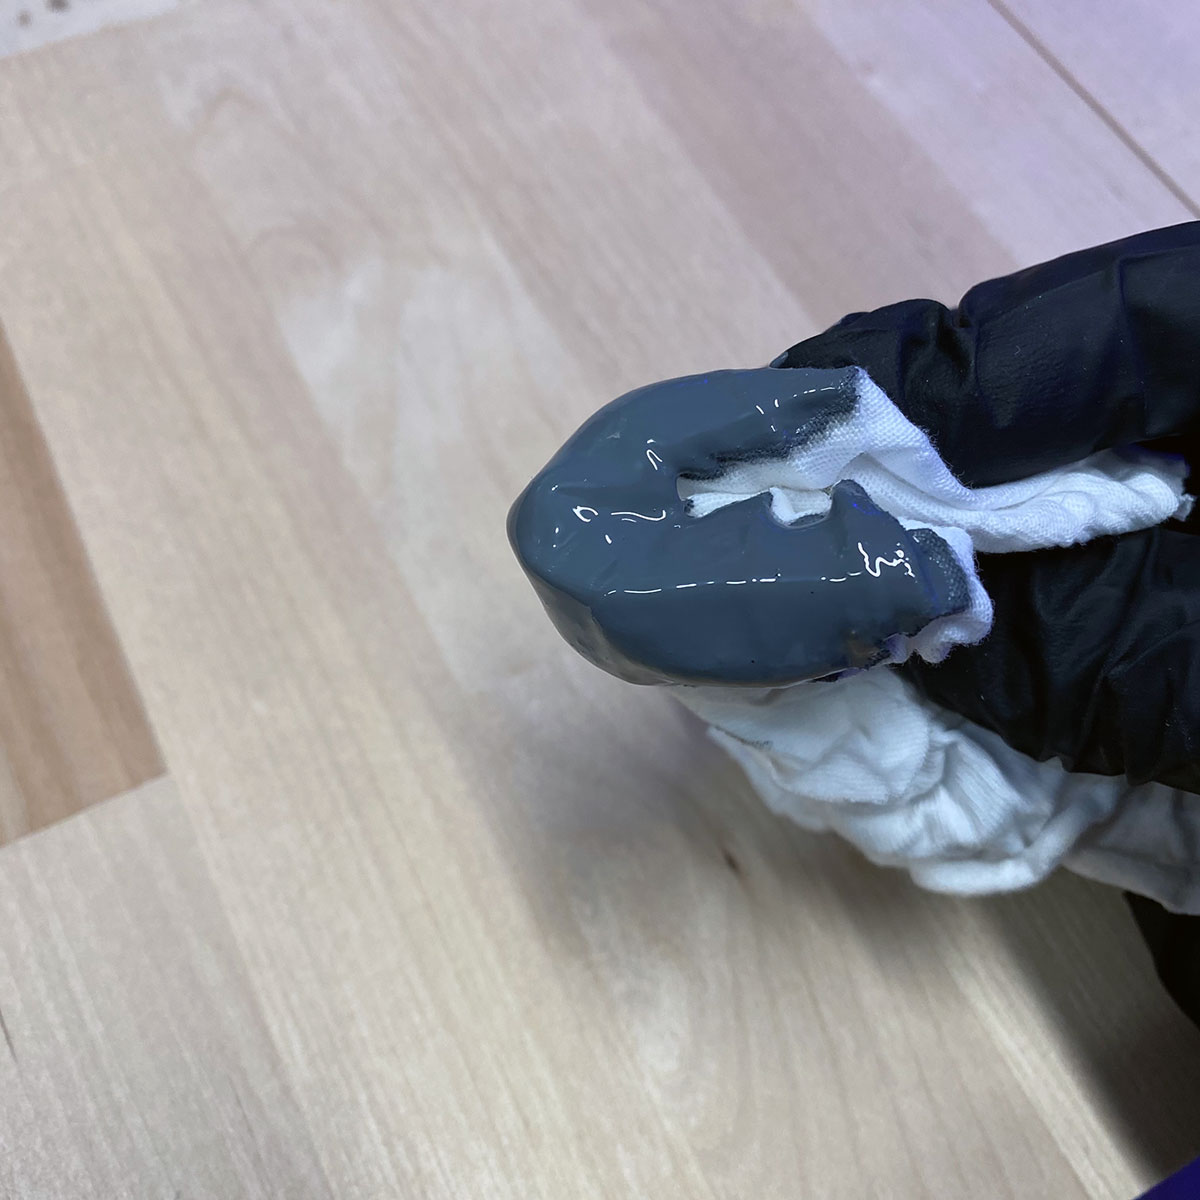
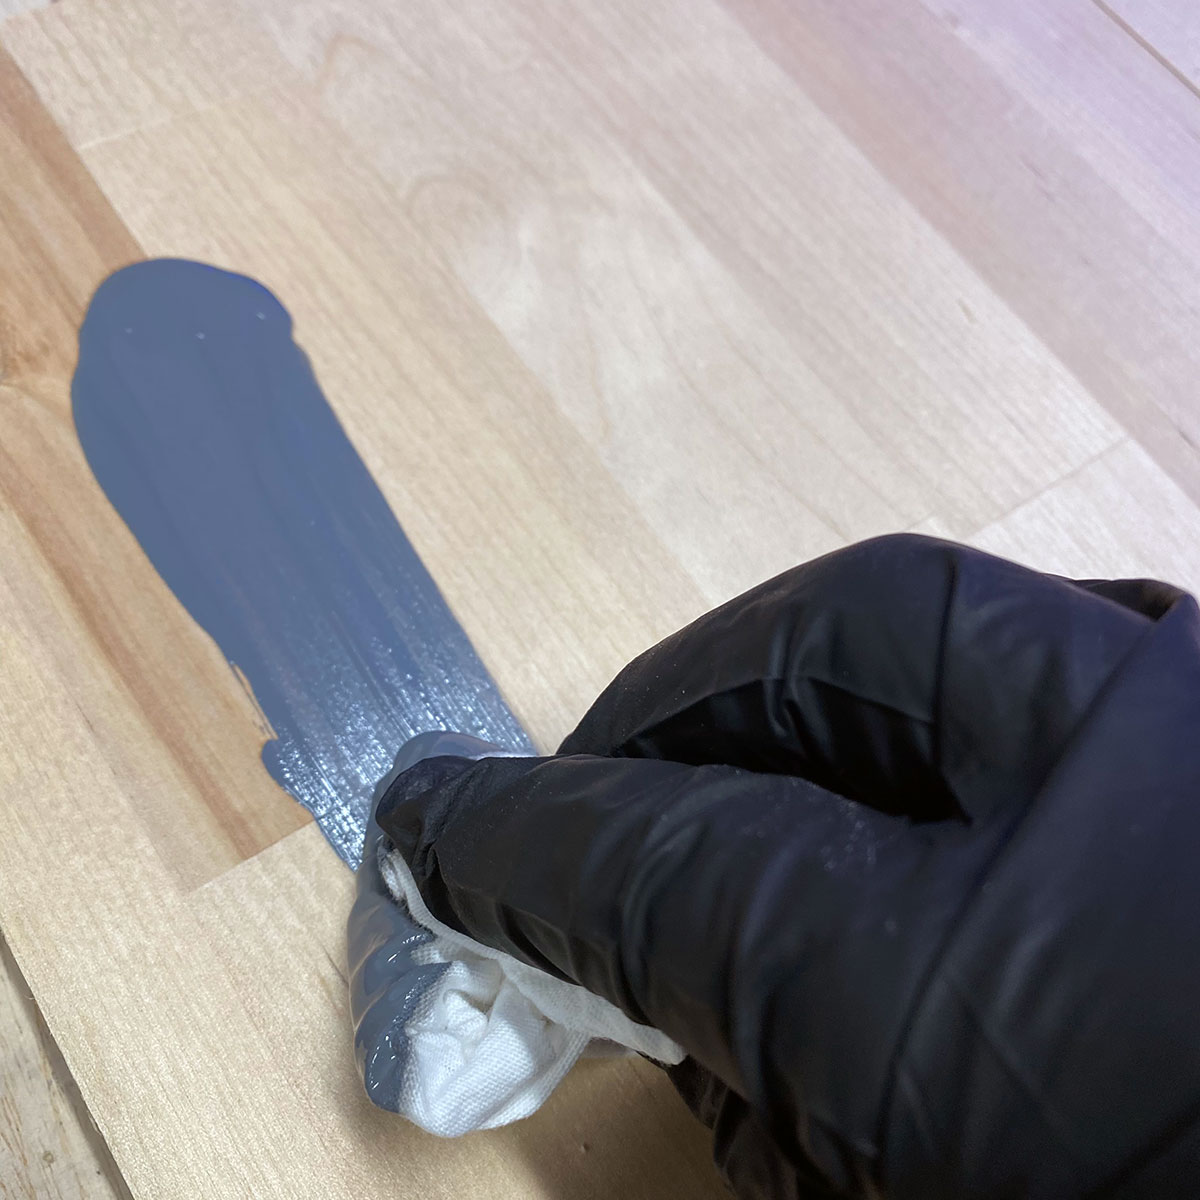
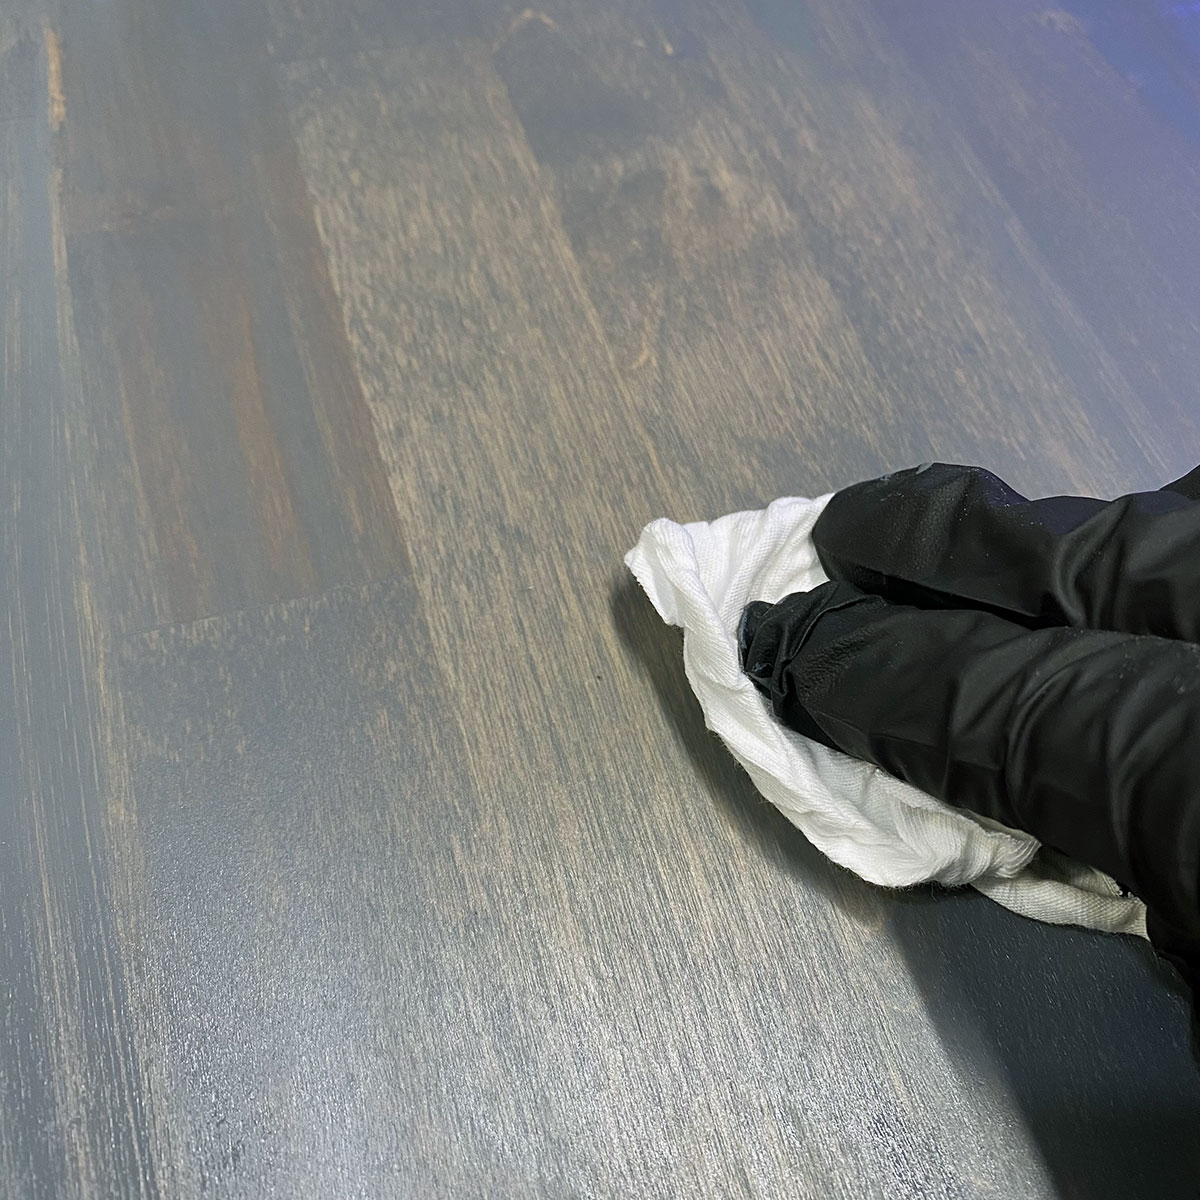
Application – Apply with a foam brush or soft cloth in the direction of the grain. After 2-3 minutes, wipe off excess with clean cloth. Refer to manufacturer for dry times and number of coats.
PRO TIP – You DO NOT need to sand between coats of stain.
Polyurethanes
Oil & Water Based
The final step in the finishing process. YAY!

Benefits – One of the most durable finishes. Polyurethane helps prevent scratching, is water resistant, and easy to use.
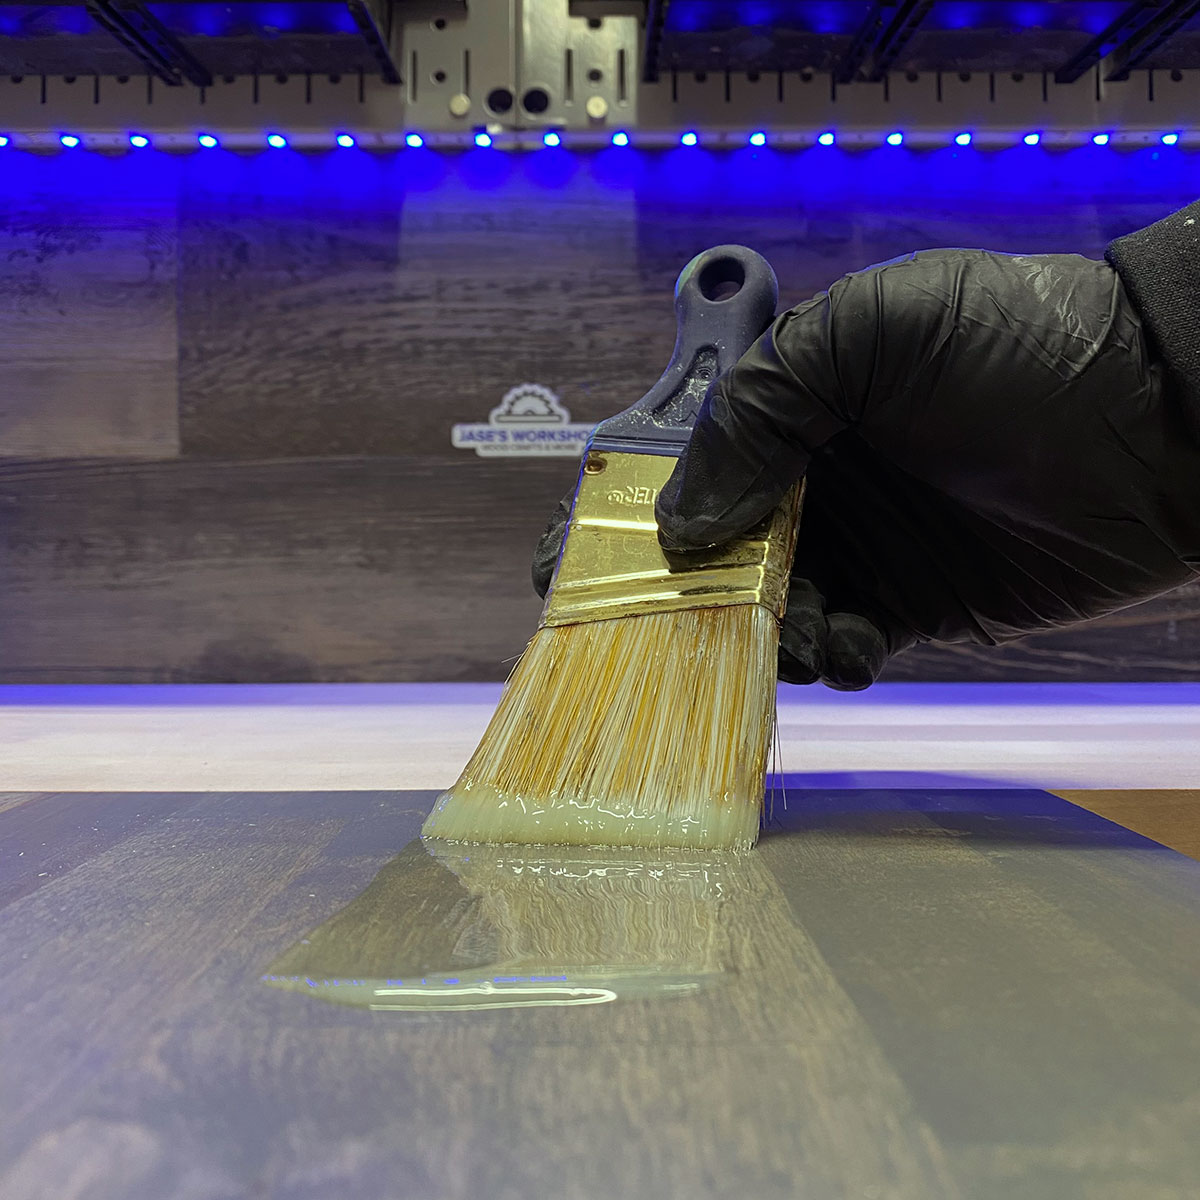
Application – A high quality synthetic brush is normally the go-to for this application, however please refer to the manufacturer’s recommendations for proper application.
Drying time – Drying times differ from product to product. Check the label.
Sanding between coats??? – YES!!! Sanding between coats is highly recommended for polyurethanes. This will ensure you a smooth high-quality finish. Normally done with 220 or 320 grit sandpaper or sanding sponge. Be sure to remove all dust created from sanding with a damp cloth before applying additional coats.
PRO TIP – Sanding between coats also assists in the bonding of the next coat. True Story!
HOW MUCH PRODUCT WILL I NEED?
Coverage area of stain and polyurethane can be found on the product label. Normally listed in square feet. (LENGTH X WIDTH)
Here is an example for our 74” x 25” butcher block.
-
-
-
- 74” x 25” = 1,850 sq inches
- 1850 / 144 = 12.85 sq ft per side. (*remember 144 sq inches in a foot)
- 12.85 sq inches x 2 sides = 25.7 sq ft per coat of stain.
- Multiple by the number of coats the product recommends.
- Always round UP!
-
-