We are excited to announce the winners of the 2021 DIY Butcher Block Awards! The projects that were entered ranged from full kitchen renovations or brand new kitchen builds to desks, benches in coat rooms, countertops in pantries and laundry rooms, dining tables, outdoor kitchens and built-in entertainment centers. All of them take a unique approach that’s perfect for their home and feature hardwood butcher block.
It’s amazing to see everything come together and we applaud everyone who completed their project this year! We hope you’ll find their finished work an inspiration to start your own.
Now to congratulate our Winners as voted on by fans, customers, staff, and butcher block lovers alike.

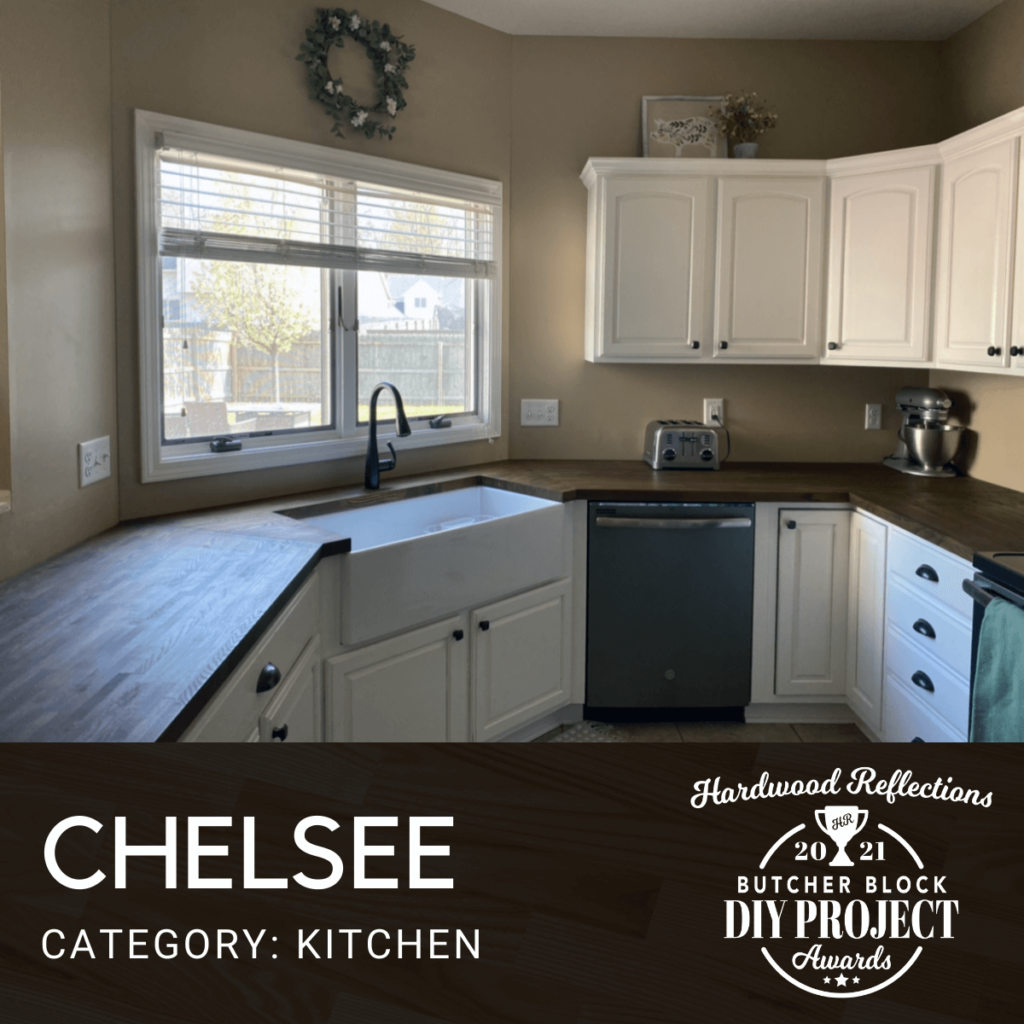
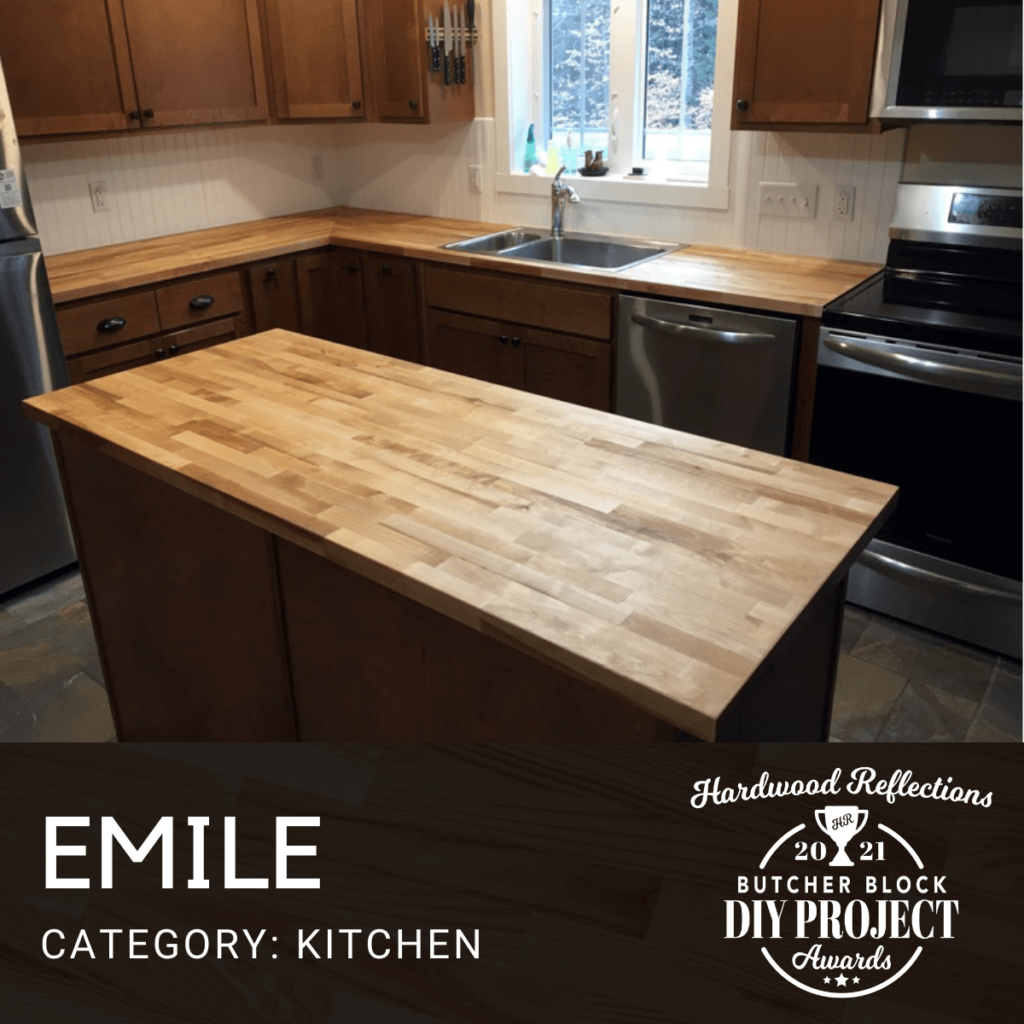
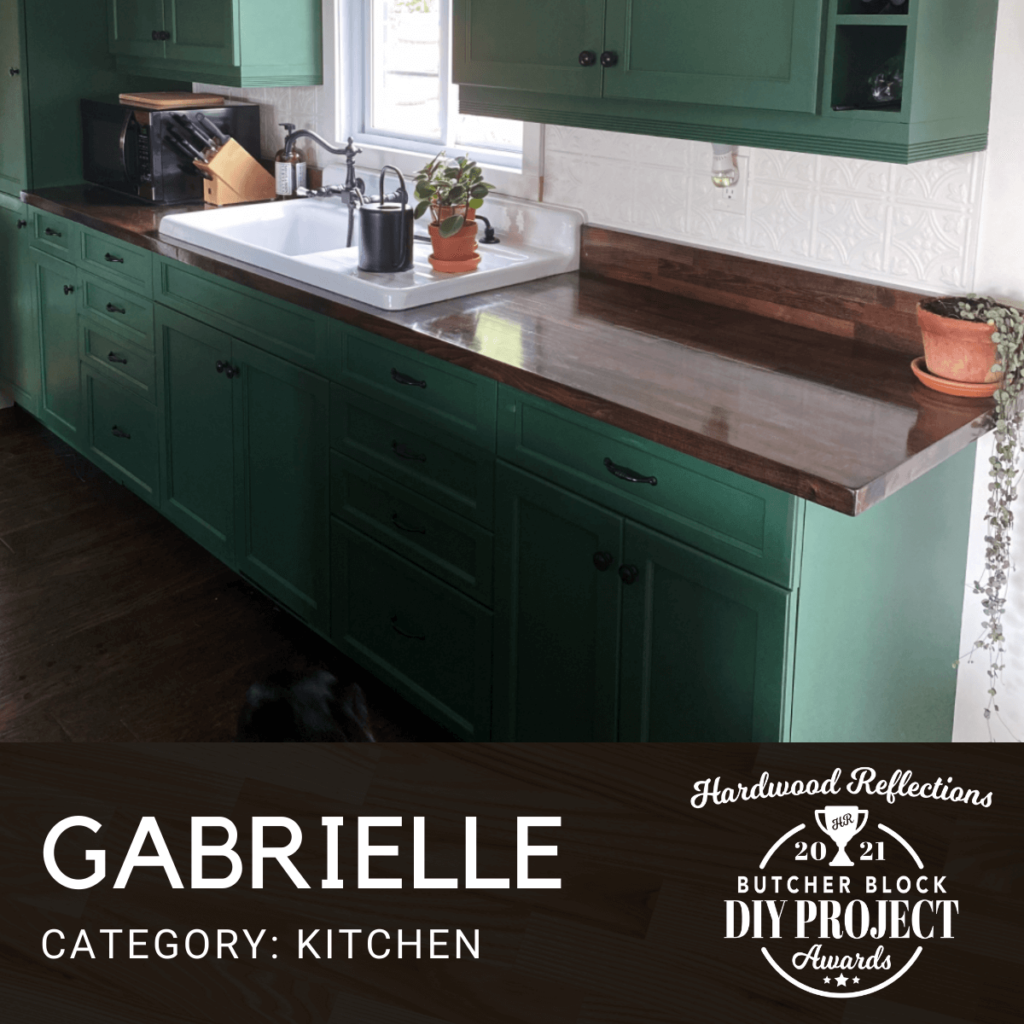
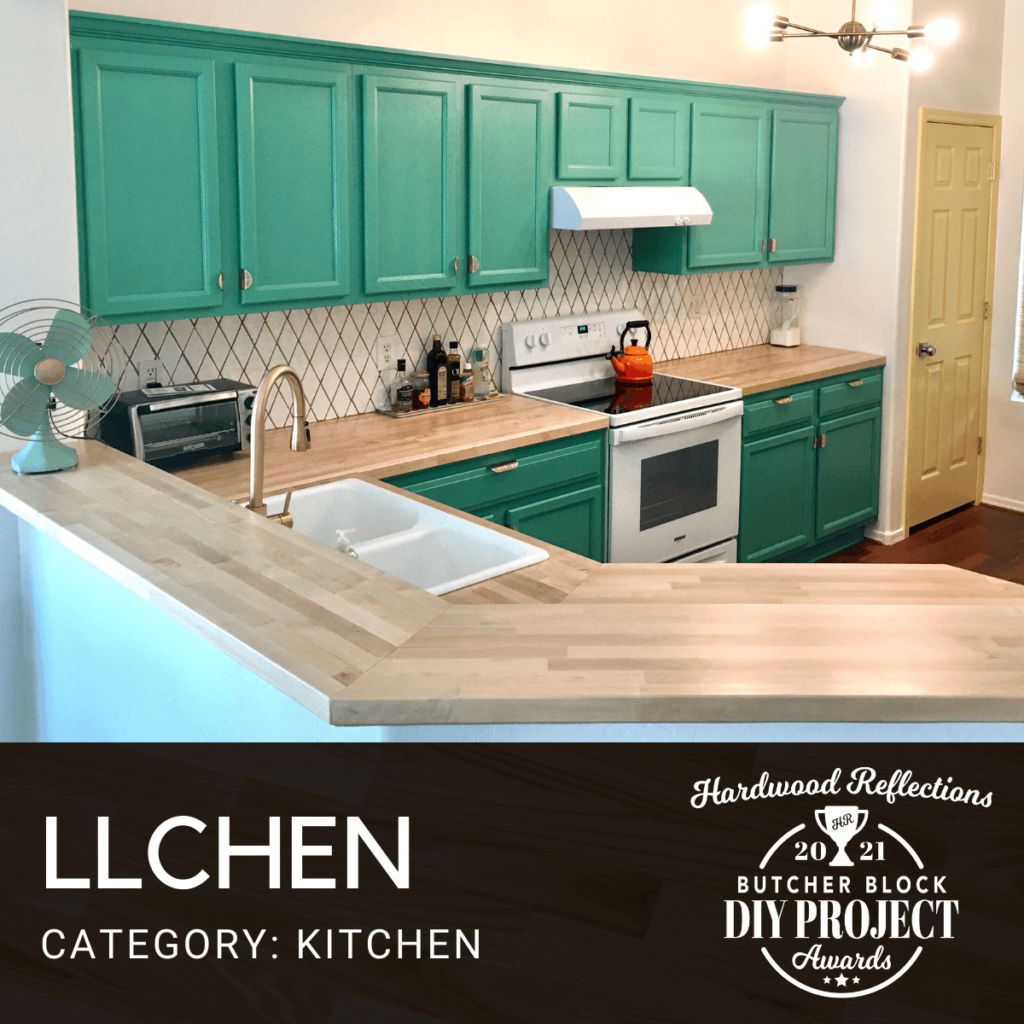
Kitchen Category Winners:

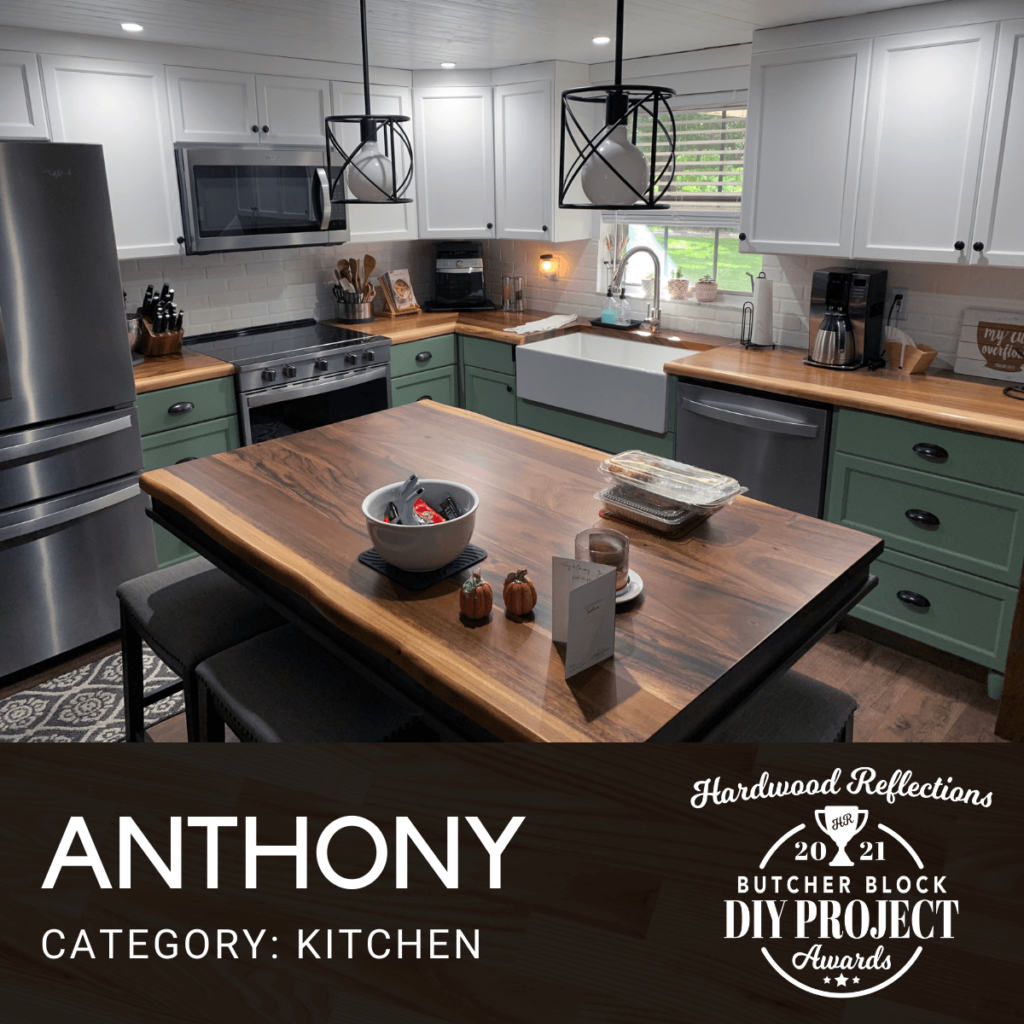
Kitchen Upgrade Project by Anthony
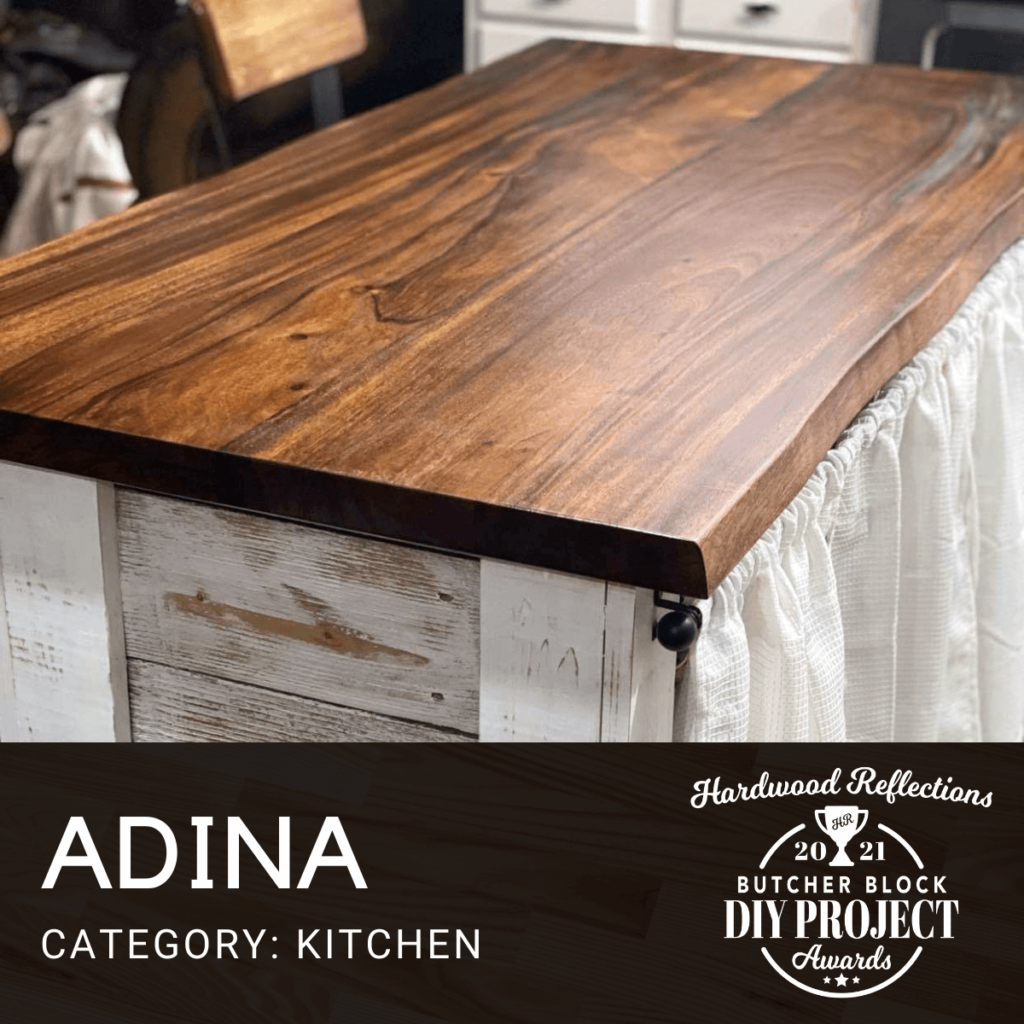
PRODUCT USED: Acacia Live Edge
FINISH DETAILS:
The live edge countertop I got was pretreated and the perfect color, no additional treatment was needed.
PROJECT COMMENTS:
Kitchen counters and cabinets were original from the 70’s, we decided on doing it ourselves but were undecided on the countertops till we seen the display at Home Depot in New Port Richey on little road, it was perfect, the colors and cabinets were chosen after the countertop was decided 🙂
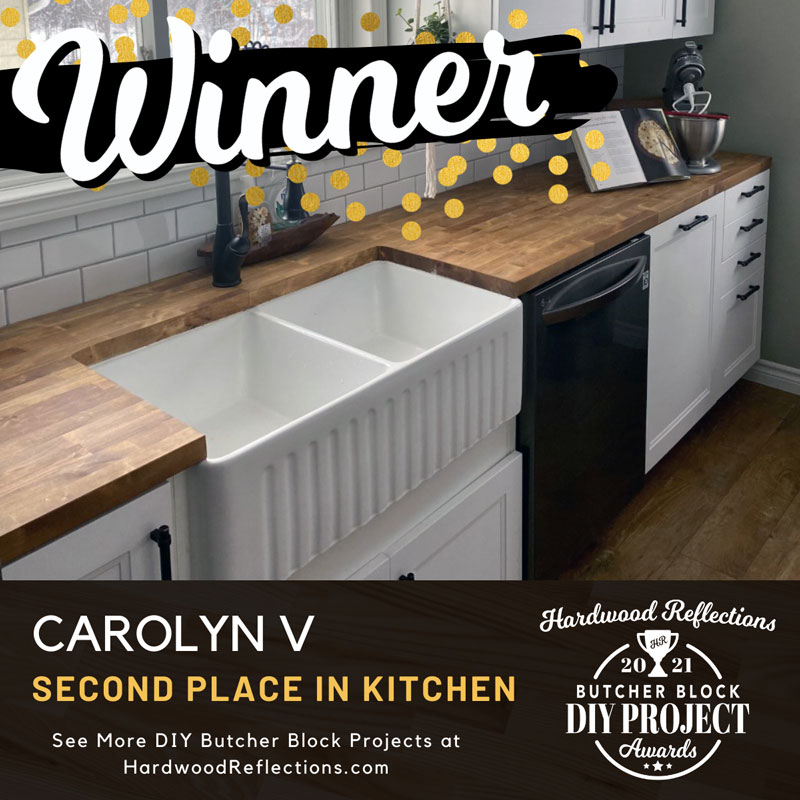
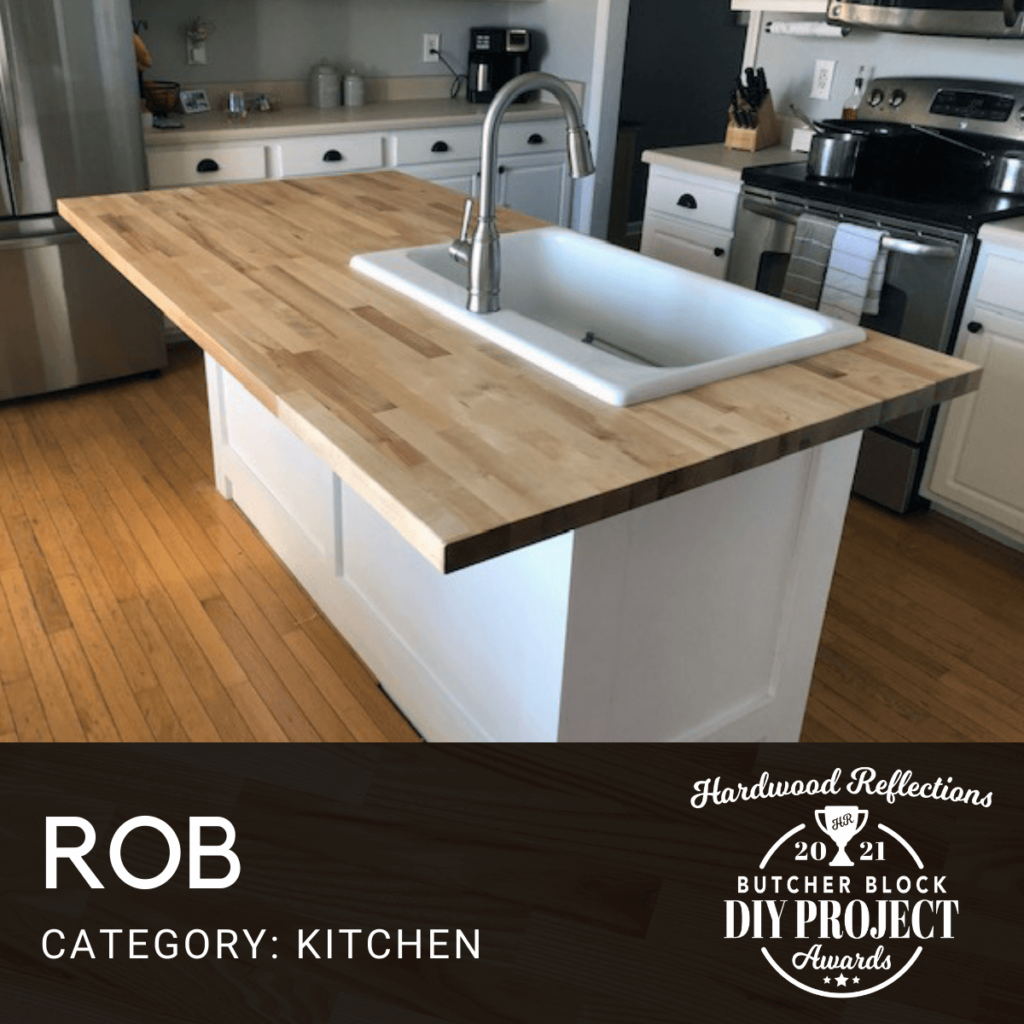
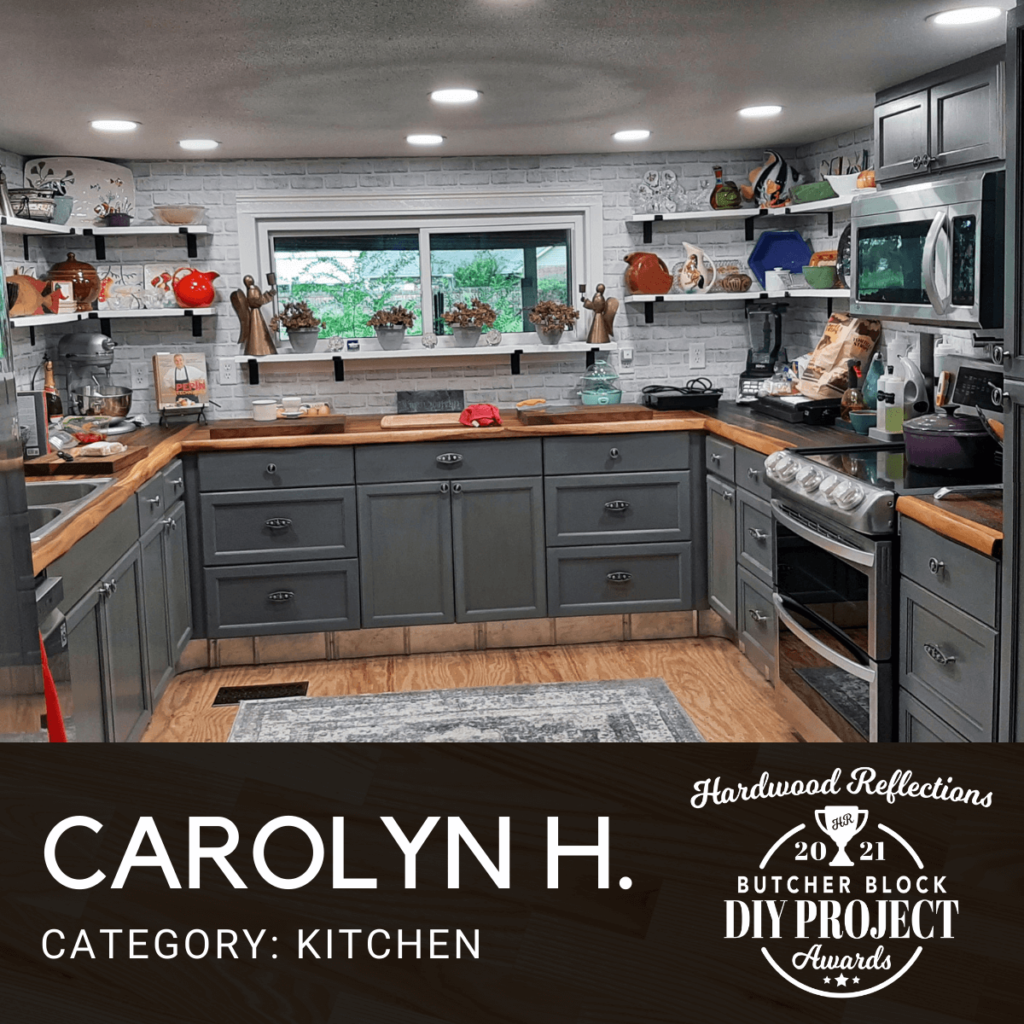
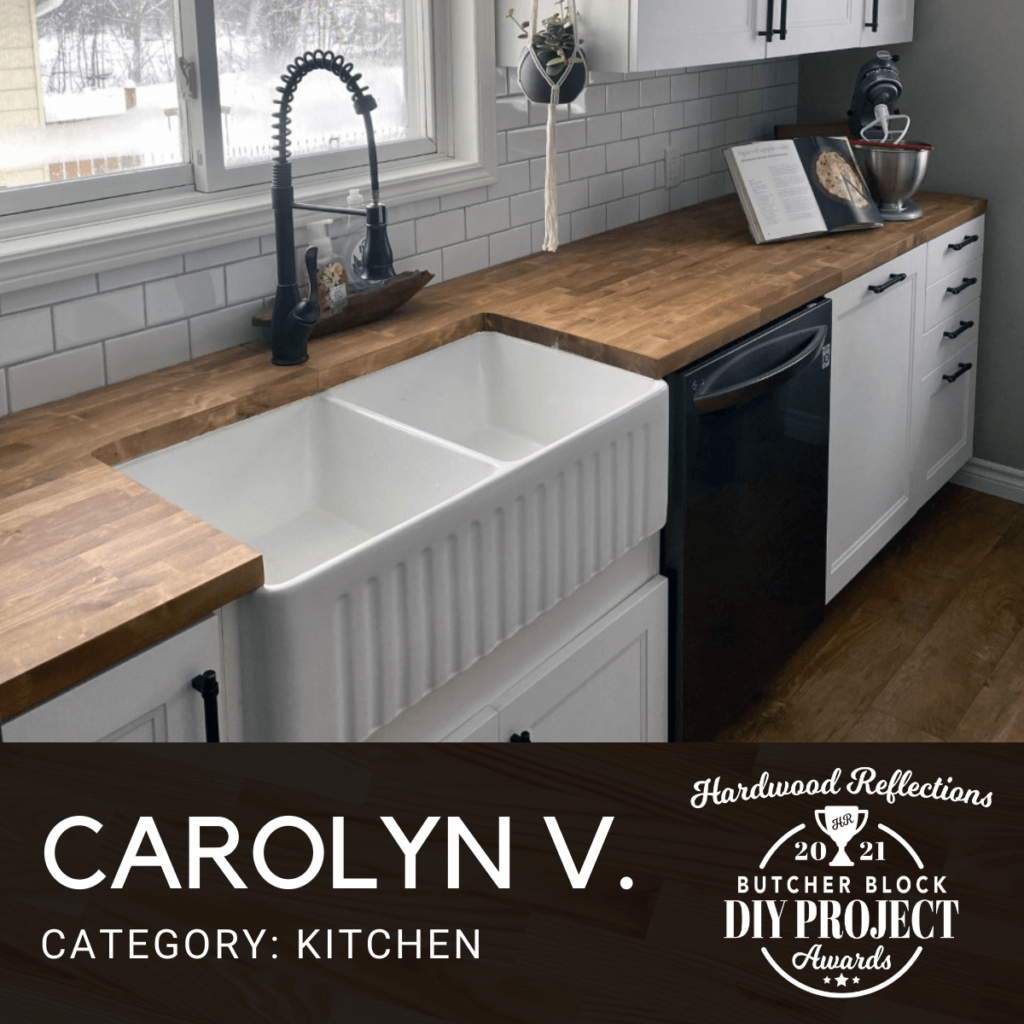
Kitchen Upgrade Project by Carolyn
PRODUCT USED: Birch Butcher Block
FINISH DETAILS:
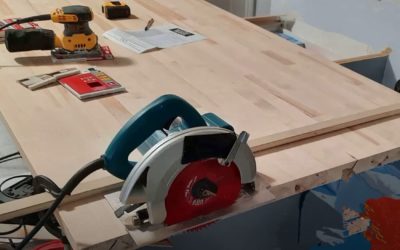
Upon receiving the butcherblock, I unwrapped and immediately cut and sanded. I followed Hardwood Reflection’s tutorial on Basic Butcher Block Finish Tips for our new countertop. I began with 80 grit until smooth, and then used 120 grit for its final sanding. After much research, I decided to use “The Real Milk Paint” Dark Tung Oil to seal the block as it was a food safe option. I mixed equal parts with citrus solvent, and sealed what would be the underneath twice, before starting the top. I used the Dark Tung oil for multiple layers until I achieved the colour I was happy with on the top side. For maintenance, I purchased regular Tung Oil to apply on top of the already darkened countertop to prevent darkening it further.
PROJECT COMMENTS:
My husband and I moved into an older cottage as our new family home this past year. Moving in we knew right away the kitchen needed to be redone. We tore out everything the day of possession, floor to ceiling, and started fresh. After just purchasing a new home that needs A LOT of work – we decided to tackle our first DIY project together: The kitchen.
This was no easy task, the existing walls were not square, the floor was unlevel, and the walls were paneling overtop of 5-6 different wallpapers. We put in new flooring, drywalled, installed IKEA cabinets (with a lot of shim pieces), and customized a cabinet for my Farmhouse sink. The last step was to attach the butcher block countertops. I was most stressed about this part of the project as I had taken it on as my own project aside from my husband. Luckily, from start to finish the butcher block was not as difficult to use as I had worried. It came packaged well, no issues with the look of the butcherblock. It sanded well, and looked exactly how I had hoped. I even used leftover pieces to make shelves, a butcher block cutting board and recipe book holder.
I am very happy with the warm feel it gives to the kitchen, and the simple maintenance. Also, my husband and I are still married so I guess you could say the reno was a success.
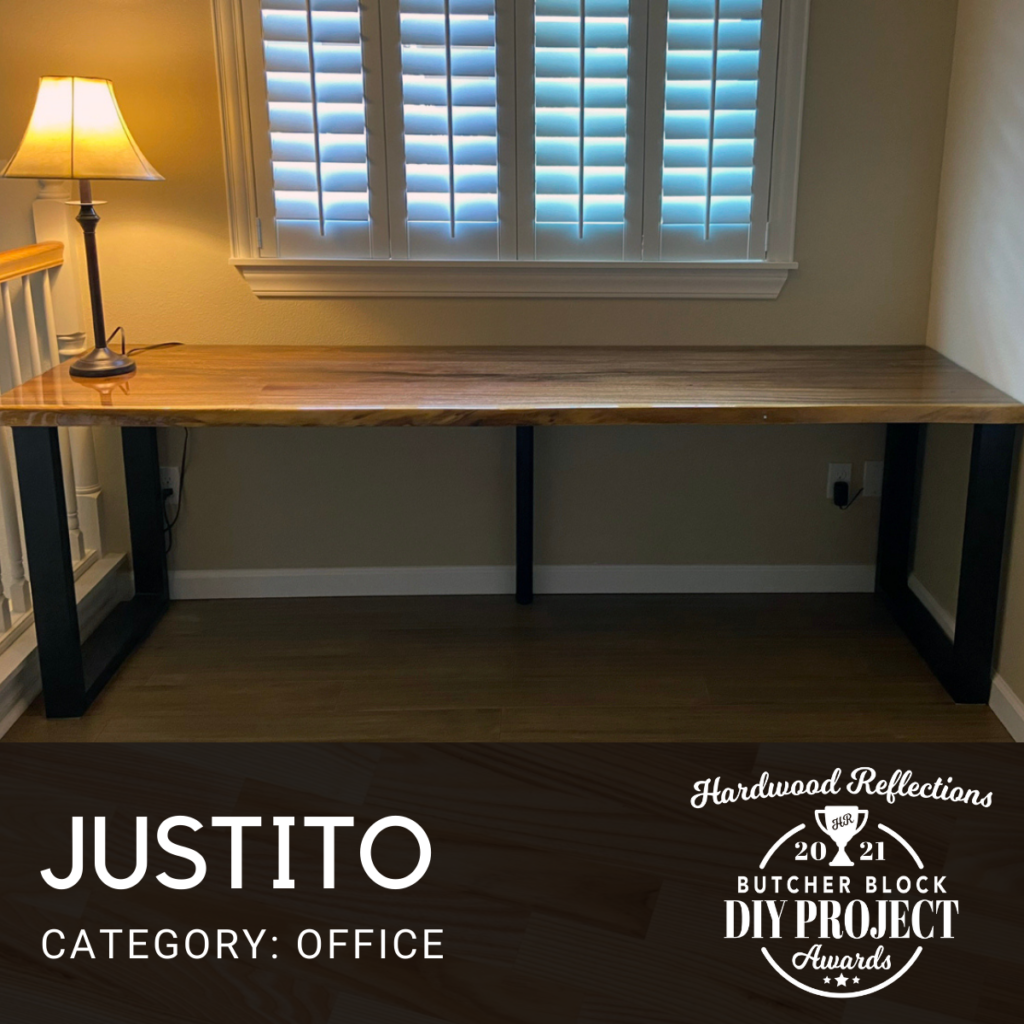
Office:
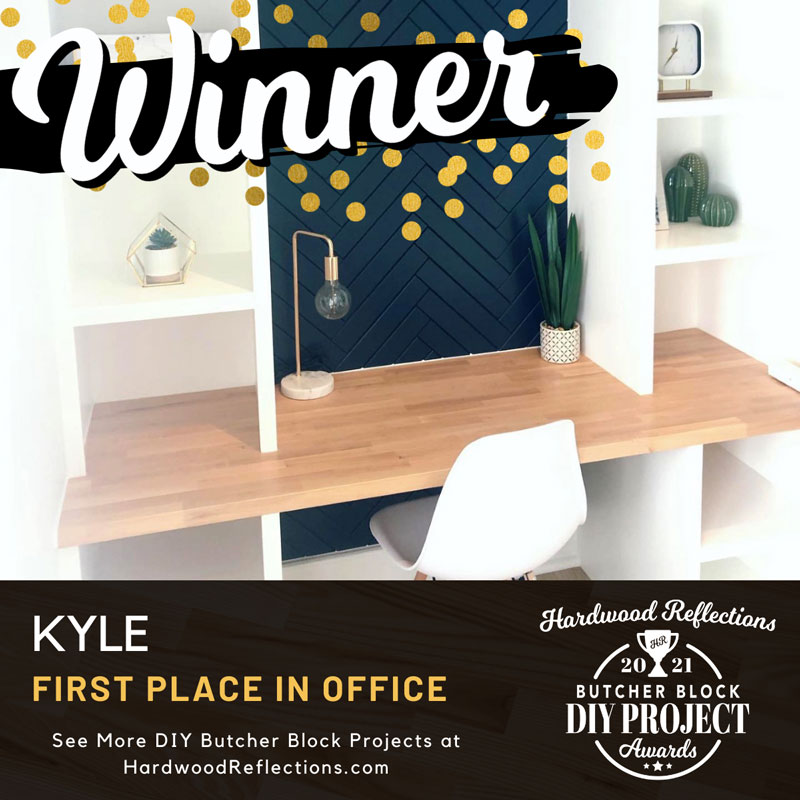
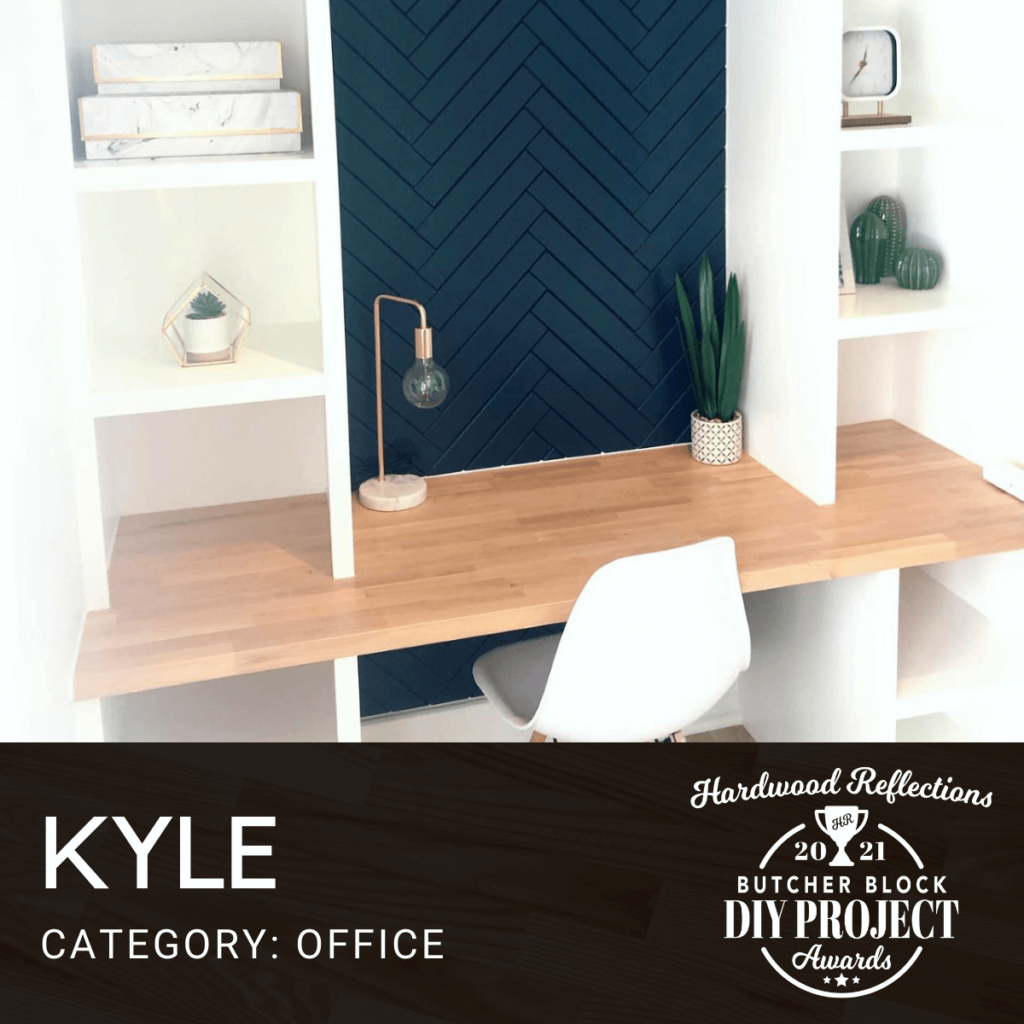
Desk by Kyle
PRODUCT USED: Alder Butcher Block
FINISH DETAILS:
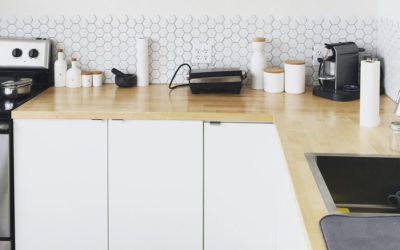
Lightly sanded with 220 grit, brushed with 4 coats of Varathane water based poly. Very lightly finish sanded. No stain!
PROJECT COMMENTS:
We took this dead space in our house and really brought it to life using this Alder Butcher block and some built in custom bookshelves/cabinets. The butcher block really tied the project together and is definitely a focal point in our home.

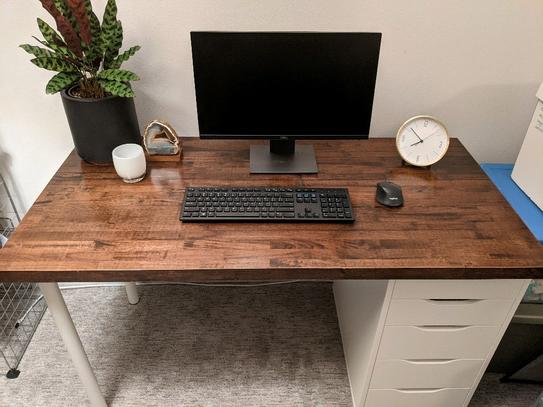
Desk by Samuel
PRODUCT USED: Birch Butcher Block
FINISH DETAILS:
The tops are done in a MinWax Gel stain (Antique Maple) and finished with 3 clear coat layers and 3 layers of polish for extra hardness. The accent pieces are 1×2 and 1×10 kiln dried pine in MinWax Gel stain (Hickory) with 3 clear coat layers and 3 layers of polish as well. Legs and frame are Pine painted with semi-gloss Black.
PROJECT COMMENTS:
Needed a new workspace as my 20+ year old Sauder Computer desk was not keeping up with expanding system requirements. After looking online for a desk solution, or something to start with, finally decided to build my own. Took a while, but after researching, found that using these would be more than adequate to use as they provided many strengths without special bracing. This also made it easier to make it like an office cubical so there would be no more bruised knees.
The most nervous part was actually cutting the first holes for cable management, but after, and how easy it was, it was a non-event. Monitor arm columns and cable management ports all fit well.
Now my wife wants a similar setup for her office.
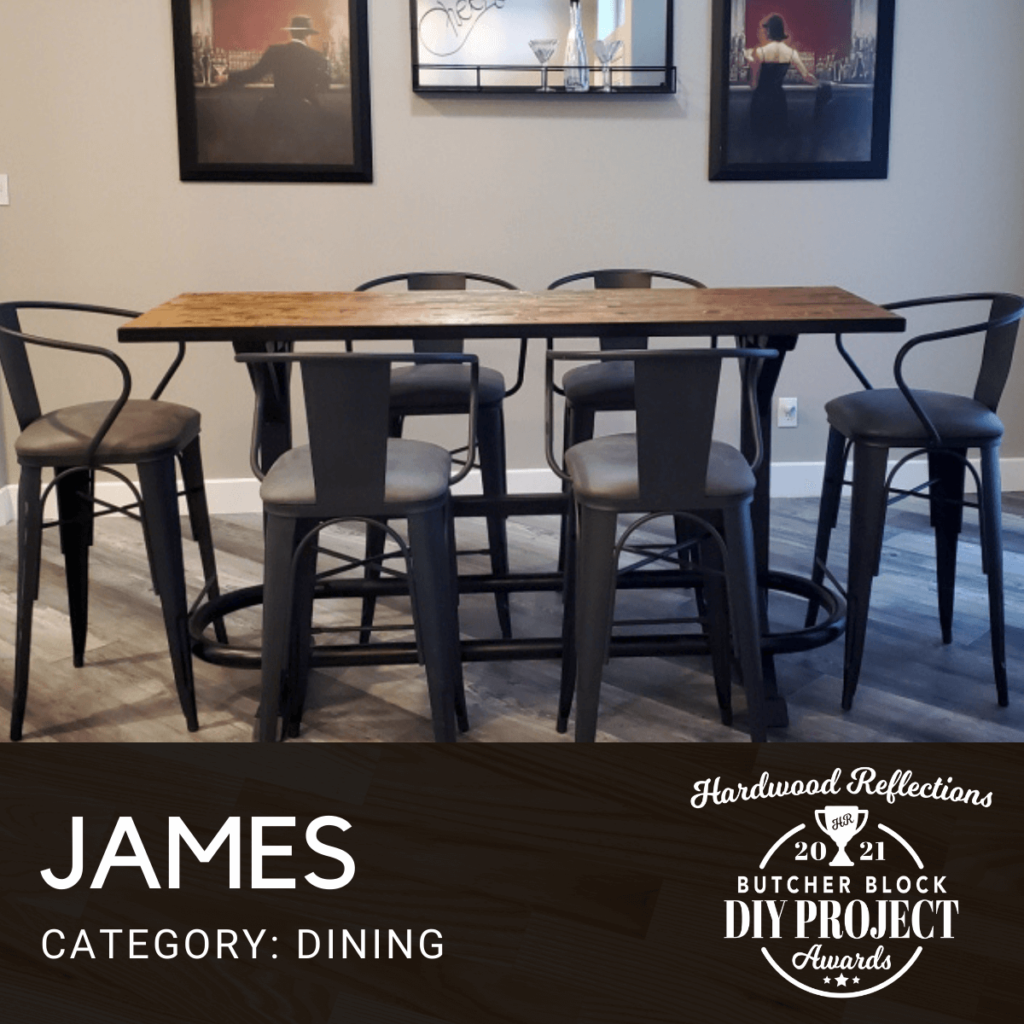
Dining:

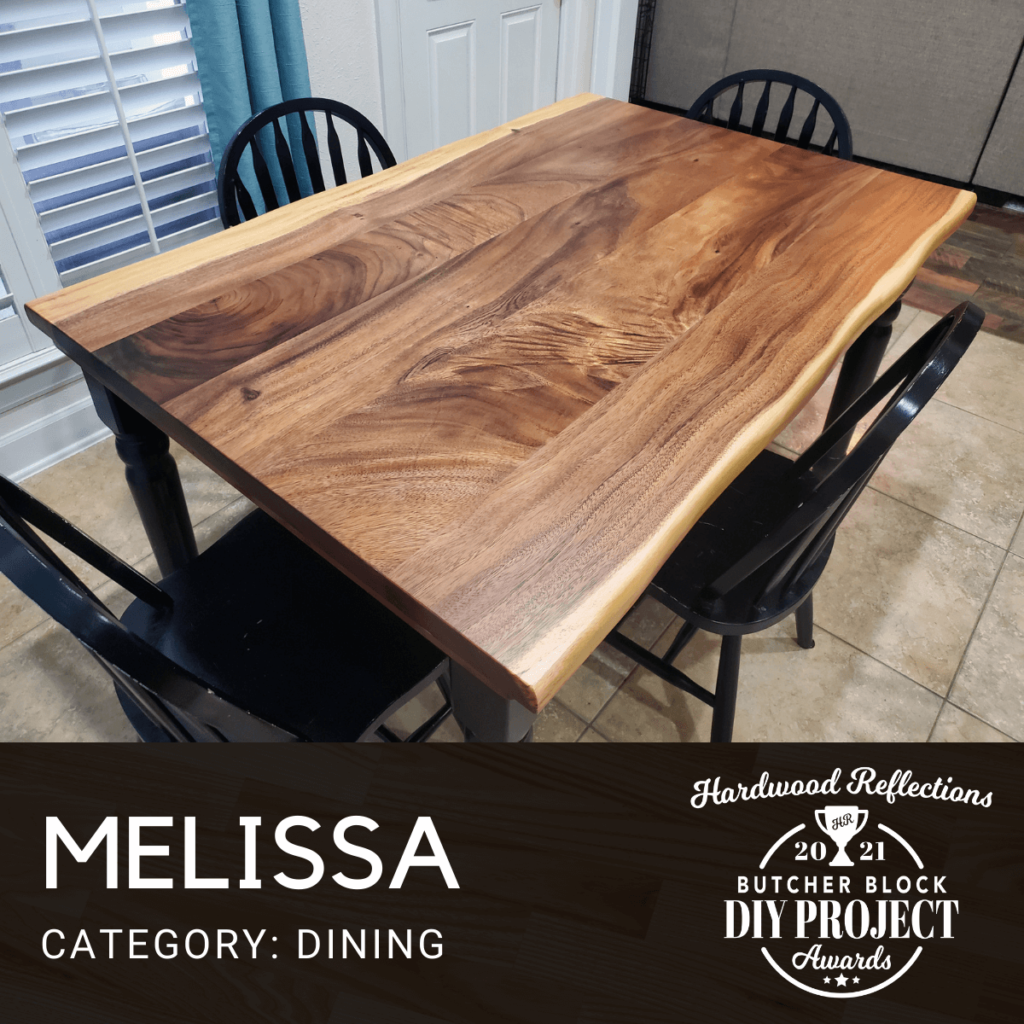
Custom Dining Table by Melissa
PRODUCT USED: Live Edge Acacia Island Size
FINISH DETAILS:
Cut down to size, hand-sanded edge, sealed with satin clear coat, and attached to an existing wood table base.
COMMENTS:
We are thrilled to have a custom upgrade to our old table base!

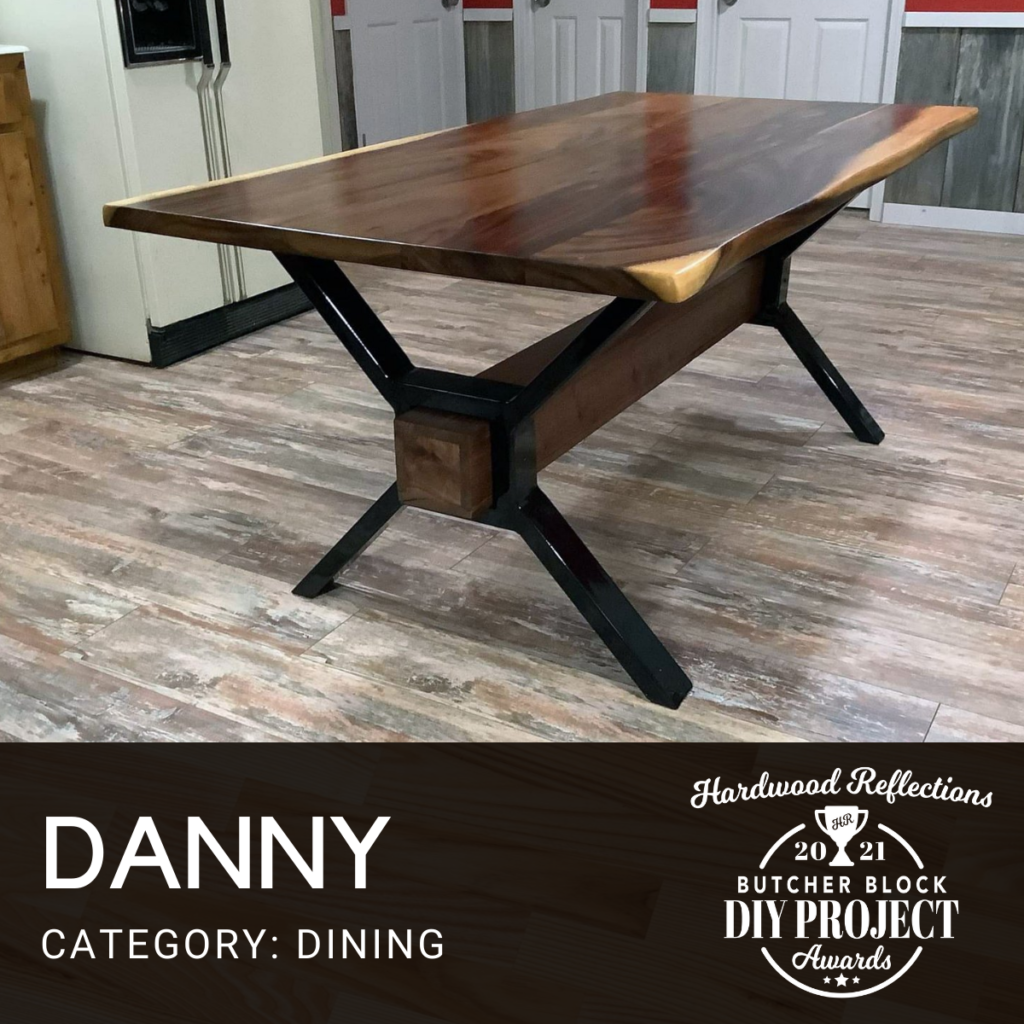
Custom Dining Table by Danny
PRODUCT USED: Acacia Live Edge Kitchen Island
FINISH DETAILS:
We bought Acacia live edge with the minerial oil stain finish but didn’t care for the finish so we sanded it off and refinished it with 3 coats Waterlox urethane.
COMMENTS:
I built the legs out of metal and powder coated them black. I also made a fake beam from some walnut that matched real well.
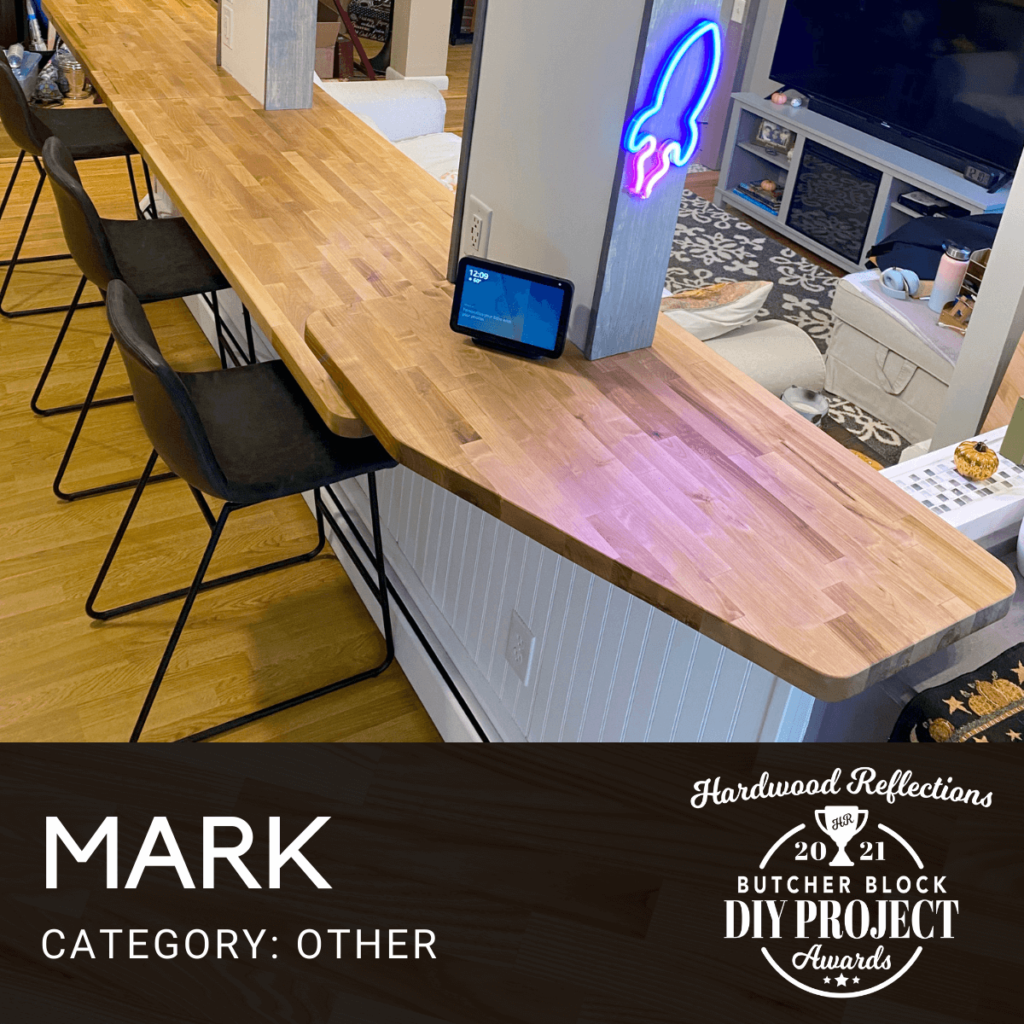
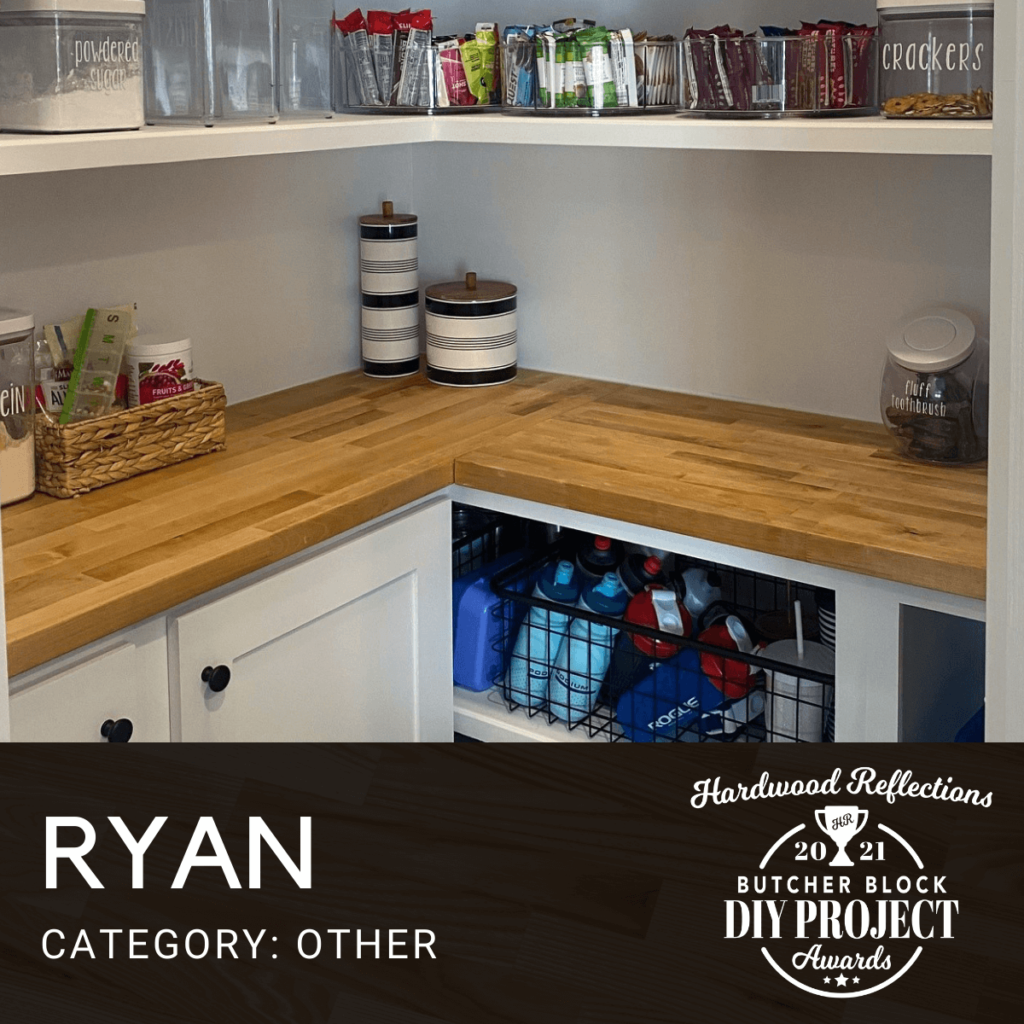
Other Projects with Butcher Block:

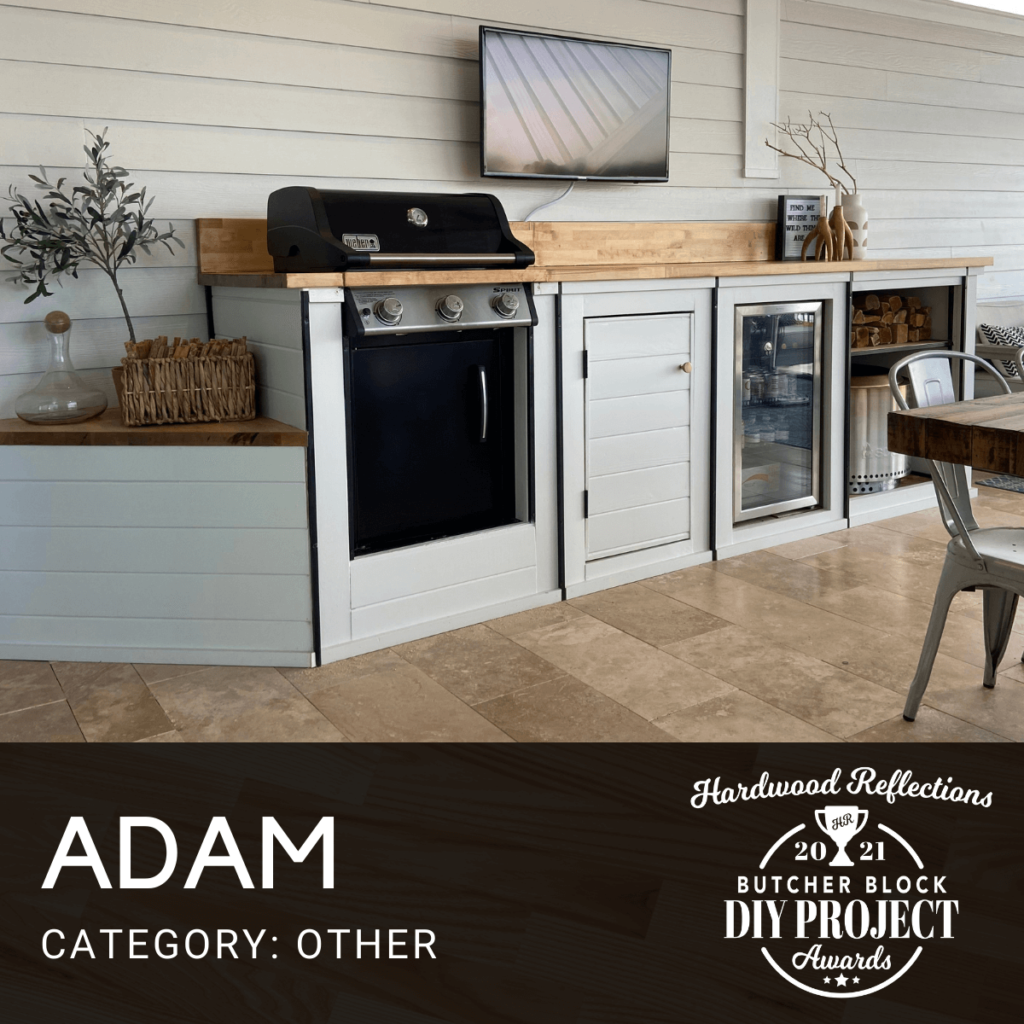
Outdoor Kitchen Project by Adam
PRODUCT USED: Birch Butcher Block
FINISH DETAILS:
After opening package, immediately made my cuts, sanding the edges once complete and applying butcher block oil from Home Depot. This sealed them so that I could dry fit my pieces and cut in a GFCI outlet and hollow the back where my cords would run through the butcher block counter. A paddle bit for the holes, a jig saw for fine cuts, and a table saw for ripping down to 32″ from 39″ – which left a perfect 7″ piece for my backsplash! Once dry-fitted, I sanded down with 60, 80, then 120 grit and applied a Natural stain (mixed with small amount of ebony to draw out grain) by brush, wiping excess with a dry cloth. I followed with a light sanding and second coat within 30mins and allowed 24hrs to dry. I then added first coat of polyurethane by brush (satin). While this was setting up I used sawdust from my cuts to gap fill combined with wood glue. It likes to gum up on you so it is more art than science. I sanded within 30mins and then several more times once fully cured. I then added my Natural stain mix with a small detail brush to the cracks(wood dust/glue) and poly to finish. Sanded in between coats to smooth and flatten 120 grit on mouse sander, along with light buffing with orbital. I also created my first butterfly key where I needed to hide where the wires submerge below the counter but also giving future access. Luckily the butcher block is versatile enough you can make modifications unlike stone, granite and other mfrd materials.
PROJECT COMMENTS:
This is my second outdoor kitchen project with butcher block. After much research there is very little out there in terms of resources. My goal was not a food-ready surface, but a countertop with character that I could work with myself. There is no real way to DIY stone surfaces – but butcher block gives me the freedom to drop in a sink, recess a grill, cut in GFCI outlets, unlimited options. A couple of things to consider was allowing it to breathe and separation from heat. I used hardie backer cement board to create separation between sections and heat resistance, shims to allow the block to breathe, and carefully followed mfr instructions to quickly seal the material even as I worked with it. Rips were a breeze on a standard table saw to clean up edges but primary tool was circular saw for big cuts and jig saw for detail cuts. Finger joints and glue hold up nicely even after multiple cuts, displaying the quality of the product. Even after years of exposure to humidity and variable temperatures, this butcher block stands up to the test of being outdoor kitchen ready. This being my second project with it outdoors, I was able to have full confidence once stain and poly are applied that there will be no buckling, cracks or warping. I also don’t biscuit join or use excessive screws to hold down the material – butt-joined works just fine for me and I have found them to be incredibly low maintenance. Lastly I must note I have IKEA butcher block inside and cutting into the product you can see it more resembles an MDF or particle board than actual butcher block – Hardwood Reflections is the real deal and the look is undeniable. Also, purchasing them at Home Depot allows me to gather all of my supplies in one place – the perfect combination!

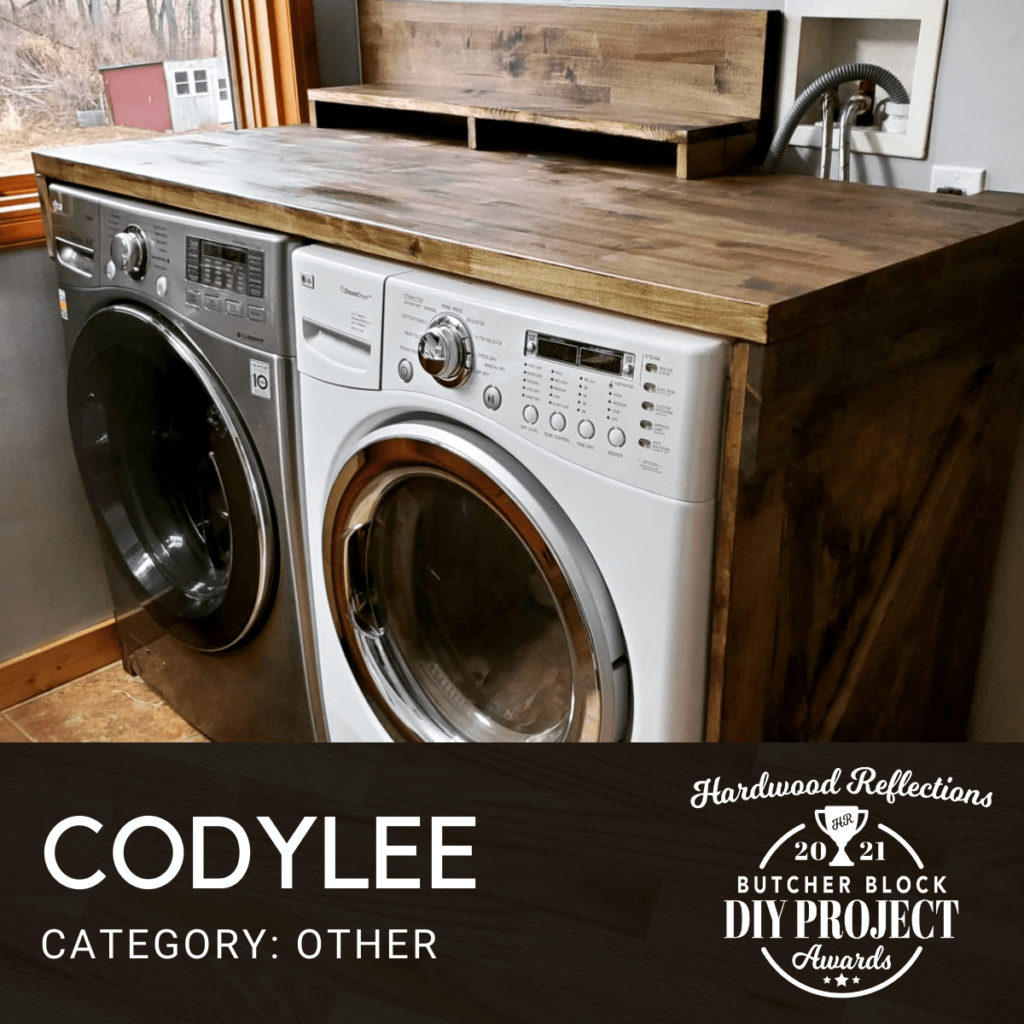
Laundry Room Project by CodyLee
PRODUCT USED: Beech Butcher Block
FINISH DETAILS:
Stained with Varathane Jacobean Satin Semi-Transparent Oil-Based Interior Wood Polyurethane and Stain
PROJECT COMMENTS:
Laundry room / washer & dryer butcher block countertop. Sides are made from 1×6 & 1x8s.
2021 DIY Butcher Block Awards Finalists