Here are a few DIY projects Before and After shots, along with some comments of the how these homeowners went from drab to fab after a little bit of Butcher Block love!
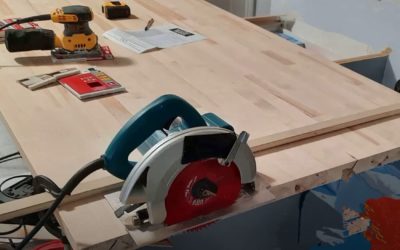
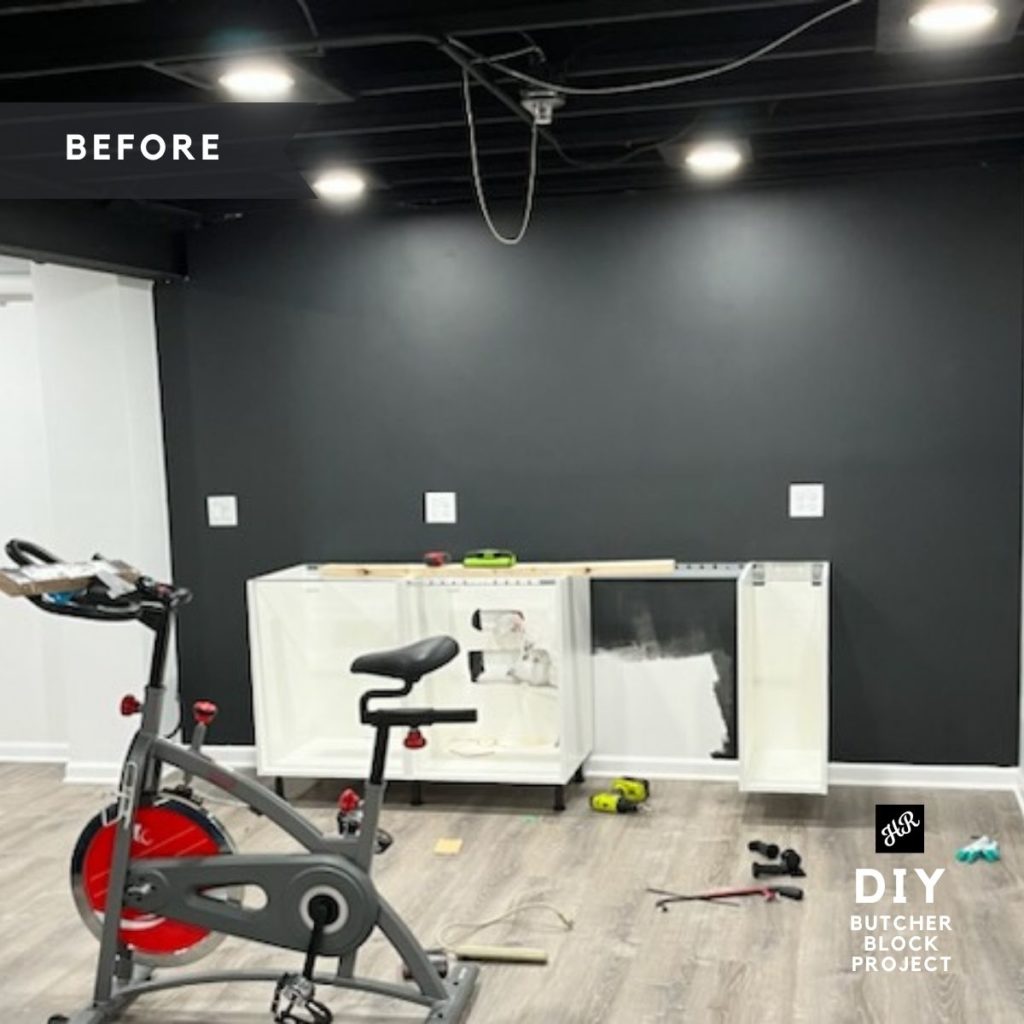
DIY BUTCHER BLOCK PROJECT – Making A Wet Bar

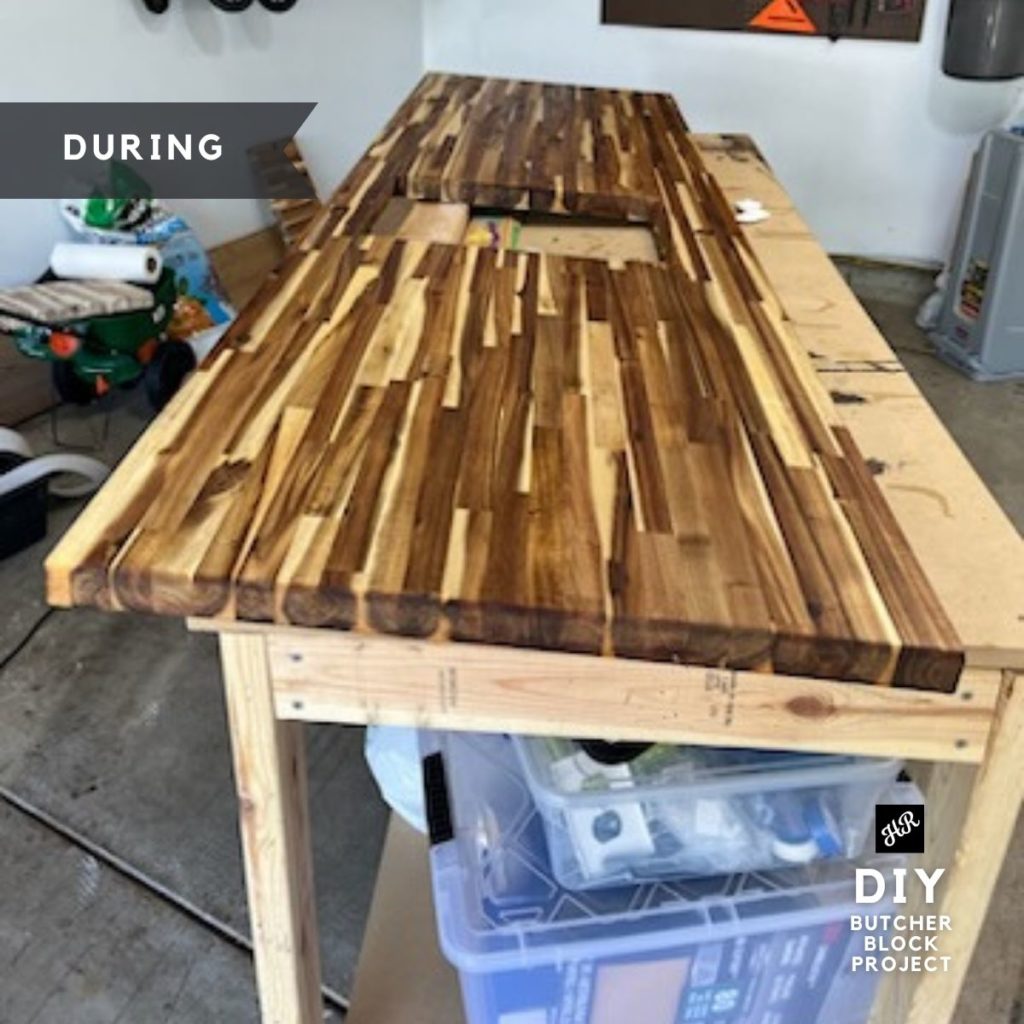
PRODUCT USED: Live edge acacia and finger-joint acacia
FINISH DETAILS:
Finished included in 2 different areas
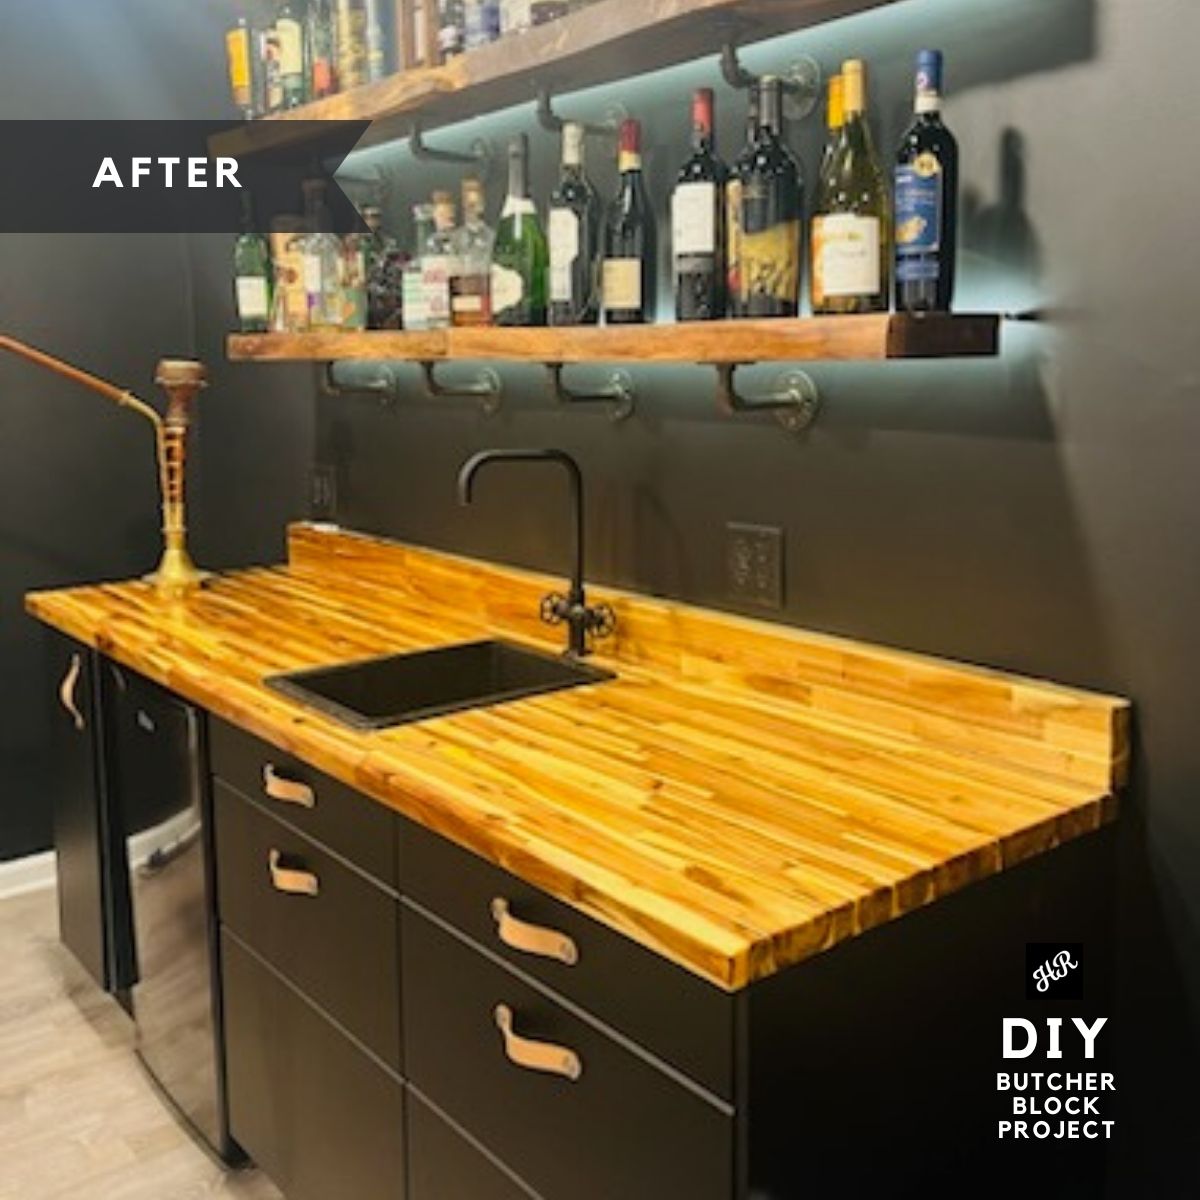
1) counter next to the wall: This is Acacia Butcher Block finished with 4 rounds of sanding 120,200,320, and 600 and finishing with clear Watco Danish oil and finally sealing it with Varathane water based poly
2) island: it was prefinished but had some shipping damages. I sanded it down using 320 grit and filled it with wood filler and using Watco spray clear semi gloss lacquer to spray 6-8 light coats to get an even buildup. it totally merged with original finish.
PROJECT COMMENTS:
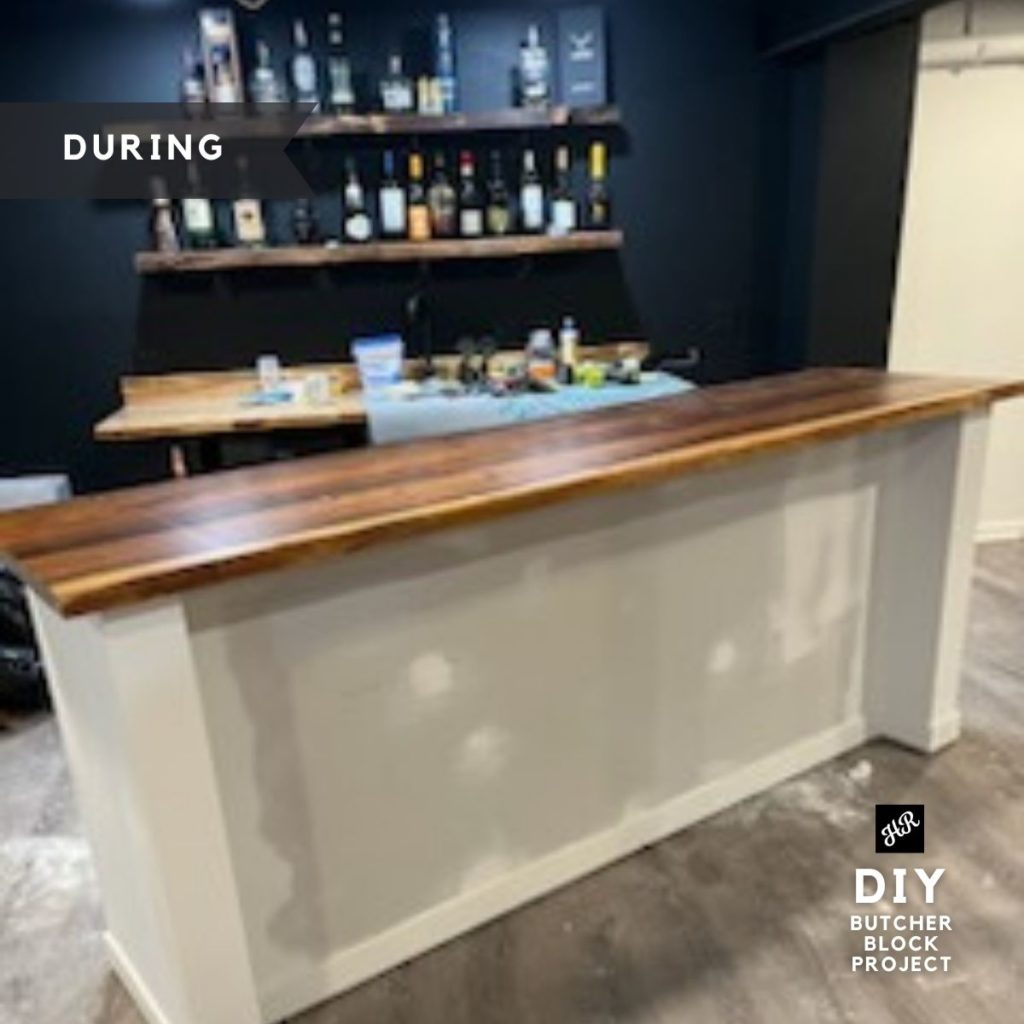
I built bar in my basement and idea was to create a gathering space with enough people to sit and counters and shelves to store stuff. Wanted to put shelving to show off my liquor collection. It had two sections.
1) First is the wet counter next to the wall at 36″ height
For counter, I got the cabinets from store and assembled them and wanted to put live edge acacia on the counter, but it was not available at the time in Chicago Suburbs. After waiting for few weeks decided to go with unfinished acacia butcher block. I cut it to length (apprx 7′) and sanded it four times using 120,200,320, and 600 grit using ROS and then cut the hole for drop-in sink using Jig saw. I tested the finishes on leftover and decided to apply 4 coats of Watco Danish oil. Acacia popped beautiful color. To further protect it from water and alcohol, I put 4 coats of water based poly. I had messed up one coat where I used almost dried brush using poly and that caused steak marks. I had to sand it down and reapply two coats.. 🙂
2) Island in the center at 42″ height
I did 6-10 light spray coats of watch clear lacquer. For the base of Island, after some 3d designs in tinkercad, I decided to go with building the frame using 4×4 and 2×4 and using drywall to cover it. Caster wheels were placed to make it easy to move. The live edge acacia was placed after painting the bottom of island.
This project took 4 months, a lot of elbow grease, learning new tools and techniques, buy new tools and ultimately resulted in 100% satisfaction.
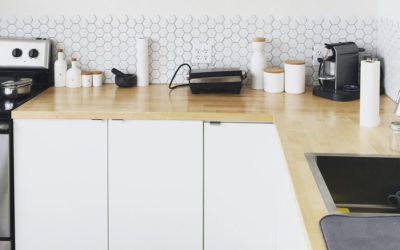
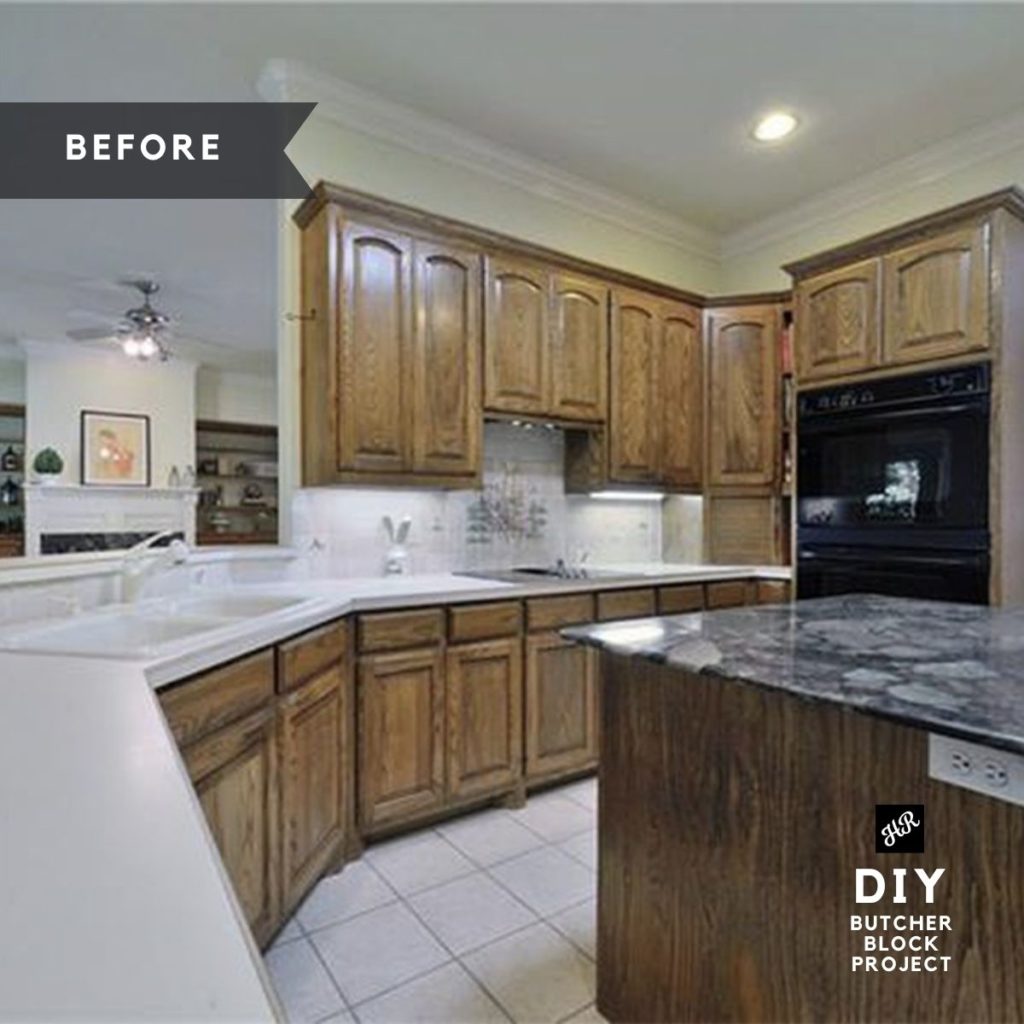
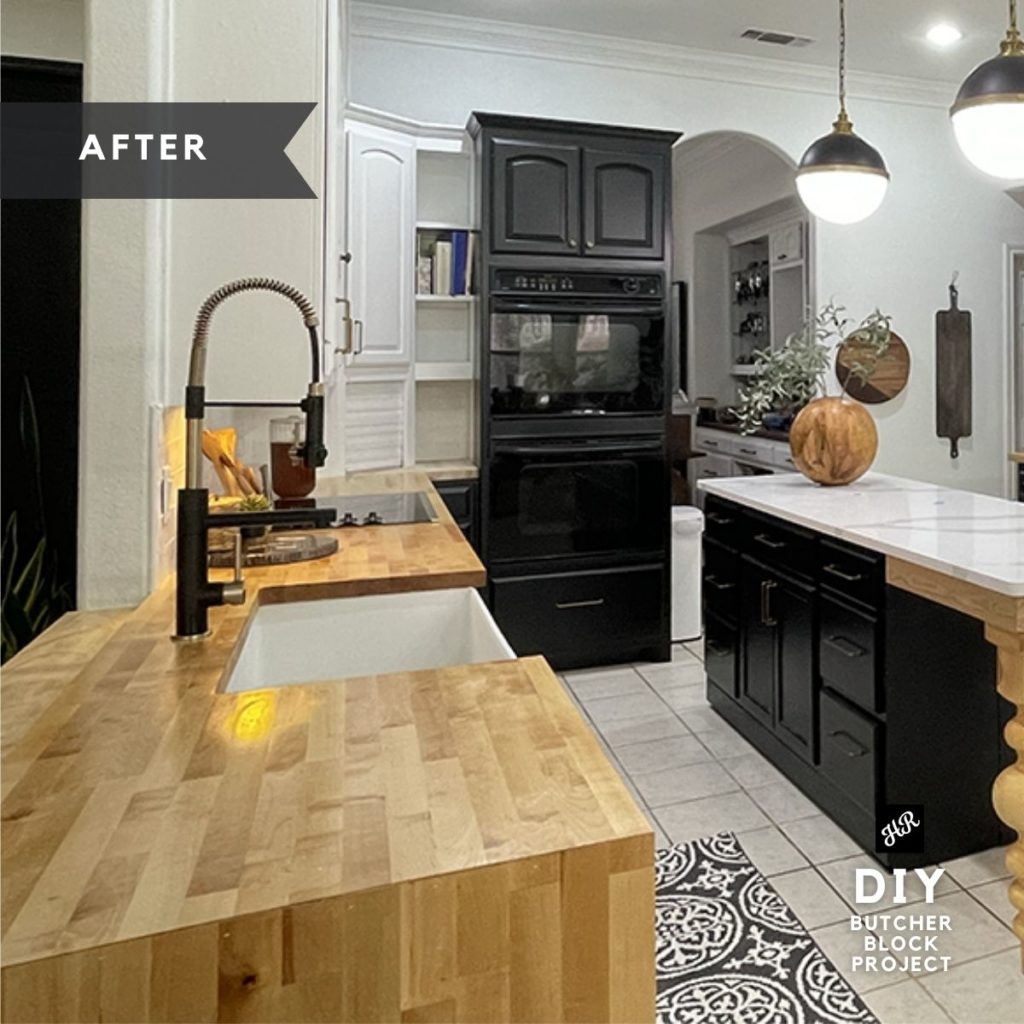
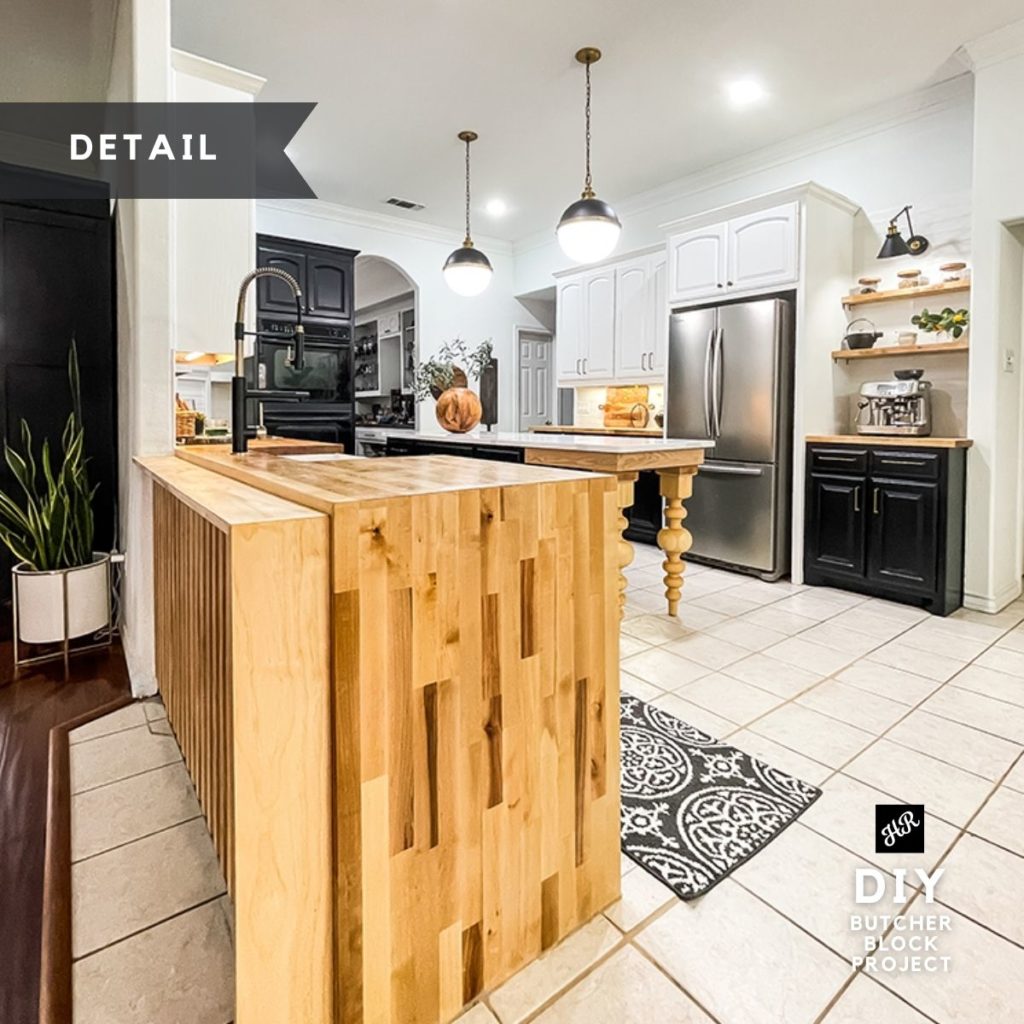
DIY BUTCHER BLOCK PROJECT – Kitchen Remodel
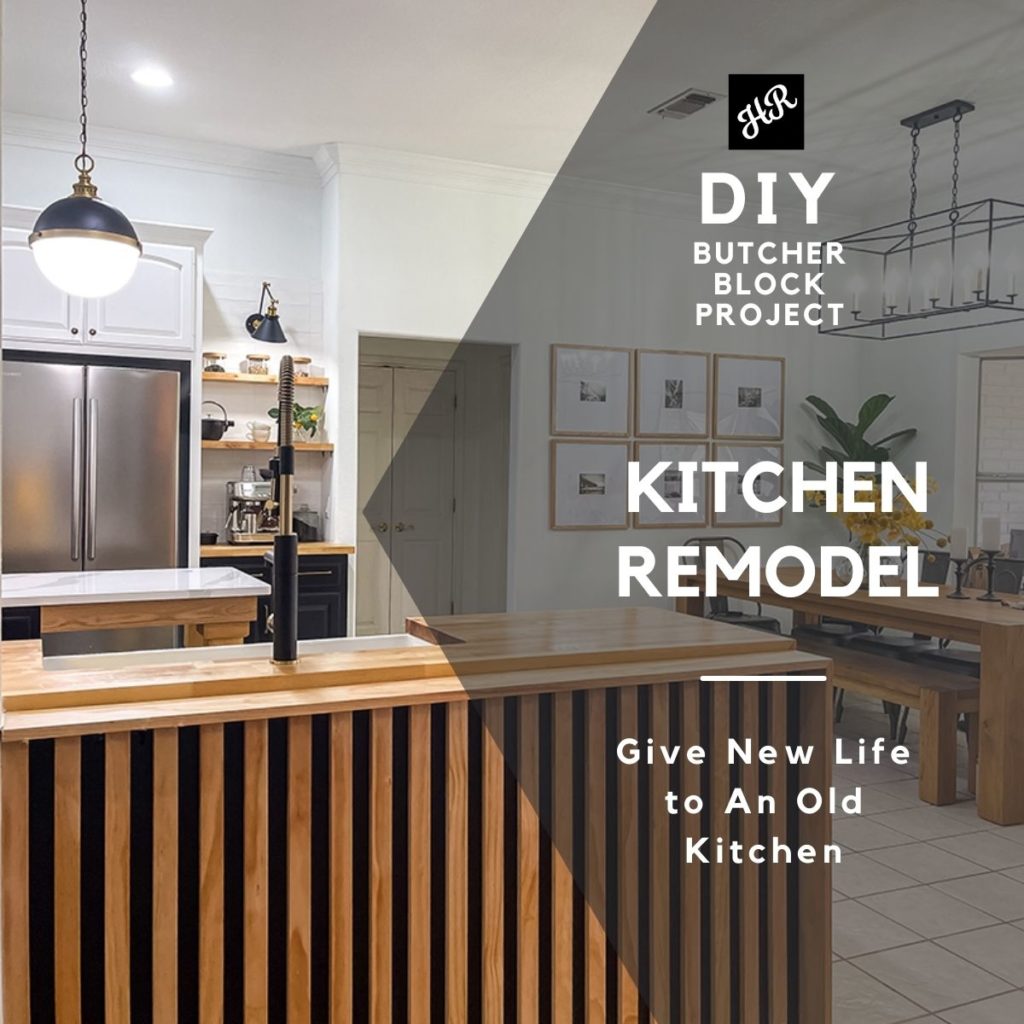
PRODUCT USED: Birch
FINISH DETAILS:
The tops actually were quite smooth already, we eased the edge with an orbital sander, ran over the tops and edges just a little and then finished with Tung Oil.
COMMENTS:
The waterfall was exciting to do, we had never done countertops before and I set the bar for expectations pretty high. It went much smoother than I expected. I wanted something warm, practical and natural to contrast the white painted finishes and the quartz island.
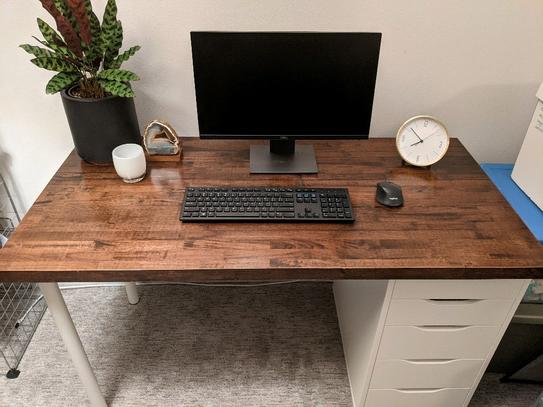
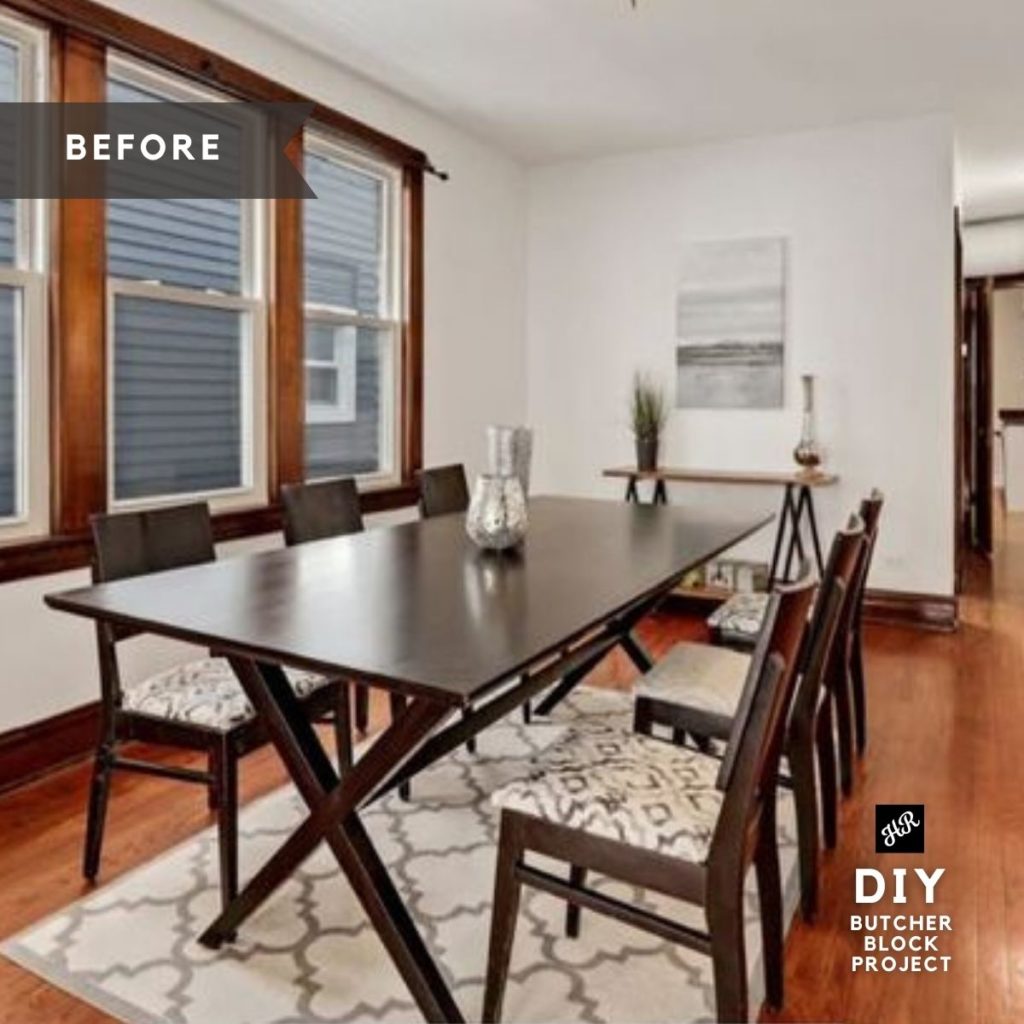
DIY BUTCHER BLOCK PROJECT – Dining Room Hutch
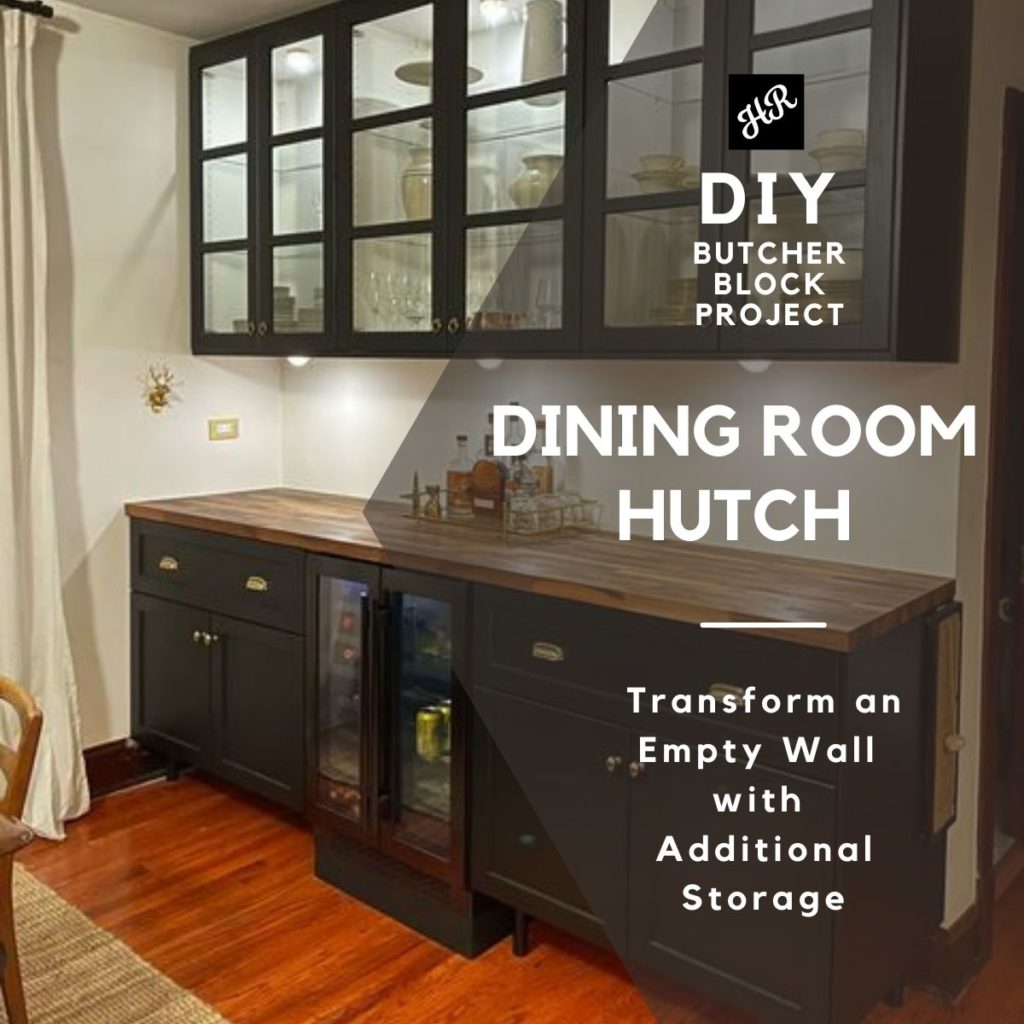
PRODUCT USED: European Walnut
FINISH DETAILS:
Watco clear butcher block oil
COMMENTS:
We had a an 8 foot blank wall in the dining room of our condo that has limited storage overall. We wanted a space to enhance storage and our hosting capabilities. I designed the space with Ikea cabinets & fronts, but knew I wanted to use a real wood butcher block on top and needed to find one long enough. Our local Home Depot had an 8+ foot piece of beautiful European walnut butcher block, and it was going to be the perfect accent to tie the whole space together. After an easy trim and only a clear finish, the gorgeous walnut was brought to life. We now have a beautiful dry bar hutch space that is perfect for entertaining friends and family.

DIY BUTCHER BLOCK PROJECT – Mudroom & Laundry Room Makeover
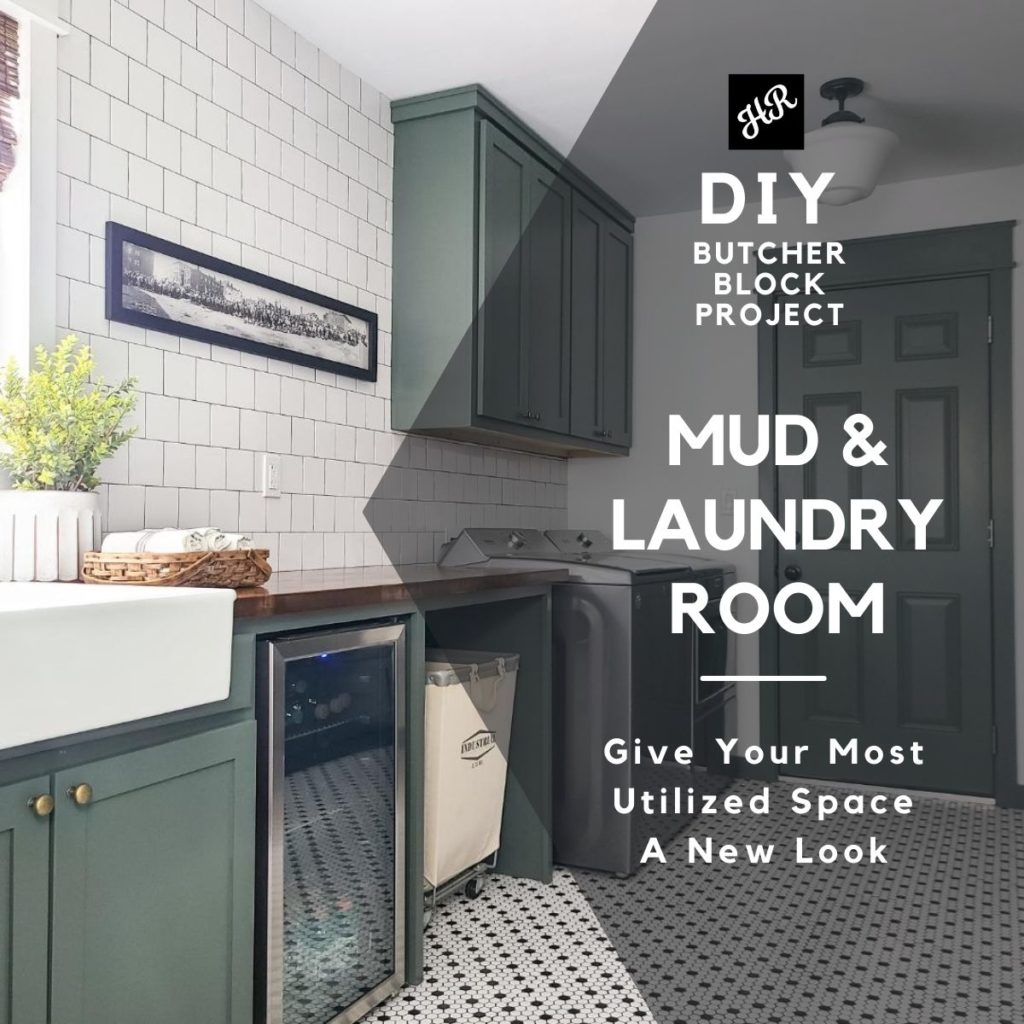
PRODUCT USED: Birch
FINISH DETAILS:
Sanded to 220 grit. Used Minwax Provincial for the stain. Finished with 5 coats of Minwax Wipe-On Polyurethane. Then took it to 600 grit for final sanding.
COMMENTS:
This is a laundry room remodel. We gutted everything. Added 3 butcher block tops. We built 8 feet of lockers, custom dog kennels, bench below the lockers. Added a farmhouse sink with subway tile backsplash wall. Mini fridge for drinks. And rebuilt the cabinets to go to the ceiling. All cabinetry was built ourself.