Call it “Van Life” or “Full-Time RV-ing” or “Glamping”….We’re just excited to see how people are setting out to fulfill their nomadic dreams — from the weekend camper to the most hardcore off grid boon-docker. We might suggest considering to add the natural look of Butcher Block as you strive to create a beautiful, functional, and original design in your tiny wheeled space. We know Alex, the owner of Carolina Van Builders, loves to include Butcher Block in his Van Builds. Read on to follow his steps.
What You Will Need:
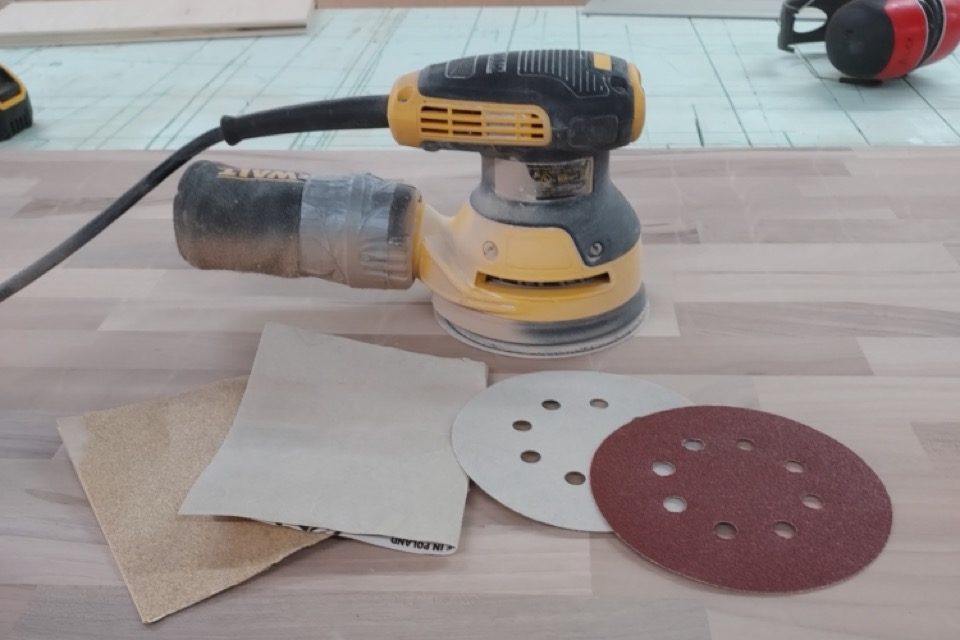
- Palm sander w/ 120 and 220 grit sanding discs
- 150 and 220 sheet sand paper
- Circular saw (or track saw if you have one)
- Straight edge
- Framing square
- Tape measure
- Drill
- Pocket hole jig
- Pencil
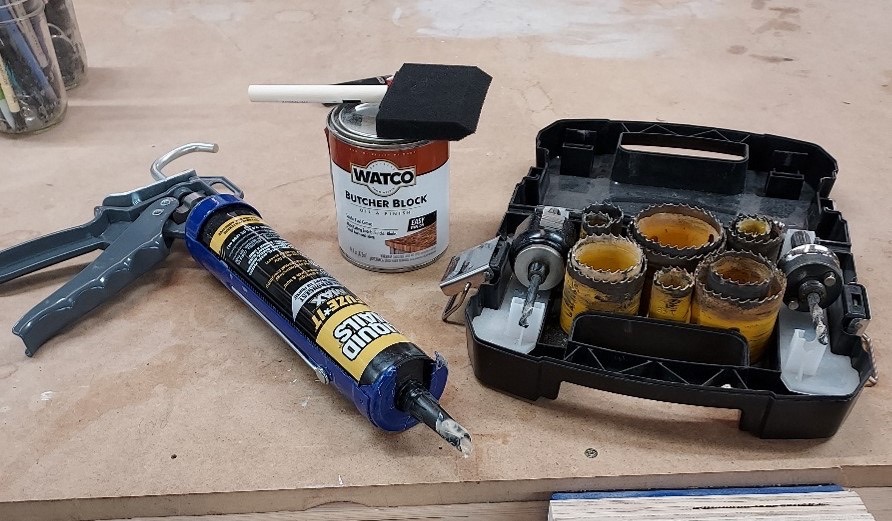
- Construction adhesive
- Hole saws
- Watco butcher block sealant
- Foam brush

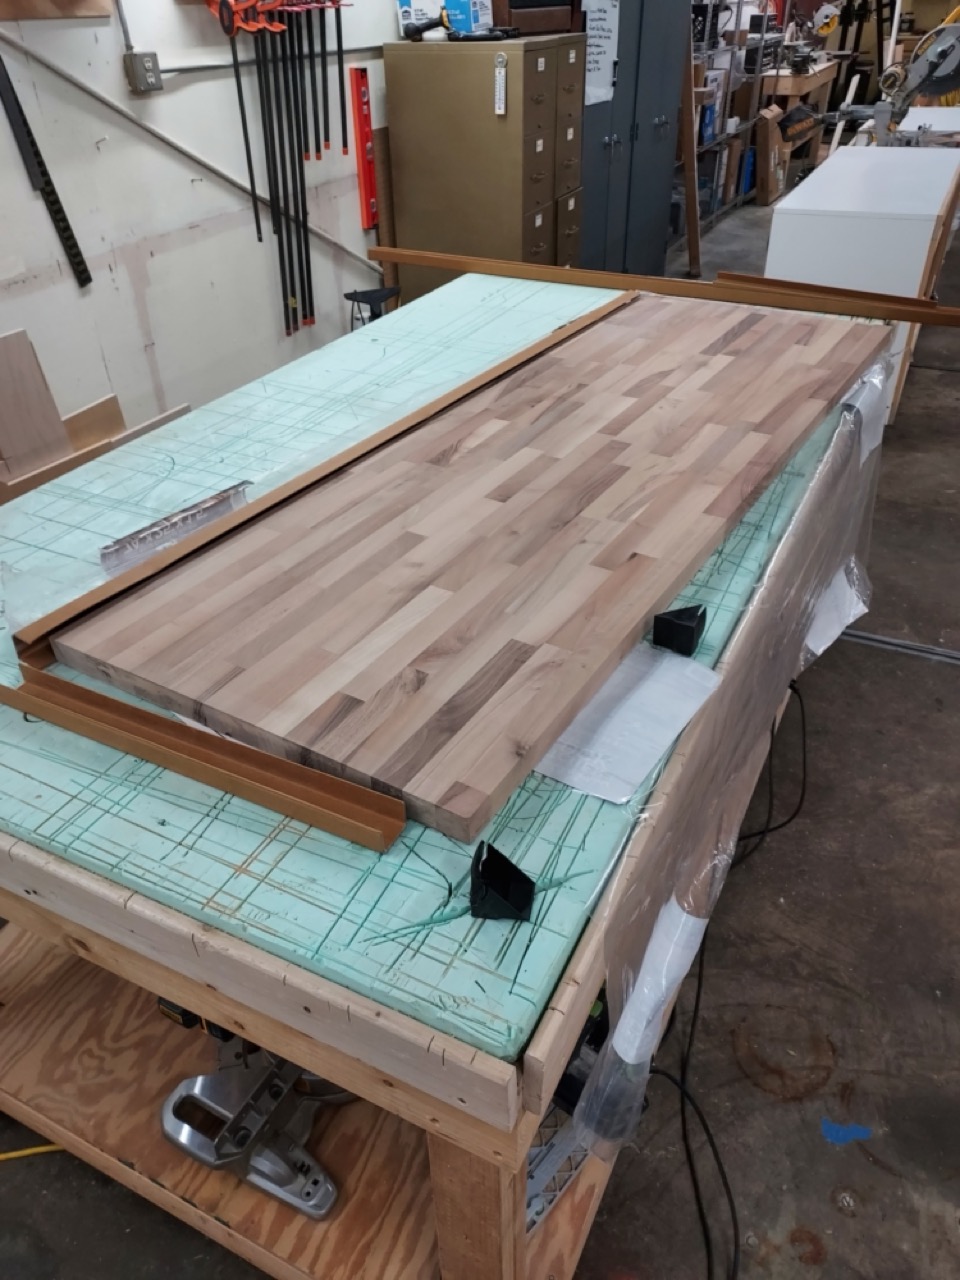
Step 1: Unpacking & Inspection
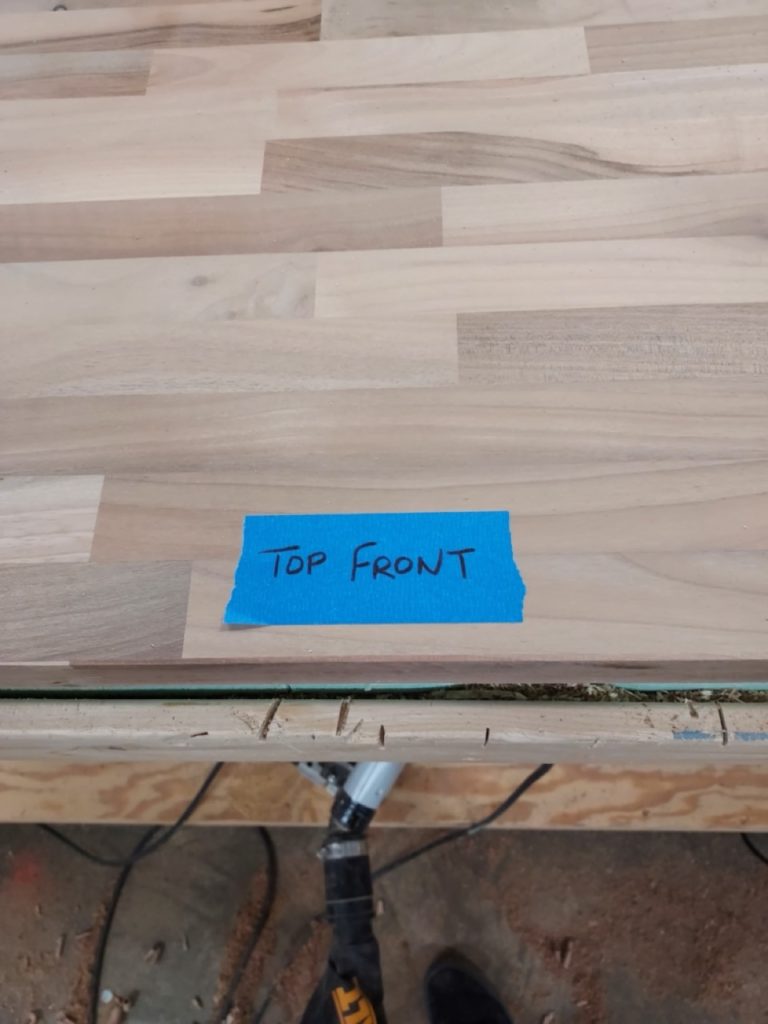
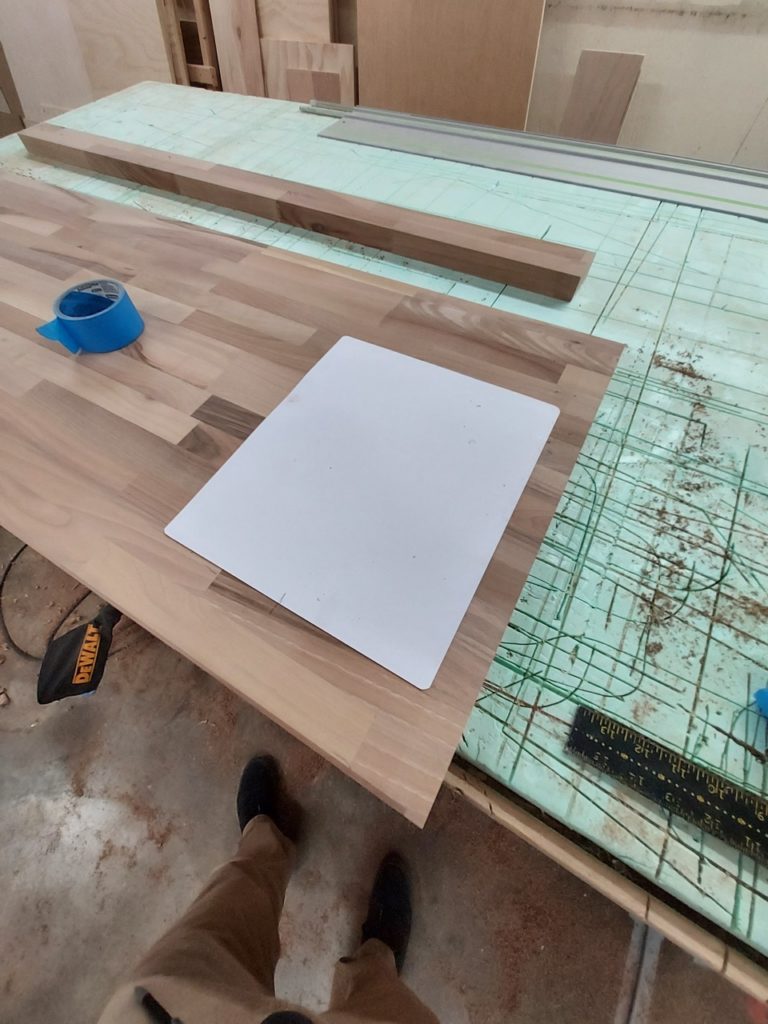
After unpacking the counter top, inspect both sides. One side is usually a bit rougher and contains a few more knots and blemishes than the other. I like to designate the nicer side as the top side. After usually mark the top with a piece of painters tape to make it easy to identify.
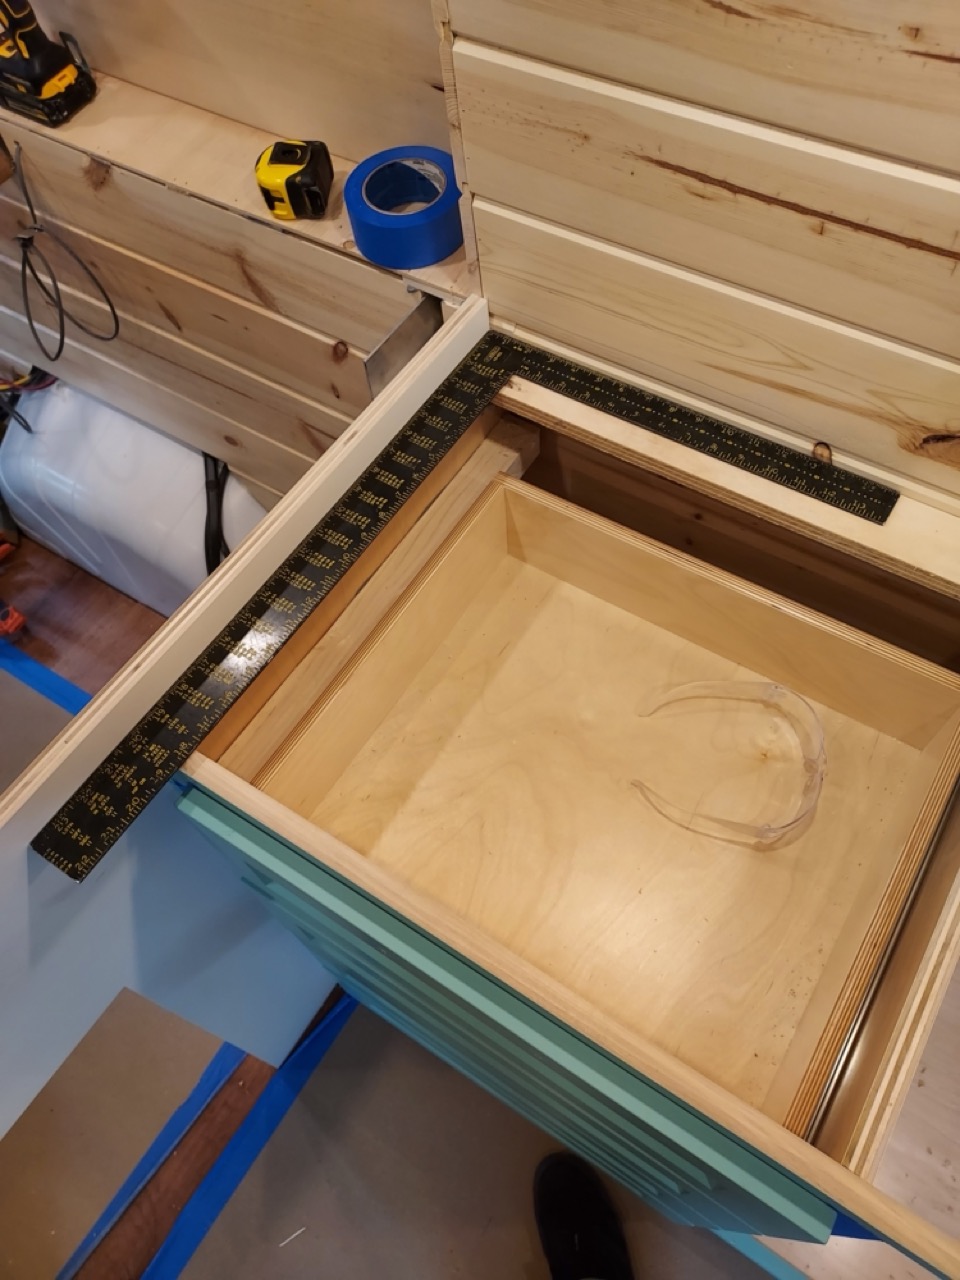
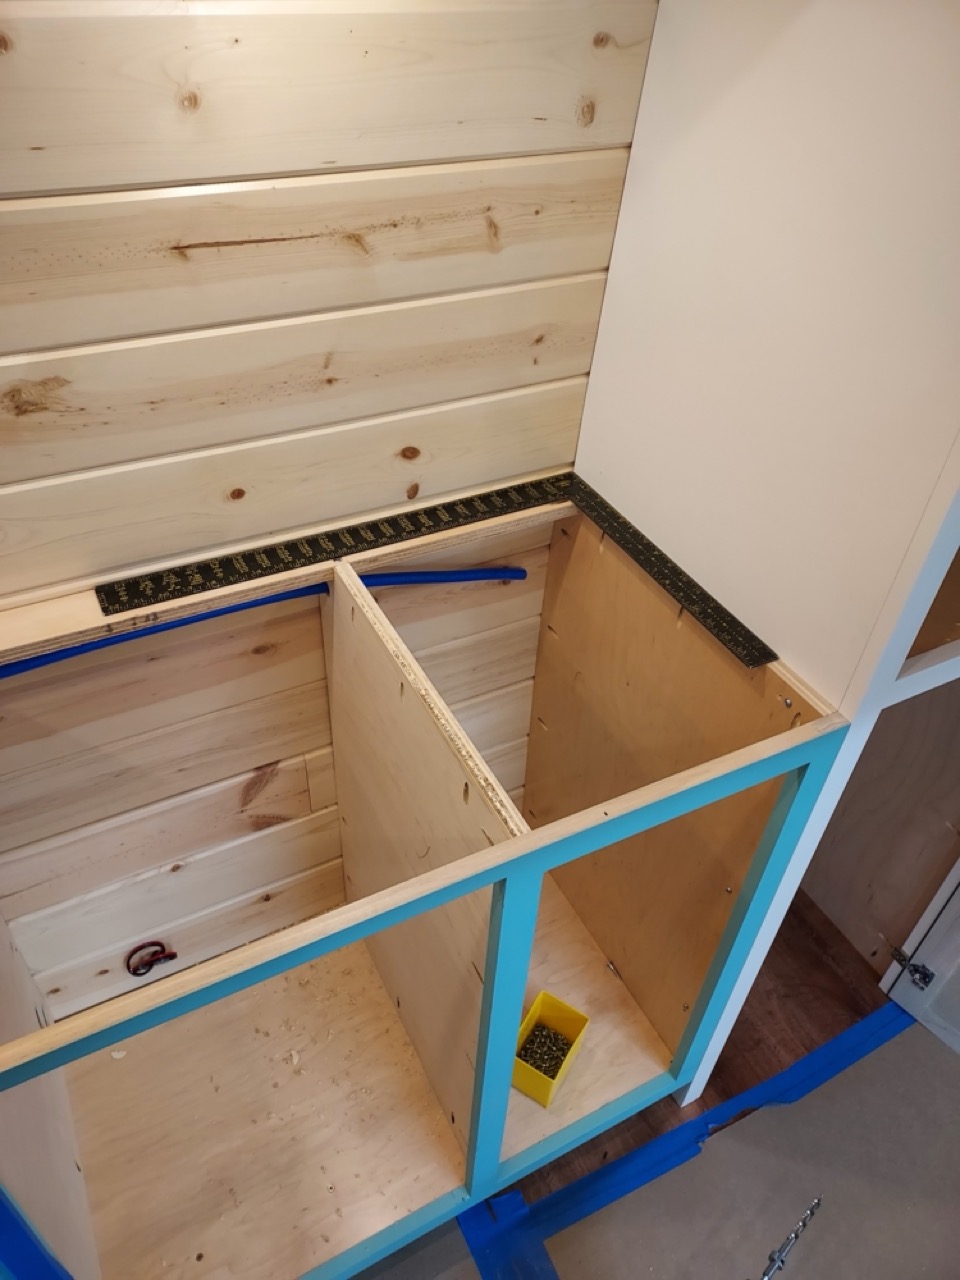
Step 2: Make Sure Your Cabinet Box is Square
We find it easier to install the box into the van without the countertop for many reasons that I wont cover here. Though we take great care to keep everything as square as possible, sometimes adjustments need to be made. For instance, I added a shim between the closet wall and the cabinet box to square up that corner. Squaring the box will save a lot of time and headache when installing the countertop and will give you clean, professional results.
Step 3: Measuring the Width & Depth
The width (side to side) of the countertop depends on a few things, notably the cabinets location as well as personal preferences. For our counter, the width will need to be the exact width of the cabinet box since there is a closet wall butted to one end, and the front of the bed butted to the other, leaving no room for overhang. If nothing is butted to the end of the cabinet I like to overhang the counter ¼” over the end of the cabinet box.
The depth of the counter also depends on personal preference. I like to cut my counter top 2” deeper than my box. I choose two inches since the fronts of the doors usually set off the front of the box by about 1”, so the counter will extend 1” past the door and drawer fronts. I would keep at least 1” of overhang over the front of your cabinet box which will set even with the fronts of your drawers and doors, achieving a professional look.
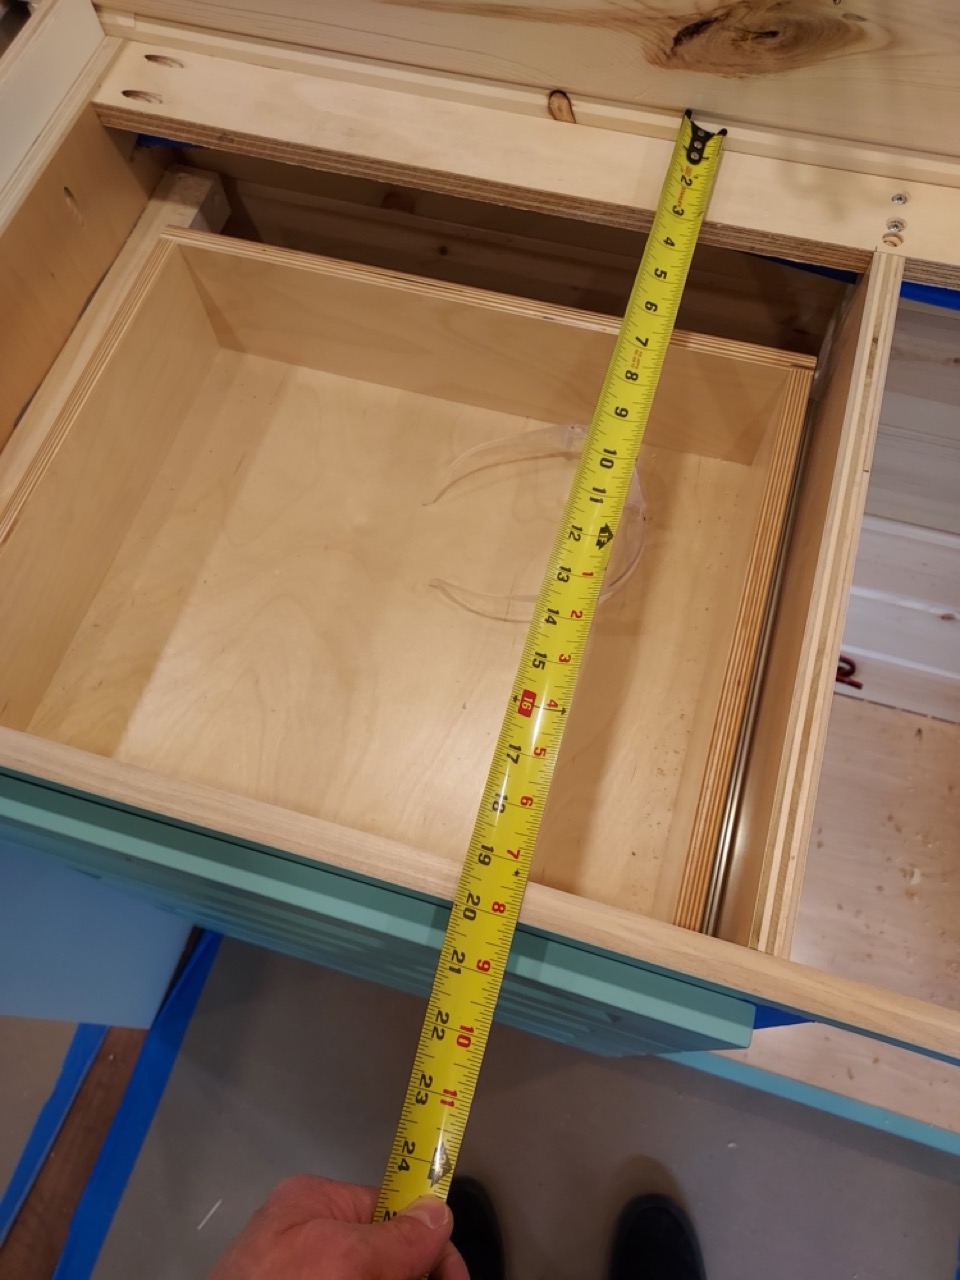

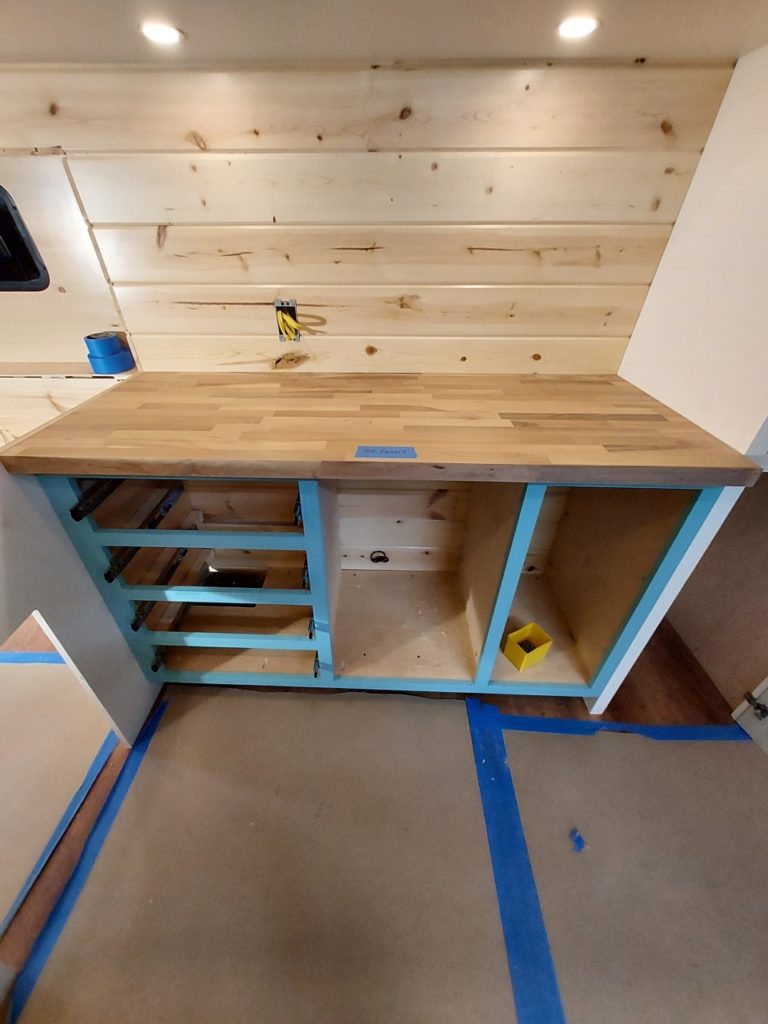
My cabinet box is 20” deep as seen here. I will cut my counter 22” deep so that it extends 1” past my drawers and doors.
Step 4: Cutting the Counter
Remember to measure twice and cut once!
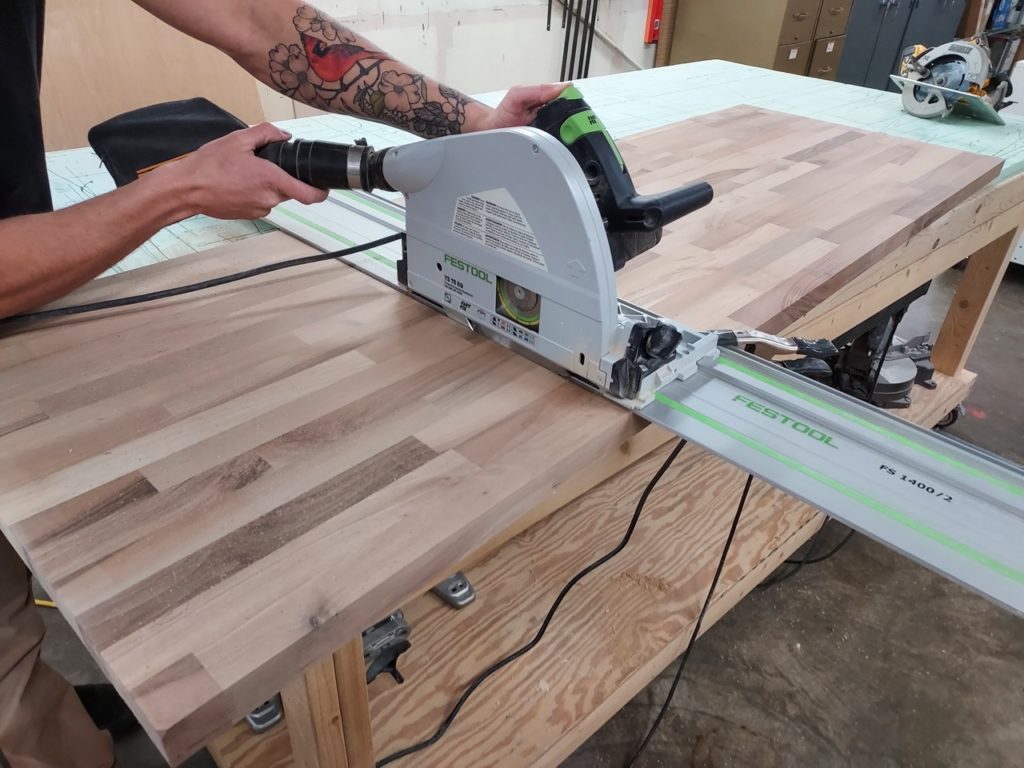
Cutting a Butcher Block with a Track Saw
We use a track saw to cut our counters, which not everyone has, so I’ll show another way of doing it
If you don’t have a track saw, you can use a circular saw with a straight edge, or even a really straight 2×4, flat stock, or angle iron to achieve an accurate cut. I don’t recommend cutting free-hand, I promise you don’t cut as straight as you think!
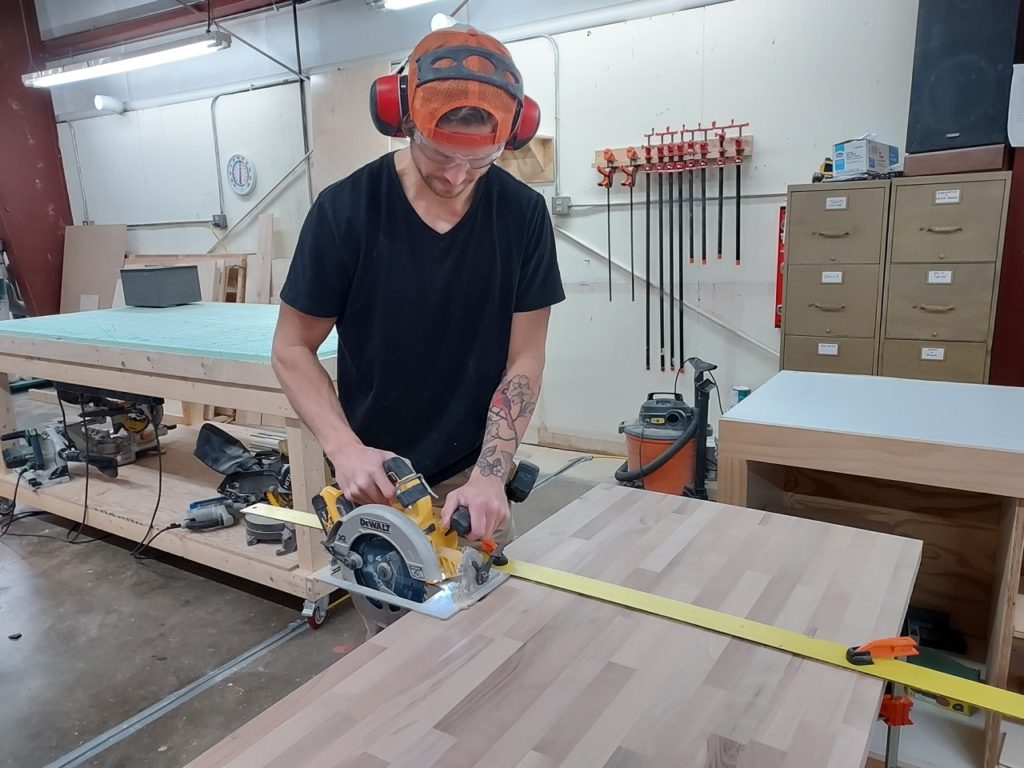
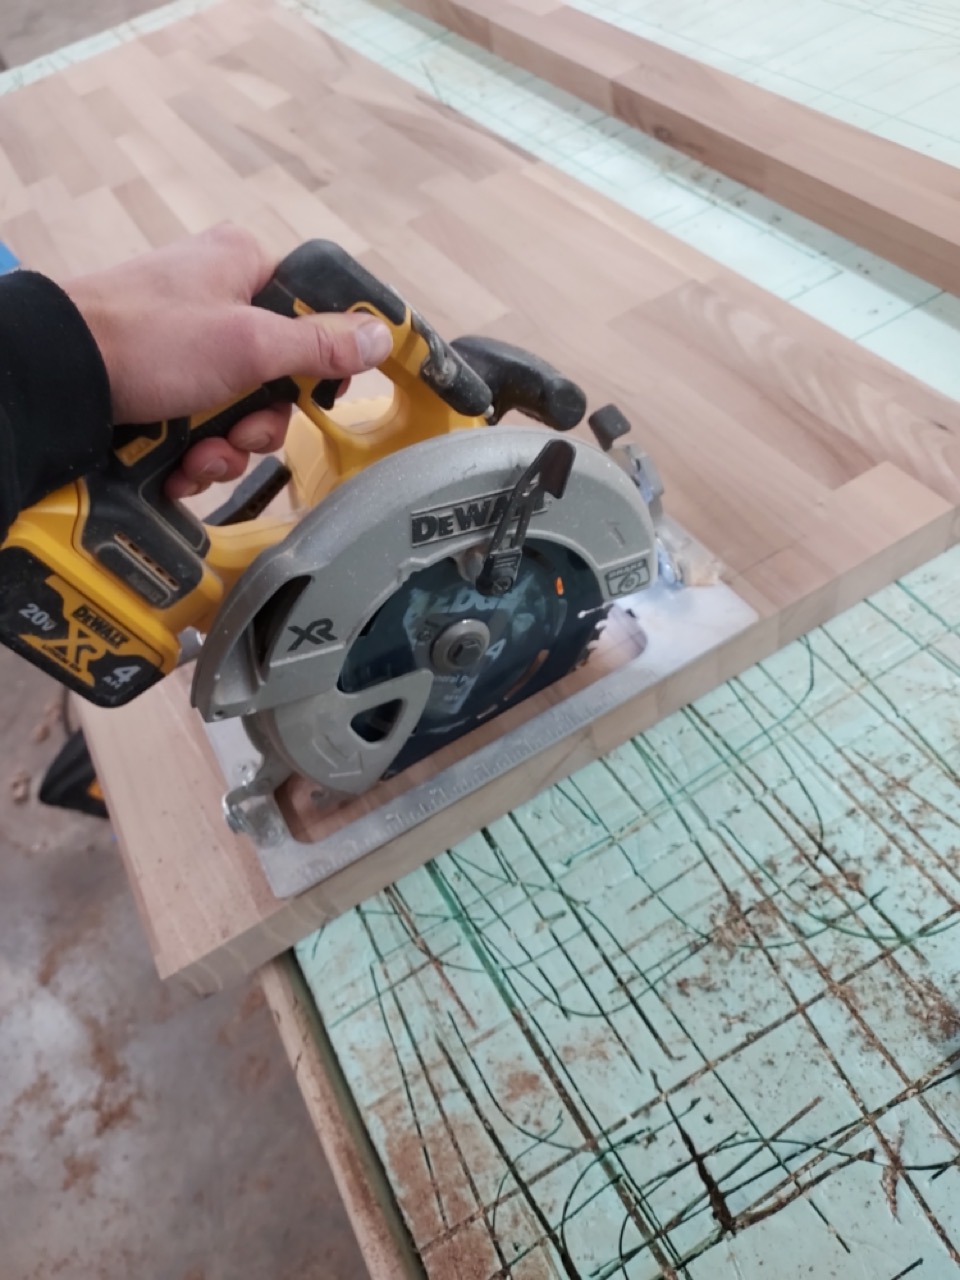
Cutting a Butcher Block WITHOUT a Track Saw
Start by marking your cuts as accurately as possible on each end of the board. Do this with a sharp pencil for better accuracy. Then set you circular saws blade to that cut mark. With the blade touching the mark, slide a straight edge up so that it is flush to the edge of the shoe (the flat plate on the saw). Clamp the straight edge at that spot. Measure the distance from the cut mark to the straight edge and mirror that on the other end of the countertop so that your straight edge sits paralell to your cut marks. The straight edge will act like a guide for your saw as the shoe will slide against it as you cut, creating a perfectly straight cut. There are more detailed videos about this meathod on Youtube if you need further explanation.
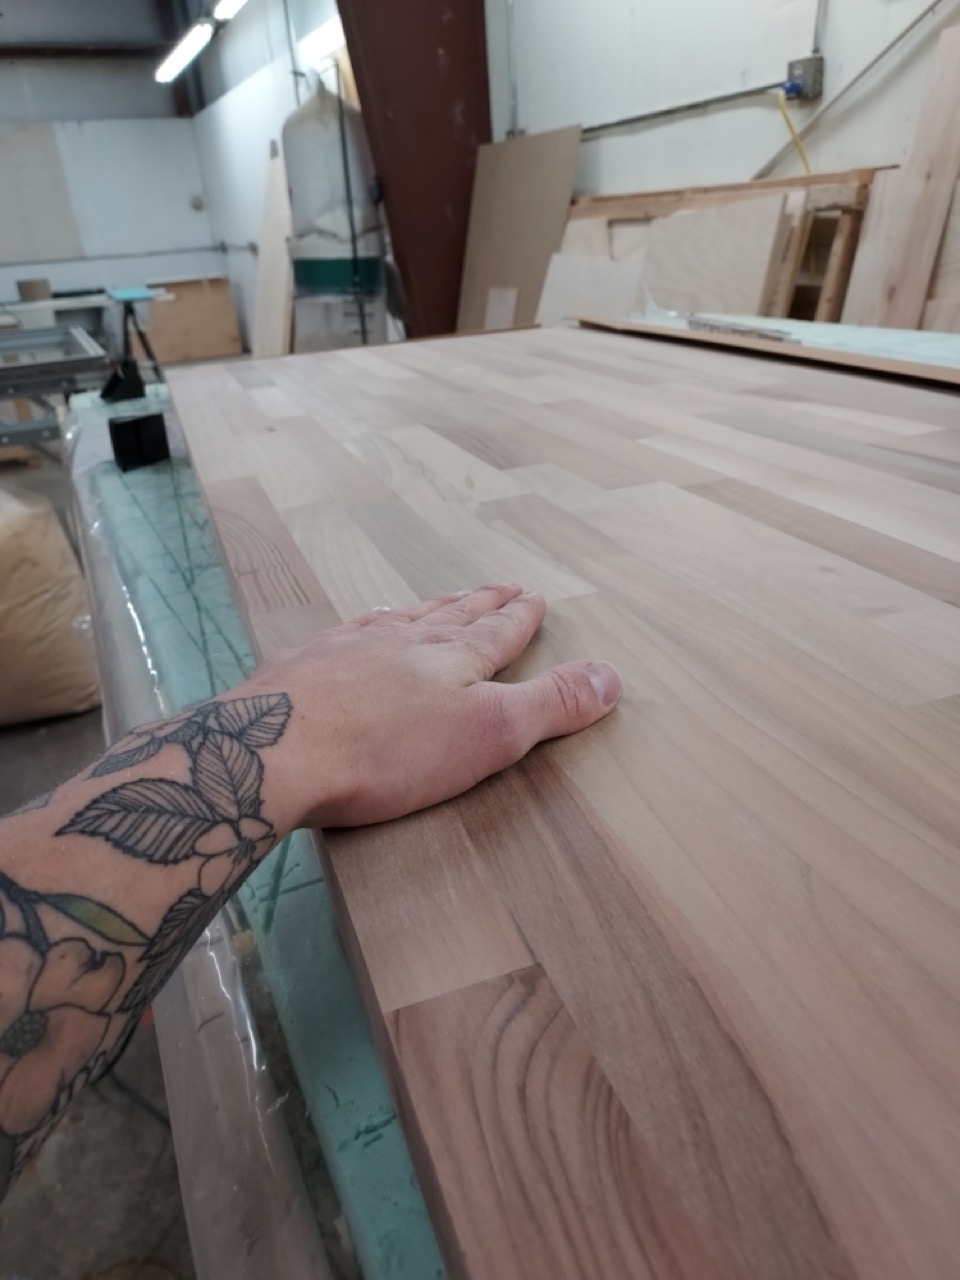
Test fit your counter top to make sure that it fits your counter before moving on. Don’t fasten anything just yet.
Test fit your block before the next step
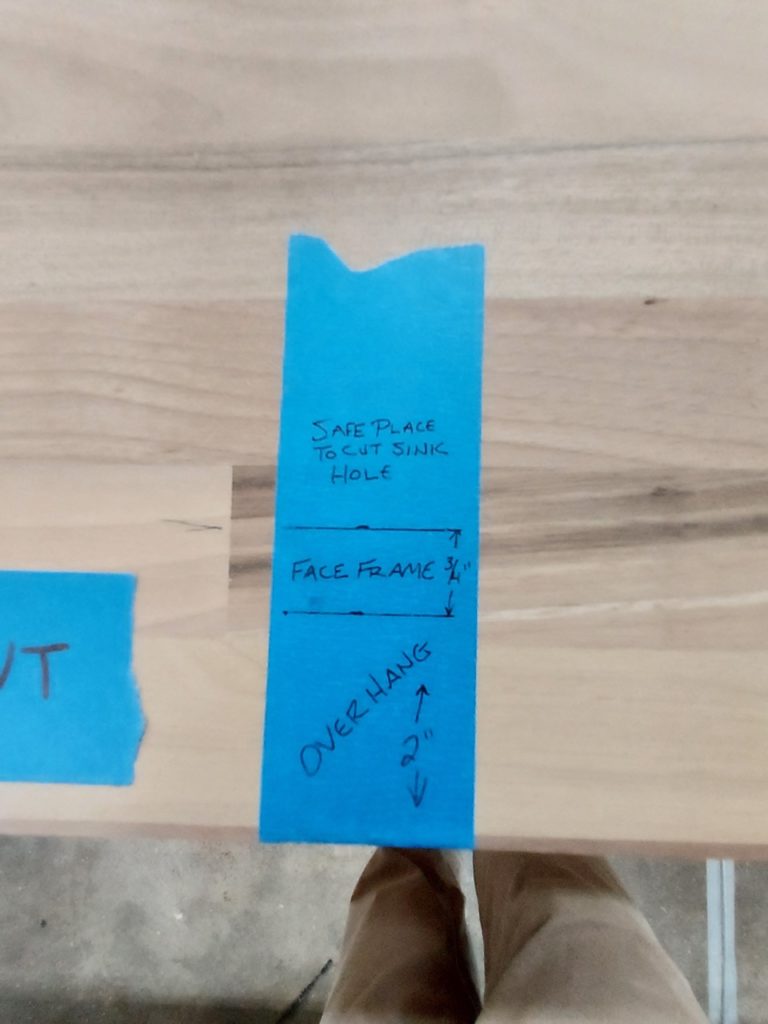
Step 5: Marking & Cutting Your Sink Cutout
With your countertop on your cabinet, locate where you’d like for your sink to be. Keep in mind that the sink will need to be set off the front far enough to clear the face frame of the cabinet.
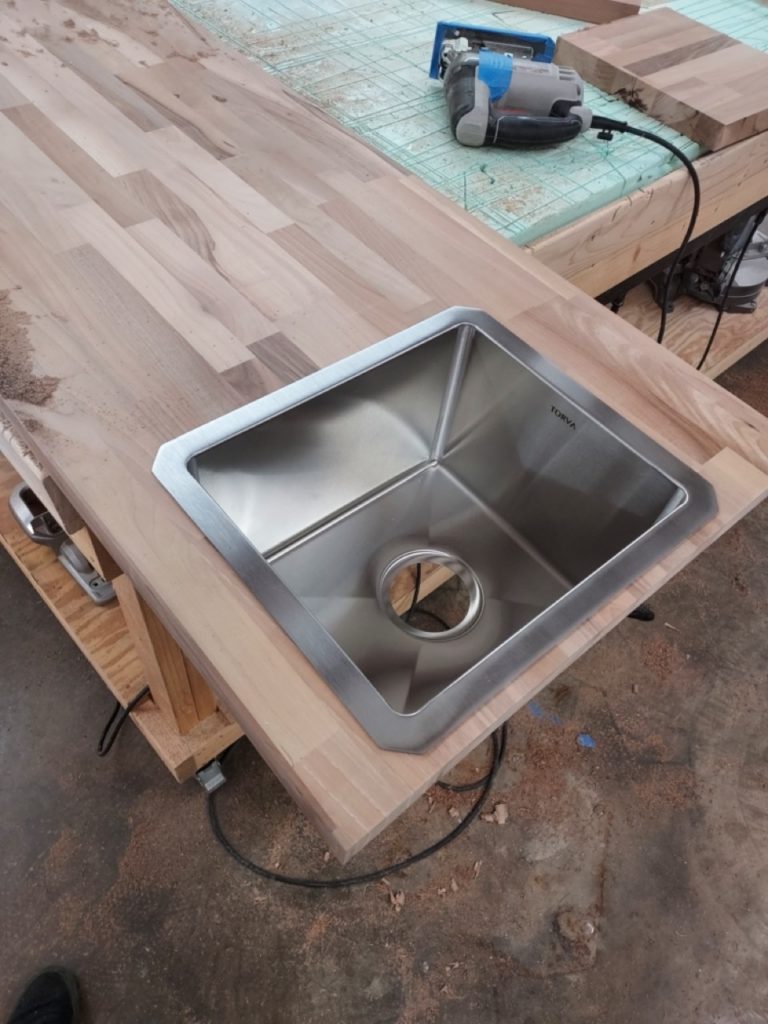
Take your countertop out and set it on a set of saw horses or cut table. The sink we are using is a drop in, which is the easiest type of sink to install. Under-mounted sinks require a few extra steps but I wont cover that here. Our sink came with a cutout template which makes it easy to mark the cutout. If your sink doesn’t have this, add ¼” to the length and width dimension to allow a bit of wiggle room.
Once your hole is marked, you can then cut it out with a jig saw. Drill a hole in each corner with a ½” drill bit to give your blade a place to begin cutting. If you are comfortable doing it, use a circular saw to plunge cut down on your line. Please be careful doing this. I don’t recommend for a novice to try this but if your have experience doing this type of thing, knock yourself out.
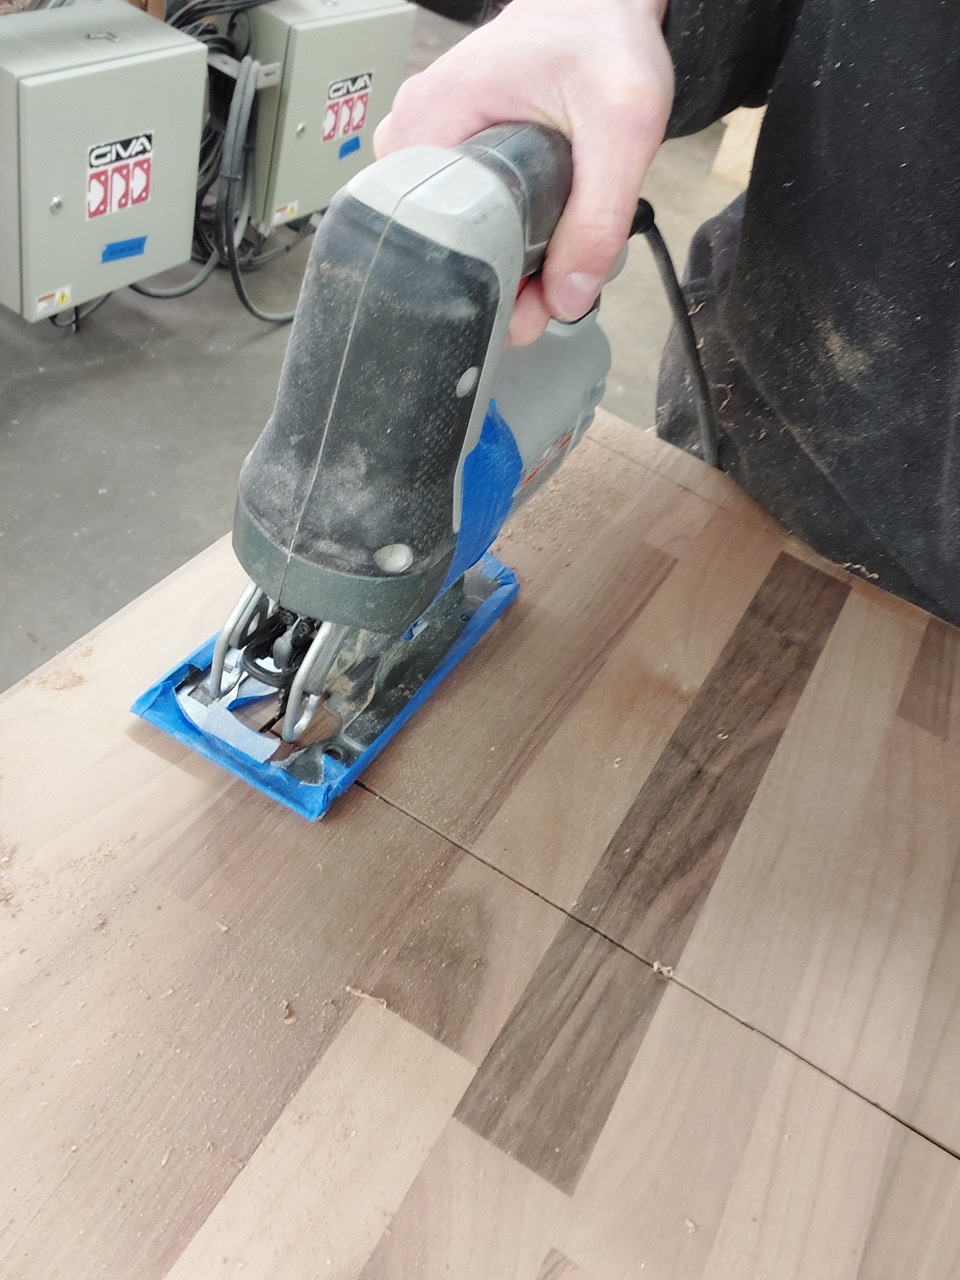
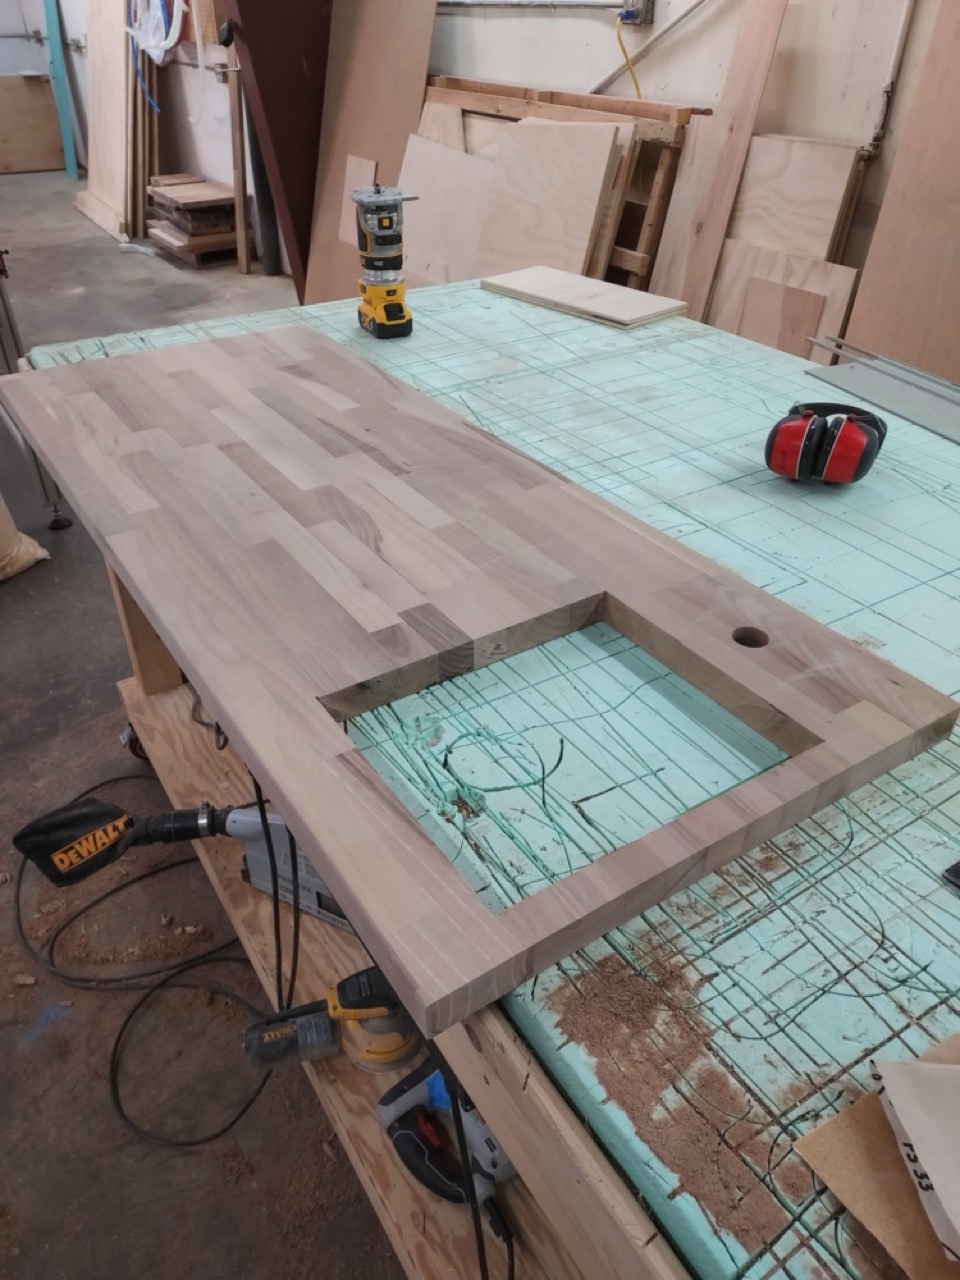
Once your sink hole is cut, clean the edges of the hole with 150 sand paper and test fit your sink.
Step 6: Marking & Drilling Your Faucet Hole
With the sink in place, its time to mark and drill the hole for your faucet. On your countertop, mark left to right center of your sink on the back side of the counter where your faucet will go. For the front to back placement of your faucet, I like to center my hole about 2” off of the back of the sinks lip.

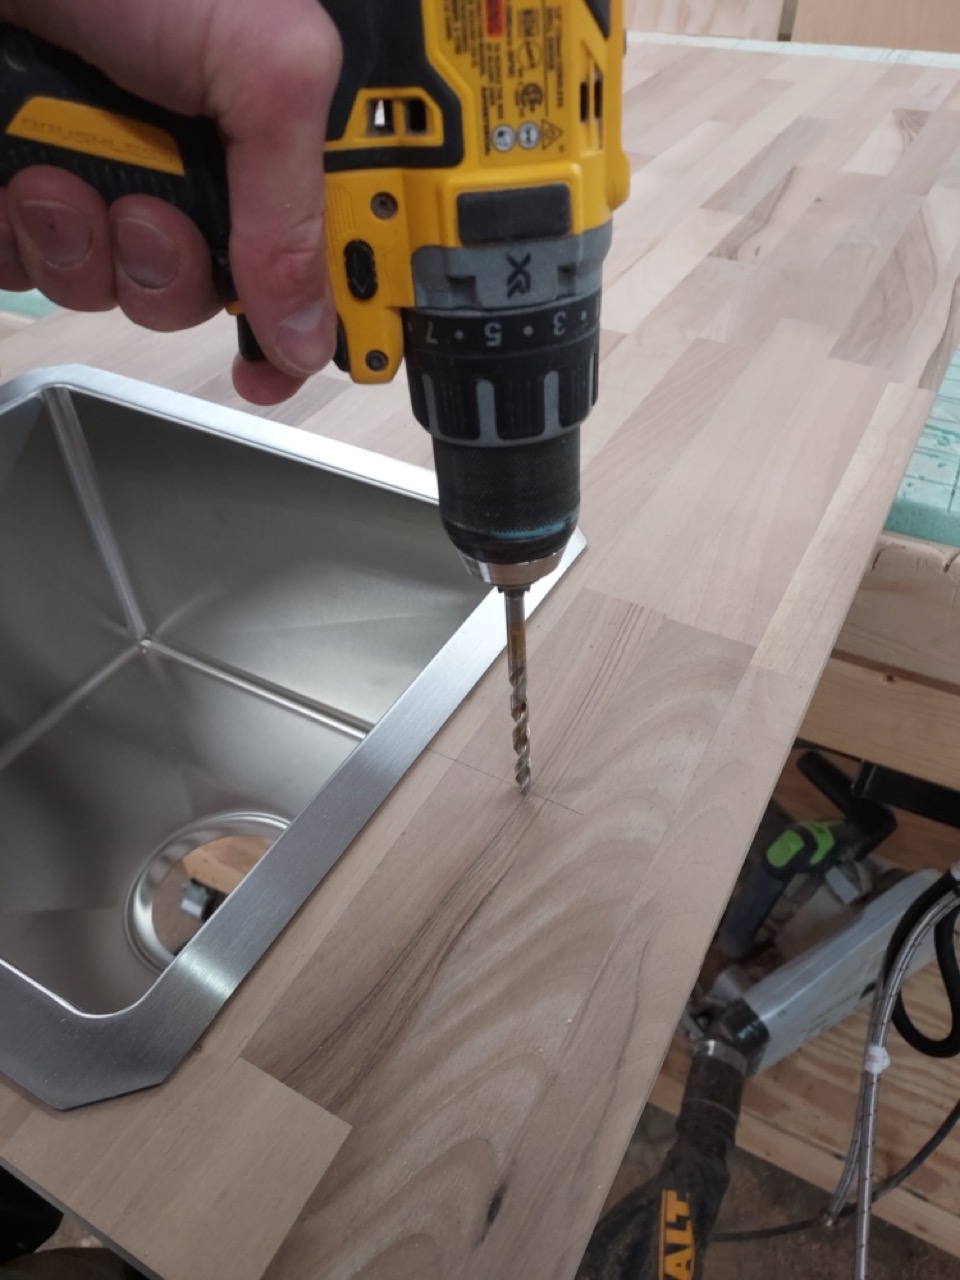
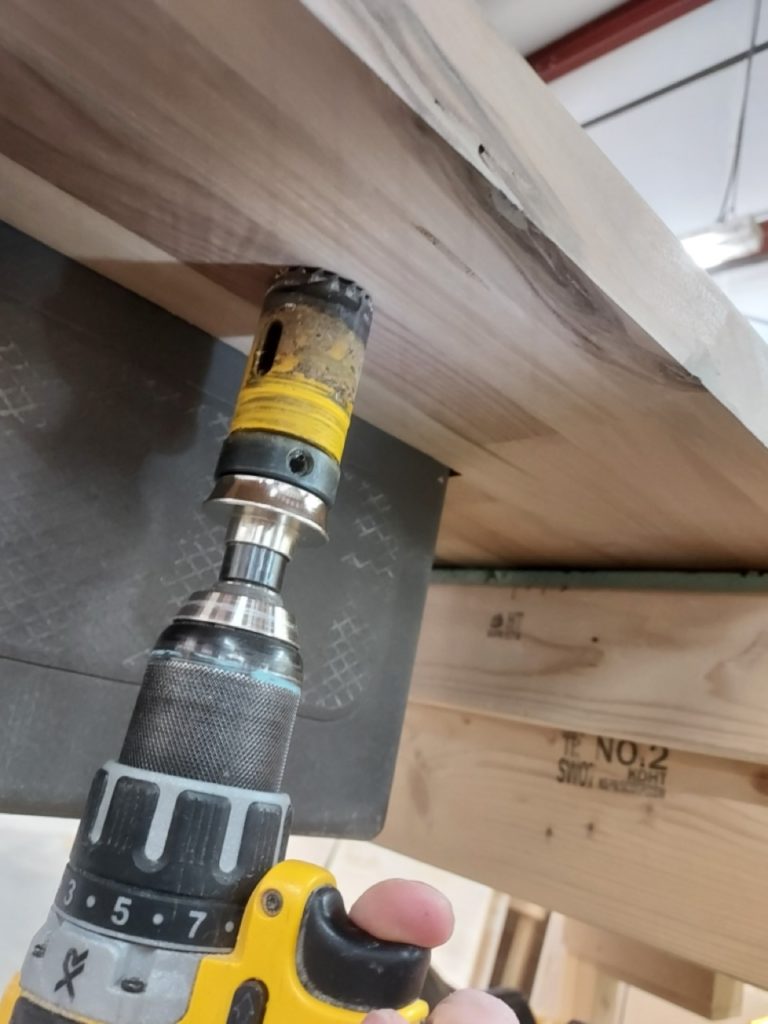
Once your faucet hole’s center is marked, use a ¼” drill bit to drill a centered hole for your faucet. Find a hole saw that is big enough for your faucets mounting base to pass through. When cutting holes with a hole saw, I like to drill about 80% down from the top, then drill the rest of the way from the bottom. This is to prevent excessive tear out that hole saws can create.
Once the faucet hole is drilled, clean around the edges with 150 sand paper to clean off any tear out that may interfere with the faucet seating properly. Run your faucets hoses through the hole and secure the faucet with the threaded fastener that came with it.
Once the sink and faucet are fit, test fit the counter on your cabinet once more to ensure that everything fits properly.
Step 7: Sanding & Finishing Your Counter
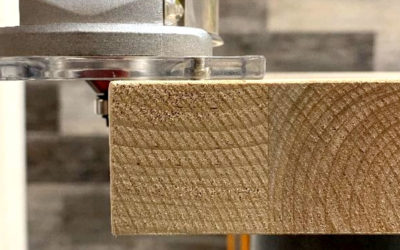
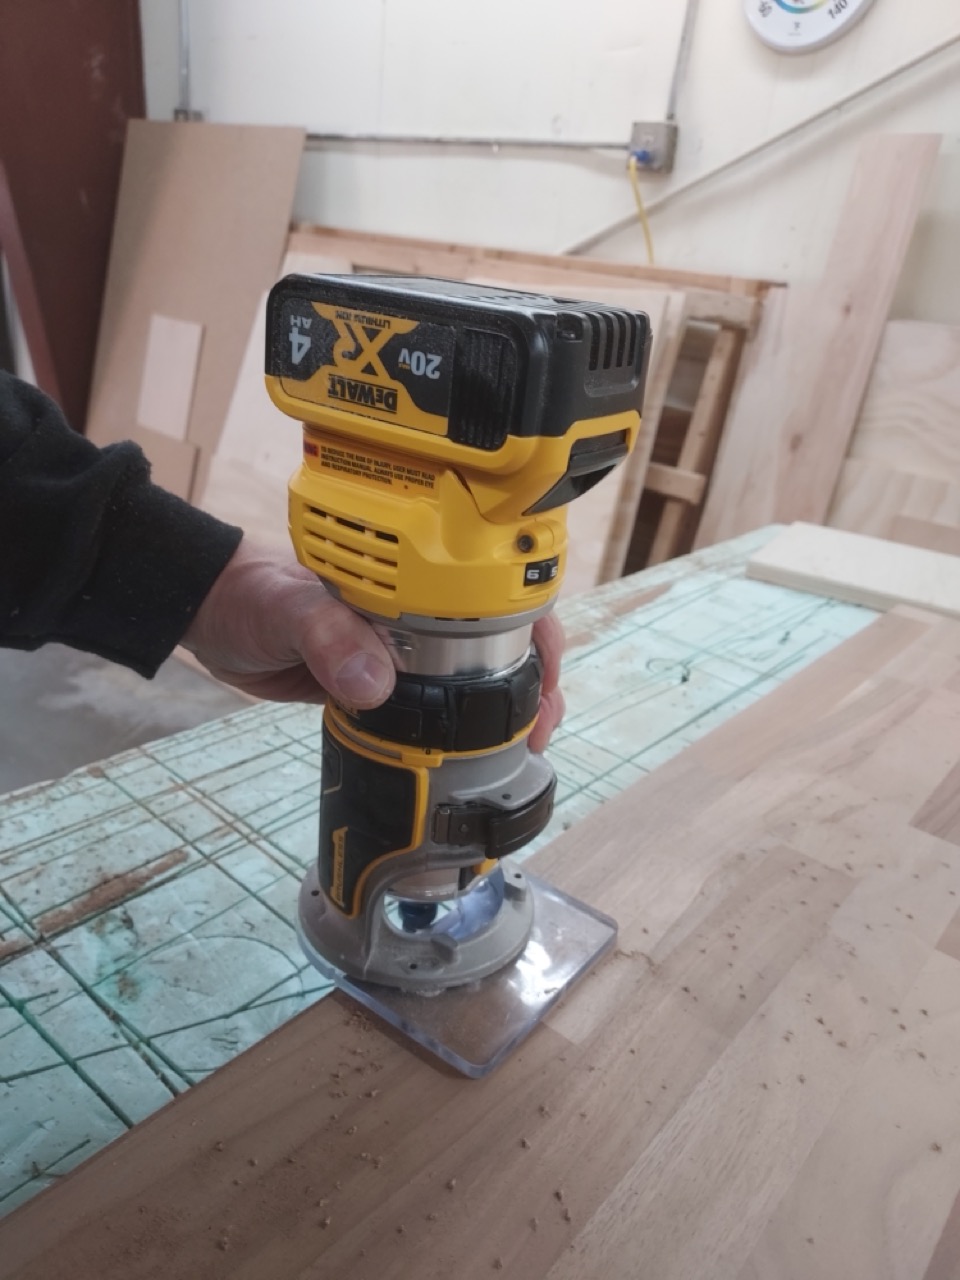
With your counter on sawhorses, remove the sink and faucet. Affix a 1/8” roundover bit into your router to soften the edges of the counter. I like to round over the top and bottom front edges, and any edge that is not butted up to something. If you do not have a router, several passes of 150 sand paper is enough to achieve similar results.
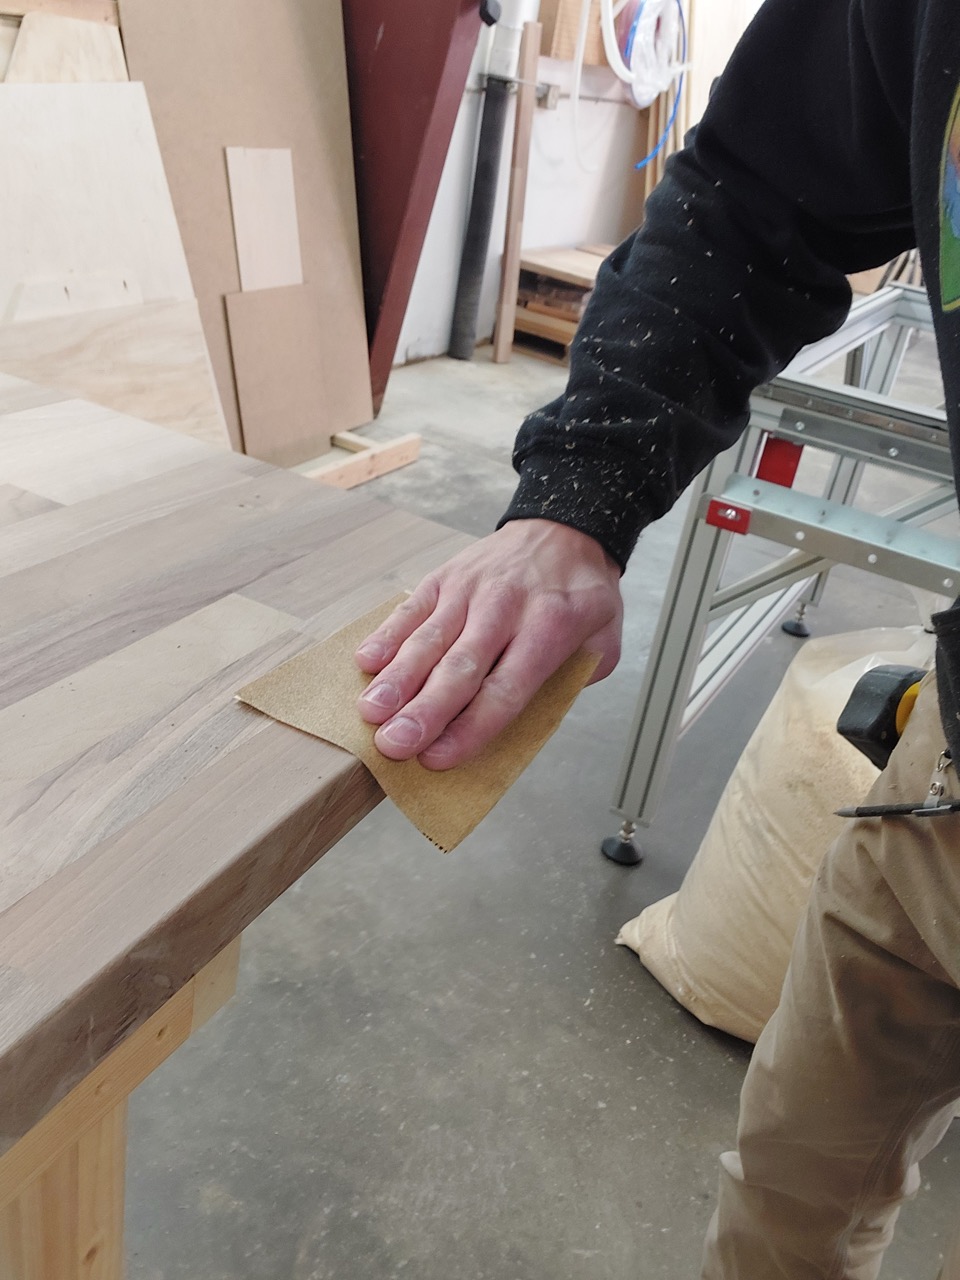
After a pass with the router, finish the roundover with 220 sandpaper. I also like to give all the edges a once over with 220 sandpaper just to clean them up and make them less sharp.
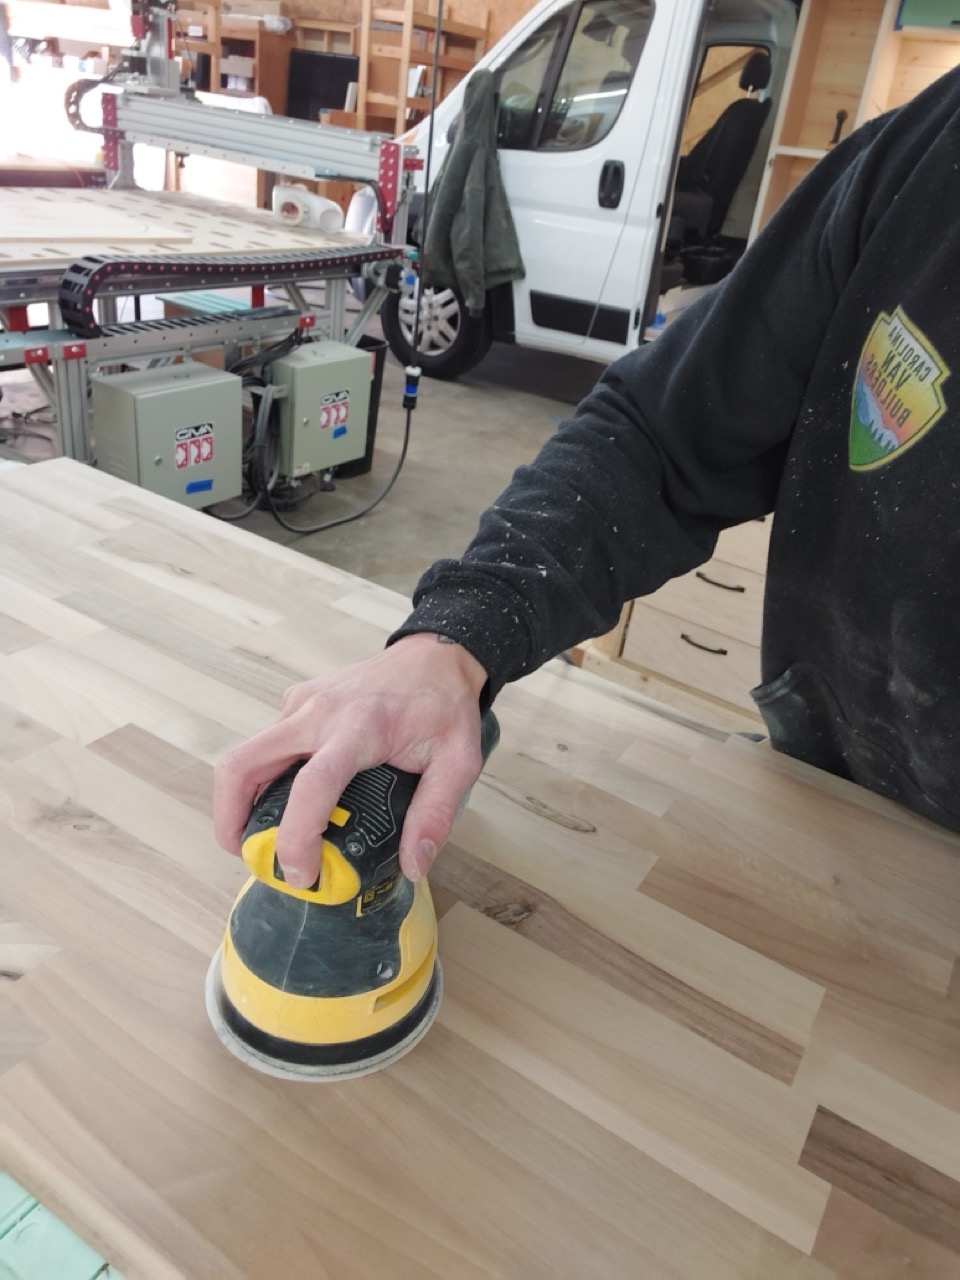
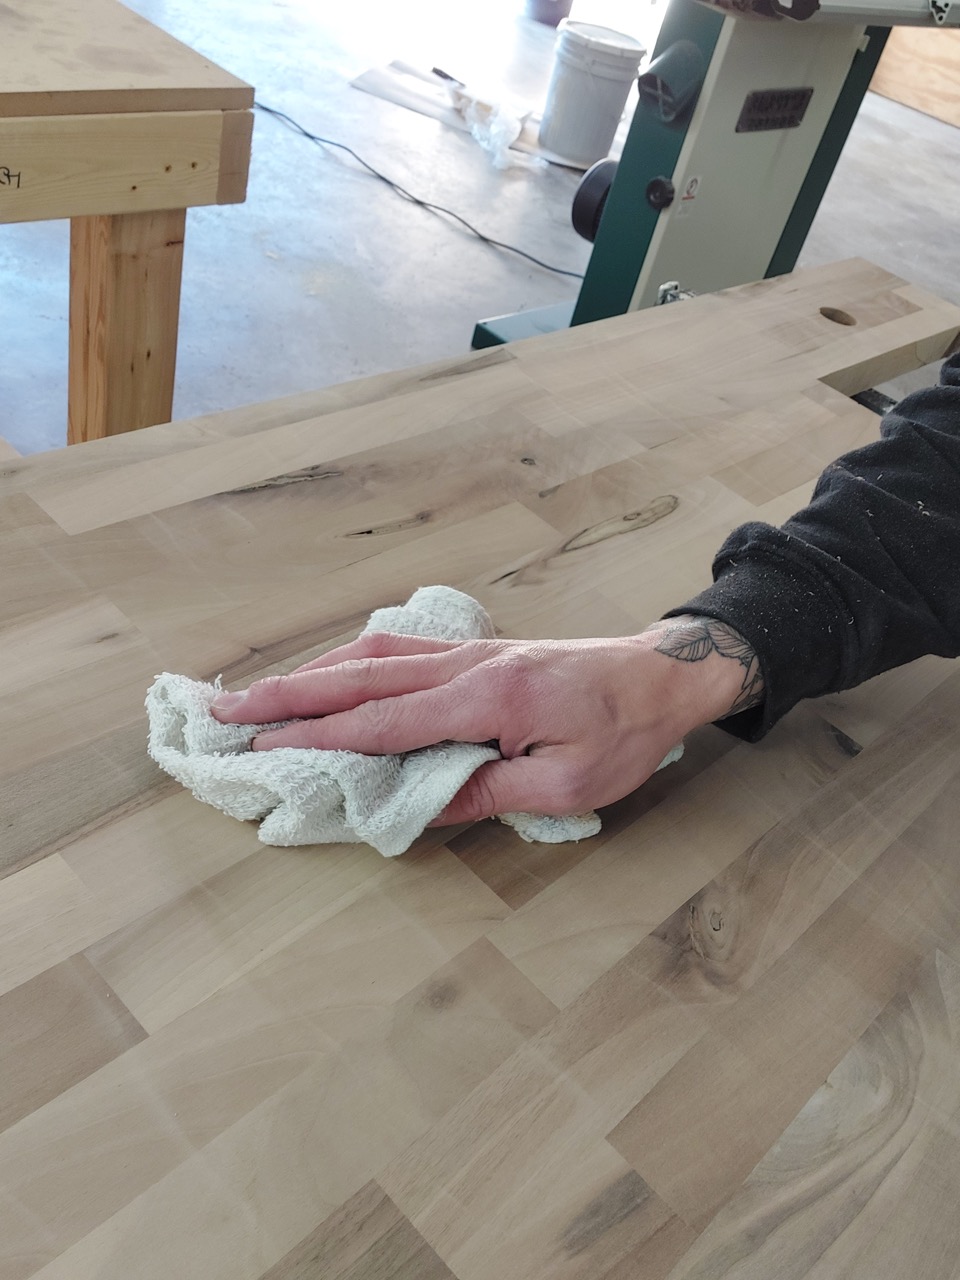
With 120 grit on your orbital sander, sand the entire counter. Be sure to move slowly or else sanding swirls can develop, but not too slowly. Sanding the counter in the picture above will only take a few minutes. Once you’ve sanded with 120, repeat the process with 220 sandpaper on your orbital. Wipe your counter down with a lent free rag or tack cloth to remove any sanding dust.
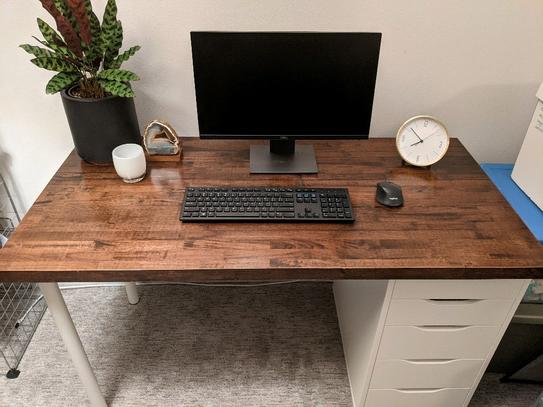
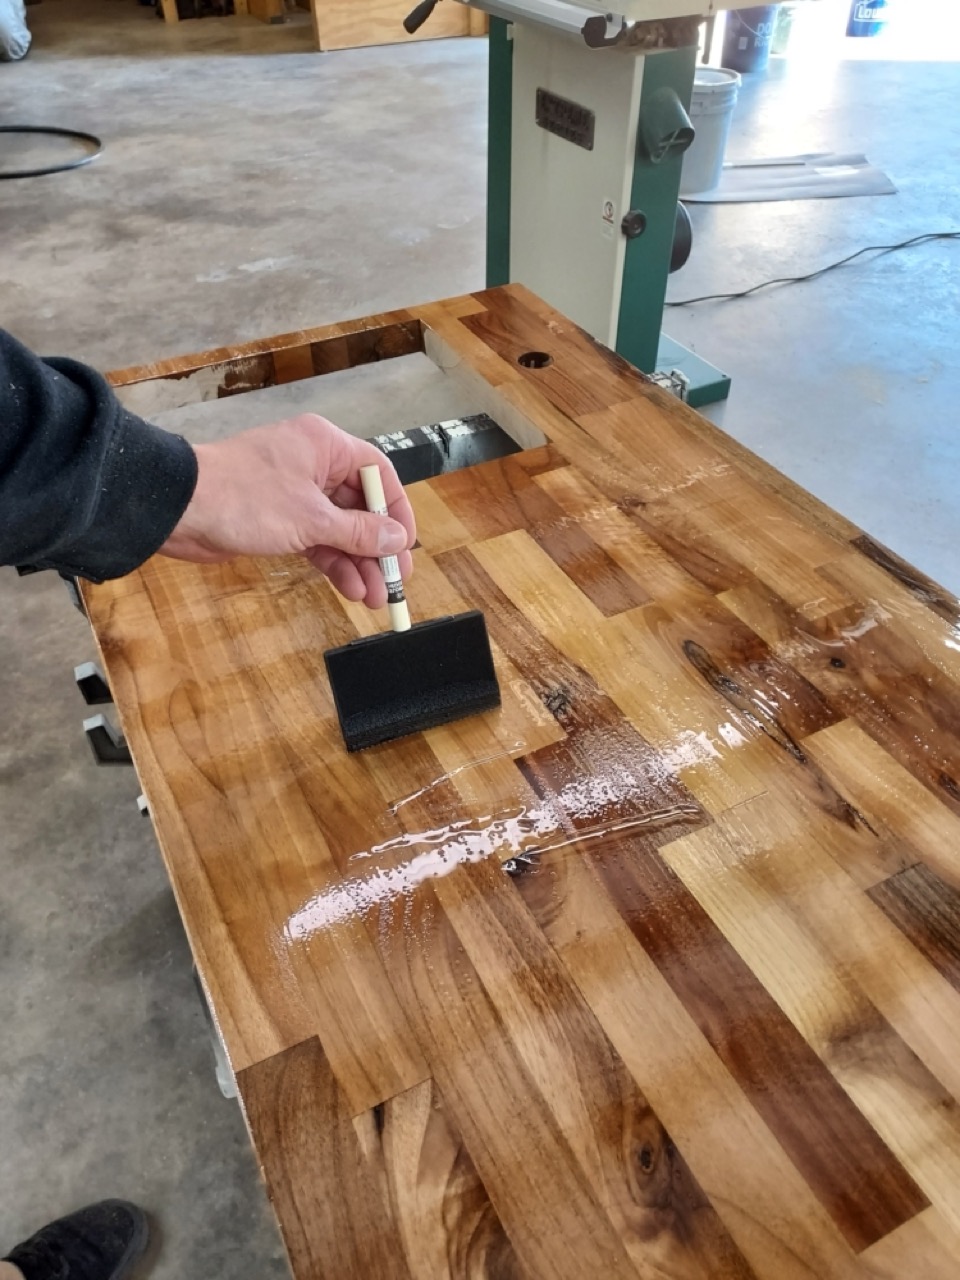
You are now ready to apply your finish! I like to use Watco Butcher Block Oil and Finish applied with a foam brush. 3 or 4 coats on the top and 2 on the bottom is usually sufficient. Unfinished wood is thirsty so I like to apply my first coat a bit heavier than the rest. I find that pouring the finish onto the counter and spreading it with the brush is the most efficient way to do this.
All sides of the counter need to be coated so that the counter doesn’t warp or cup. I like to start with sealing the bottom. Place the counter on saw horses with bottom facing up. Pour a few ounces onto the surface and spread it around evenly with your brush.
Once the first coat on the bottom of the counter is dry, apply a second coat. Sanding between coats isn’t necessary on the bottom since it will not be seen.
When the second coat on the bottom of the counter is totally dry (I like to leave it overnight), flip the counter over so the top of counter is facing up. You may notice that some of the sealant has dripped down the sides, this is normal. Sand the drips off, you will apply sealant to the sides while finishing the top.
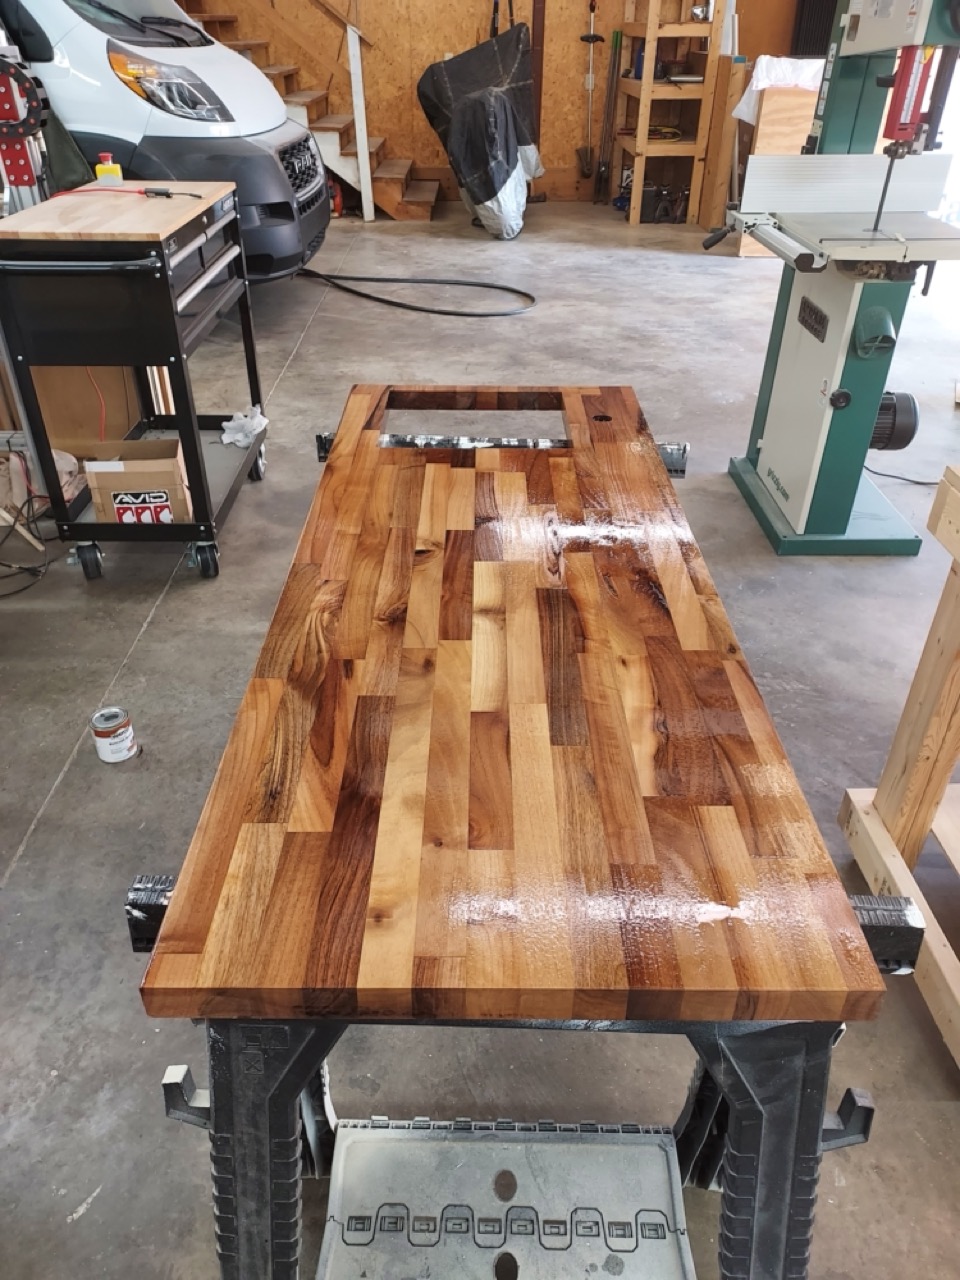
Repeat the process of pouring a few ounces of sealant onto the top of the counter and spreading it around with your foam brush. Since appearances matter on the top, take long brush strokes in the same direction as the grain of the wood. Coat all the sides of your counter as well as the inside of the sink cut out. Manage any drips by carefully wiping them away with the foam brush.
Once the first coat is totally dry, take 220 grit sand paper and sand the surface smooth. Be sure to sand in the direction of the grain and to not sand through your finish! It shouldn’t take a lot of sanding if you were careful with your brushstrokes while applying. Wipe away any sanding dust with a lent free cloth or tack cloth.
Apply your second coat the same way you applied the first, but this time pour a bit less onto your countertop than you did for your first coat. The wood is sealed and will not absorb the sealant like it did on the first coat, so it will take less to cover the same area.
Rinse and repeat the sanding process and apply your third coat like you did your second, being very careful with your brushstrokes. Allow to dry for 24 hours. Congratulations! You have successfully sealed your countertop.
Step 8: Installing Counter
Now that the hard part is over, it’s time to install your counter. You know it will fit perfectly since you already fit it into place.
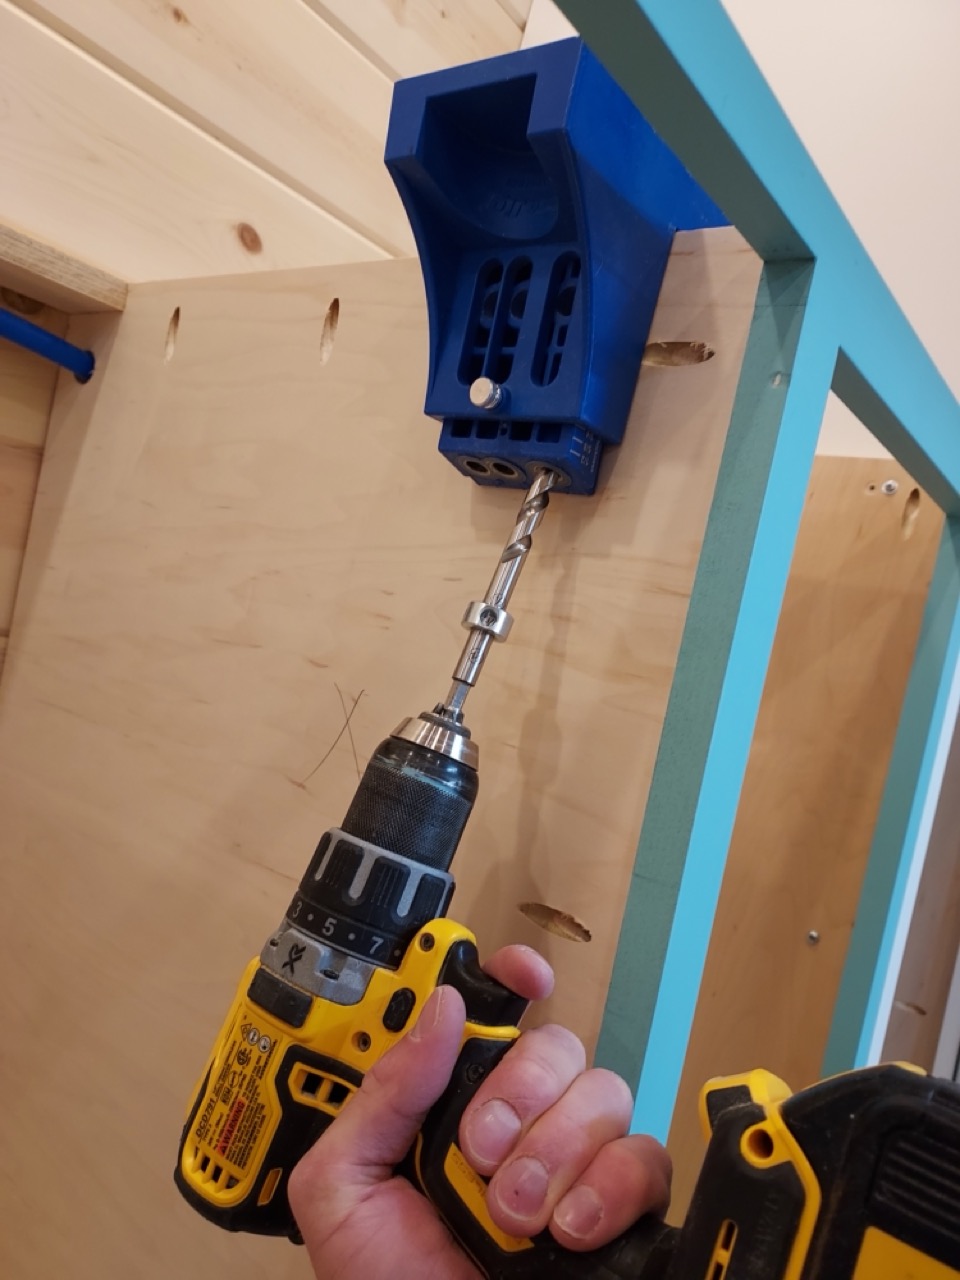
I mount my counters with pocket screws; it’s the easiest way to do it in my opinion. If you haven’t already, drill several pocket holes in your cabinets sides and uprights.
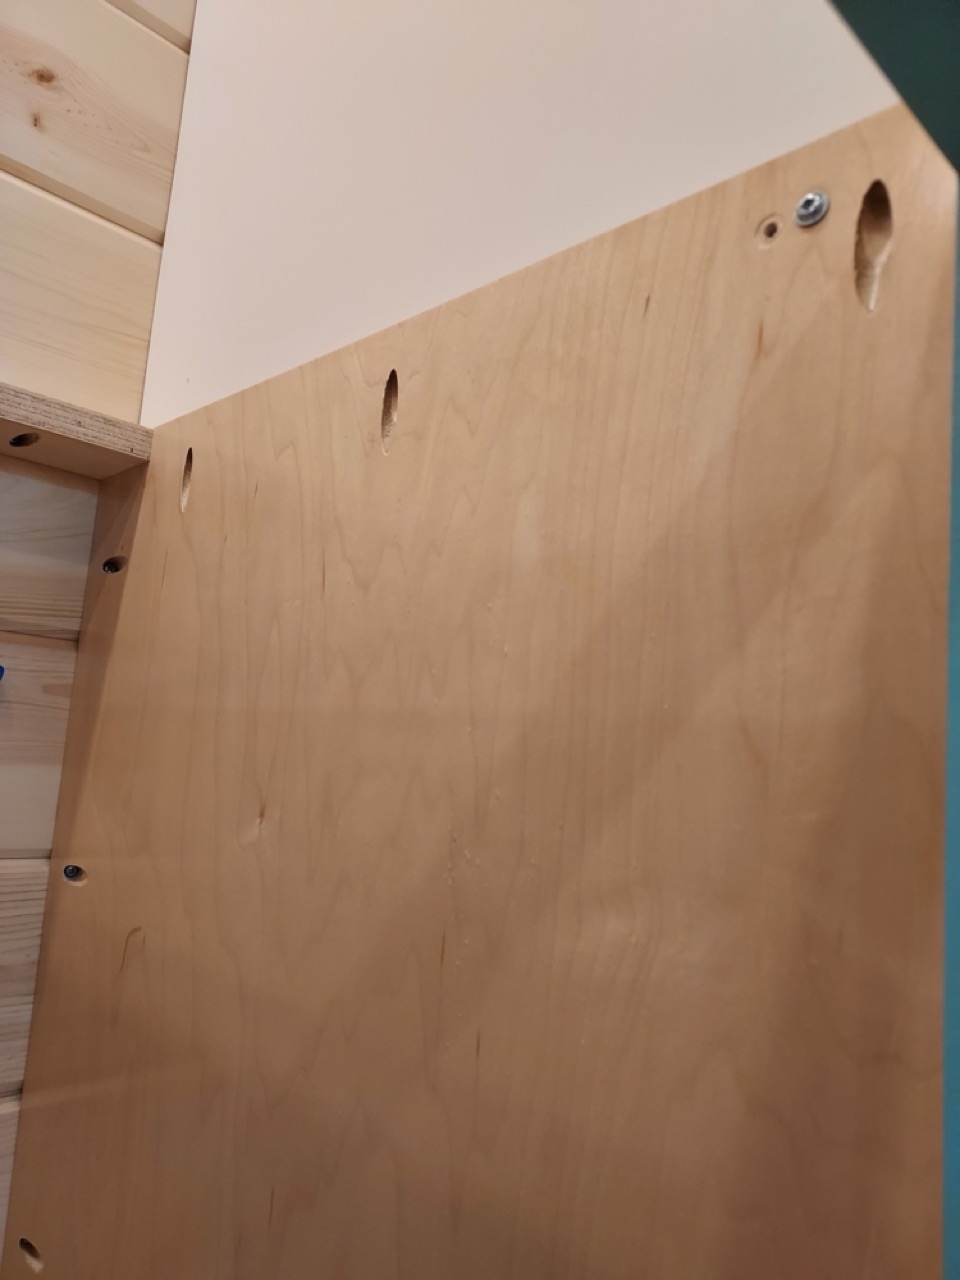
Set your counter on the cabinet box and double check its fit. When securing with pocket screws, it helps to have a second person apply pressure to the top of the counter to keep it from shifting while your are installing screws.
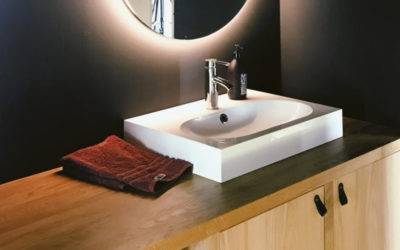
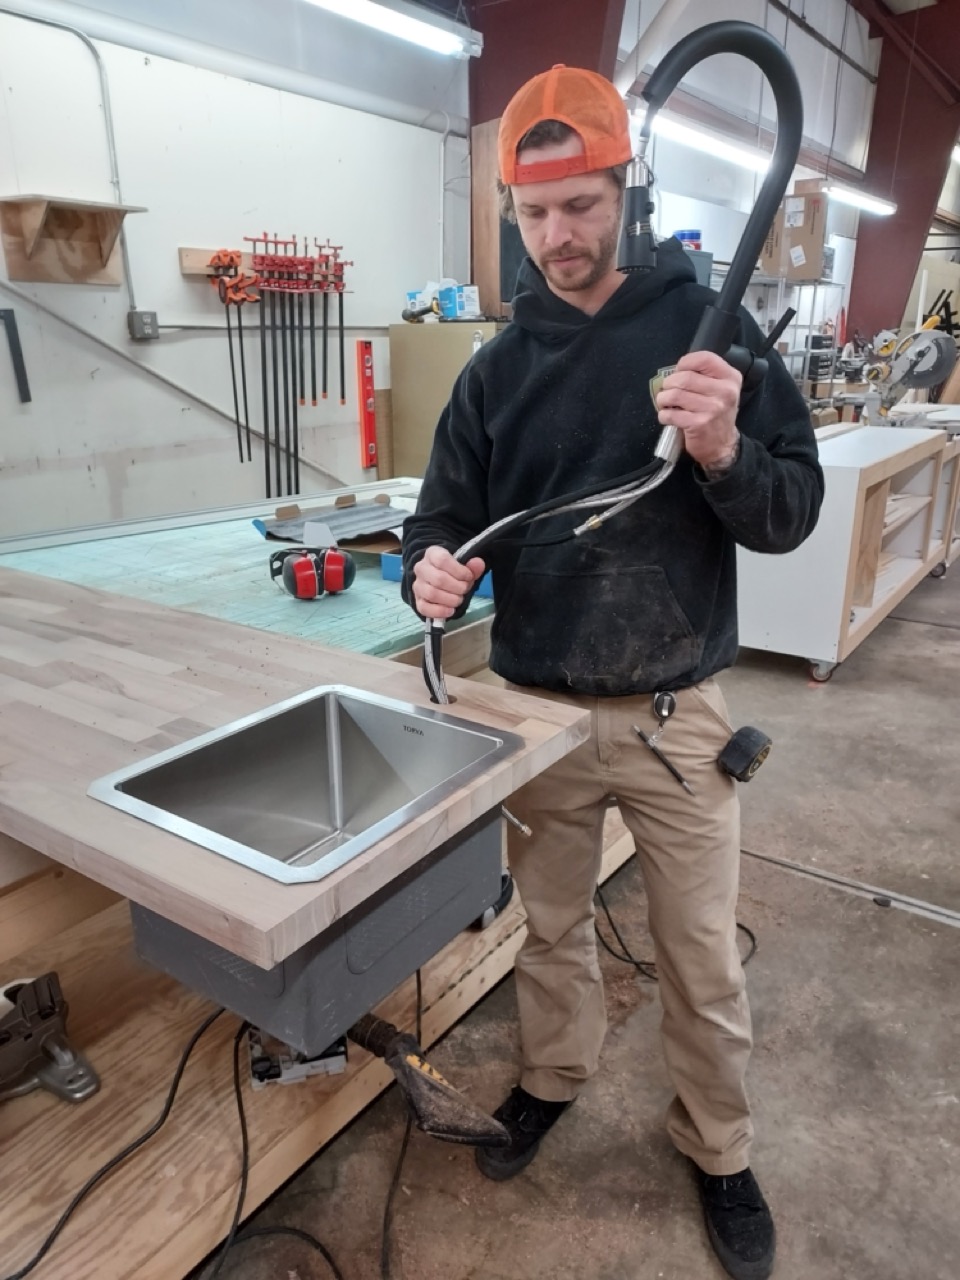
Step 9: Installing the Sink & Faucet
The last thing to do (and probably the easiest) is to install your sink and faucet. As mentioned earlier, we are using a drop in sink in this van which is easier to install that an under-mount.
Install your faucet first since it is pretty much impossible to reach once your sink is in. Pass the water lines through the hole and screw on the threaded nut that comes with it. Snug it up and check that the faucet is straight, then tighten fully.
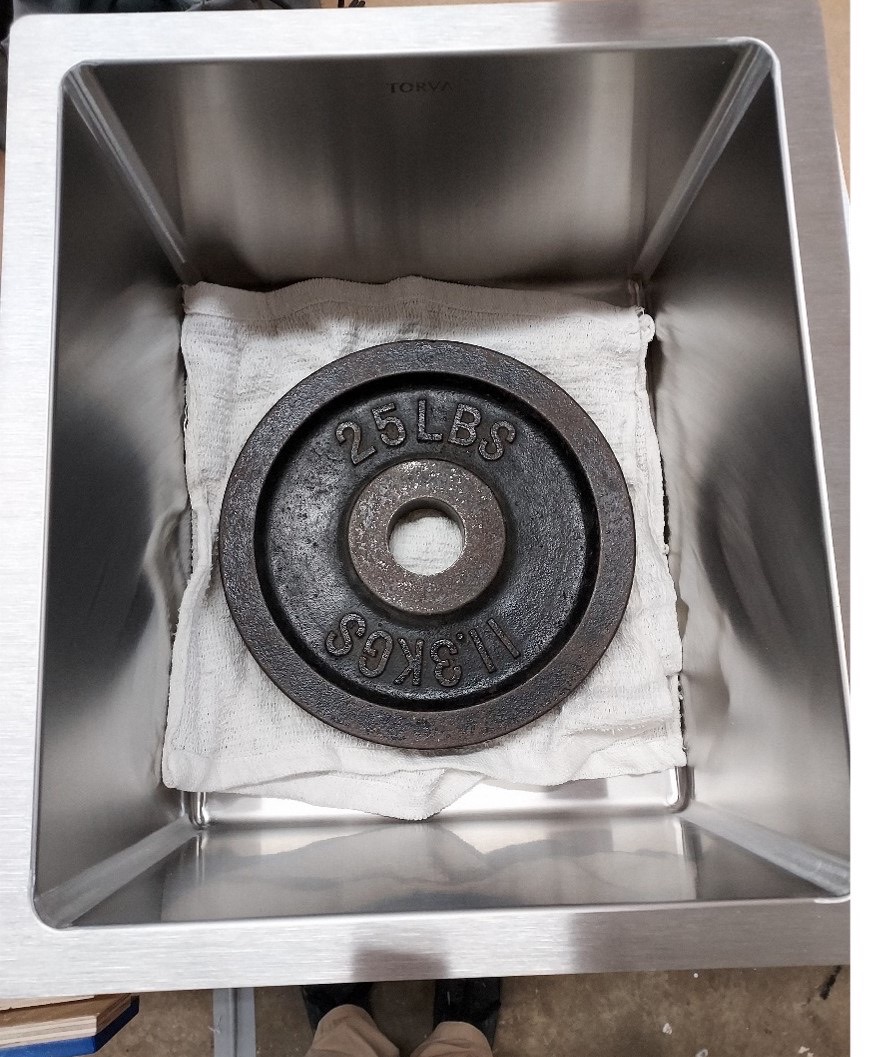
To install the sink, take your construction adhesive and apply a continuous thin bead to the entire perimeter of your sink cutout. Take care to not apply too much or it will squeeze out once the sink is in place. Carefully drop the sink in. Put a towel or a couple of rags into the bottom of the sink and place a weight, bricks, heavy rock, phone books, or anything heavy onto the towel to help seat the sink. I like to have about 20 lbs. in the sink and allow it to sit for several hours till the adhesive is set.
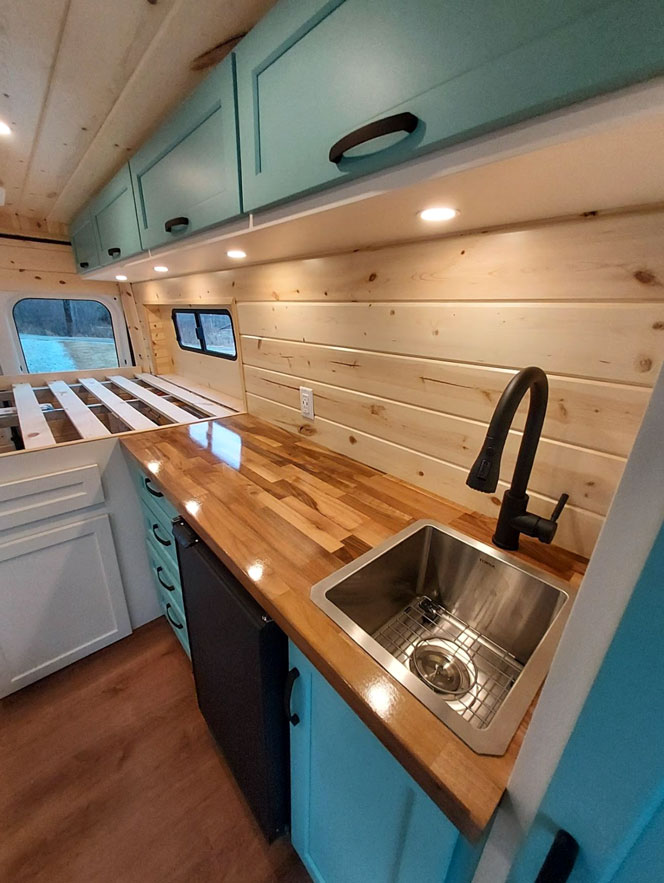
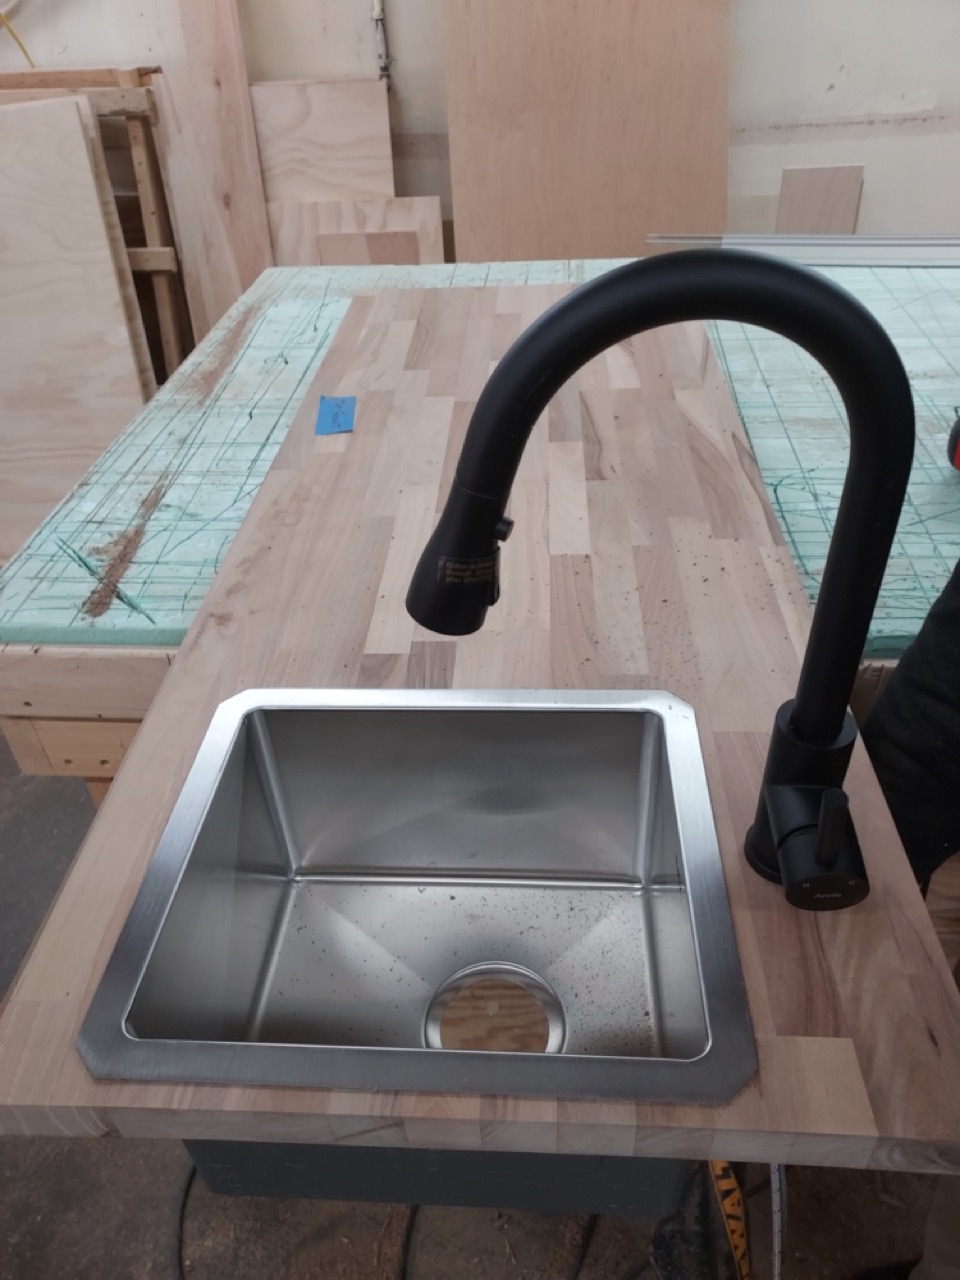
Step 10: Admire Your Work!
Congratulations! You have successfully installed a beautiful butcherblock countertop! Take some pictures to show to your friends and crack a cold one to celebrate!