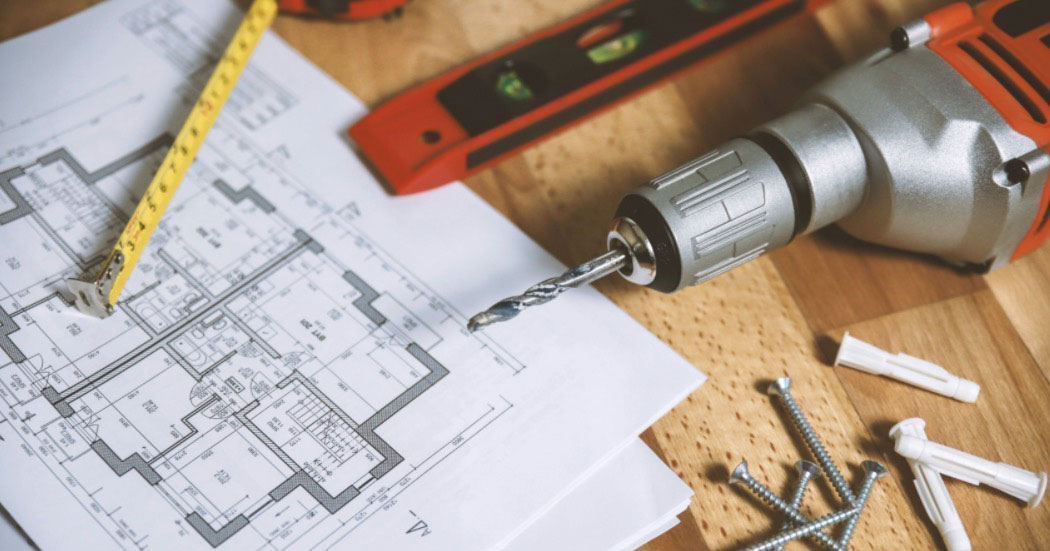
Photo by JESHOOTS.com from Pexels
There’s a reason that the kitchen is often referred to as the heart of your home. As one of the hardest-working and most heavily-trafficked rooms, a remodel can seem like a wonderful and downright intimidating idea.
If you’re looking to remodel or update your kitchen, your confidence as a DIYer shouldn’t get in the way of transforming your kitchen into an attractive, functional space that will work with your lifestyle for years to come. From substantial changes such as updating cabinets and countertops or adding a kitchen island to simple updates such as refreshing the paint, switching out your lighting fixtures, or revamping your backsplash, the right upgrades can really enhance your existing setup.
The renovation professionals from Home Depot recommend “investing 5-15% of your home’s current market value on a complete kitchen remodel (products and installation). Factor in 1/3 of the budget for cabinets, 1/3 for countertops, sinks, faucets and appliances and 1/3 for installation of the project.”
Even if you’re feeling ready to tackle your kitchen renovation, it’s easy to see why kitchen projects can get held up and deferred for so long. Remodeling can be overwhelming. Decision fatigue can quickly set in, leaving you feeling unable to picture the end result.
With other major purchases, such as a car or a house, what you see is what you get. But when it comes to a remodeling project, the final vision can’t be truly seen until everything has been installed in your home.
With that in mind, we want to share our tried-and-true kitchen remodeling tips so you can tackle your next kitchen upgrade with confidence.
Identify Your Project Goals
Before you pull out the paint swatches and start perusing through Pinterest, it’s important to determine your needs and how those translate into concrete, attainable goals for your project.
- Some of your goals may resemble one or more of the following:
- More countertop space and/or accessible storage units
- An increase in resale value if you’re looking to sell within the next few years
- An open layout to make the space brighter
- A sleek, modern-looking kitchen
- Fun updates such as a wine or coffee bar
- Updated appliances
- New countertops, cabinet color, backsplash, or tile flooring

Photo by LinkedIn Sales Navigator from Pexels
Planning the Smartest Layout (That Won’t Have You Changing Your Mind When It’s Too Late)
Experts agree that it’s important to establish the appliance situation before doing anything else.
Appliances come in a variety of sizes and saving those decisions until later in the project can lead to a massive headache. If one of your appliances can’t fit into its designated spaces, trying to notch it in after the fact is like playing a very frustrating game of Tetris.
Designing a layout for your kitchen remodel doesn’t have to only exist on a piece of scratch paper if you’re looking to DIY it. There are tons of tools available to help you determine what you’re looking for before your project begins.
Try downloading the Houzz Interior Design Ideas app. Available on both iOS and Android, the app is full of photos and ideas for your home remodeling project and you can even save your favorite photos to one of your “Idea Books”. The app also gives you the opportunity to connect with other DIYers by asking questions and gathering recommendations for appliances, decor, and more.
Home Depot® is also a great place to go if you’re looking to master the blueprint stage. If you bring your measurements to the store, they will draw out your kitchen for free. They’ll even drop in cabinet dimensions, provide recommendations for island height, and send you away with a blueprint that you can reference throughout your project.
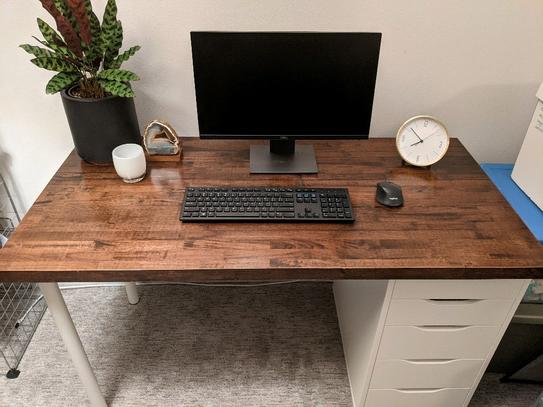
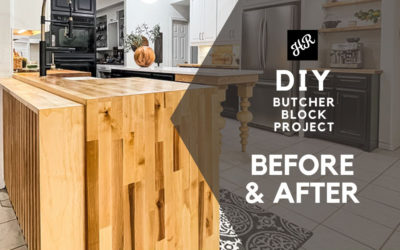
If you’re looking to install your own butcher block countertops, feel free to read through our other blog posts to find everything you need to know about installation, maintenance, and design ideas.
We always recommend purchasing an additional 12” in length to ensure that corners, cuts, and connections go smoothly when DIY-ing your countertops.
It’s also important to consider the following decisions when making your own butcher block countertops:
- Wood choice
- Wood color
- Finish style and type
- Grain direction
- Connections (straight vs. diagonal) for L-shaped kitchens
- Edge finish
- Backsplash
- Waterfall wood style
Cutting Costs Without Cutting Corners
One of the most reliable ways to cut down on expenses is to figure out how to do more with what you’ve already got.
Before taking the sledgehammer to any part of your existing kitchen, try this exercise:
- Empty every drawer and cabinet in your kitchen and revisit where you’ve been putting things. Is there a different way of organizing that makes more sense?
- Try thinking in zones and store items closest to where they’re often used.
- You may decide to just stick with painting the cabinets as a result. If you do want to go forward with a more intensive renovation, you’ll have a clearer idea of how you really use your kitchen which will help you save time and money on your project.
Confide in a Trustworthy Professional
It’s important to recognize the extent and the limits of your renovation skills. Painting cabinets, installing butcher block countertops, and rewiring your entire kitchen all require vastly different skill sets.
Visiting your local Home Depot store can be a great way to determine the extent of your home renovation project. Home Depot offers in-home measure appointments and consultations where a trusted professional will come to your home to measure your kitchen and help determine the costs and workload of your project.
A kitchen remodeling project is one of the most exciting and demanding projects to complete within your home. It’s important to feel confident in your ability to create the kitchen of your dreams every step of the way.

