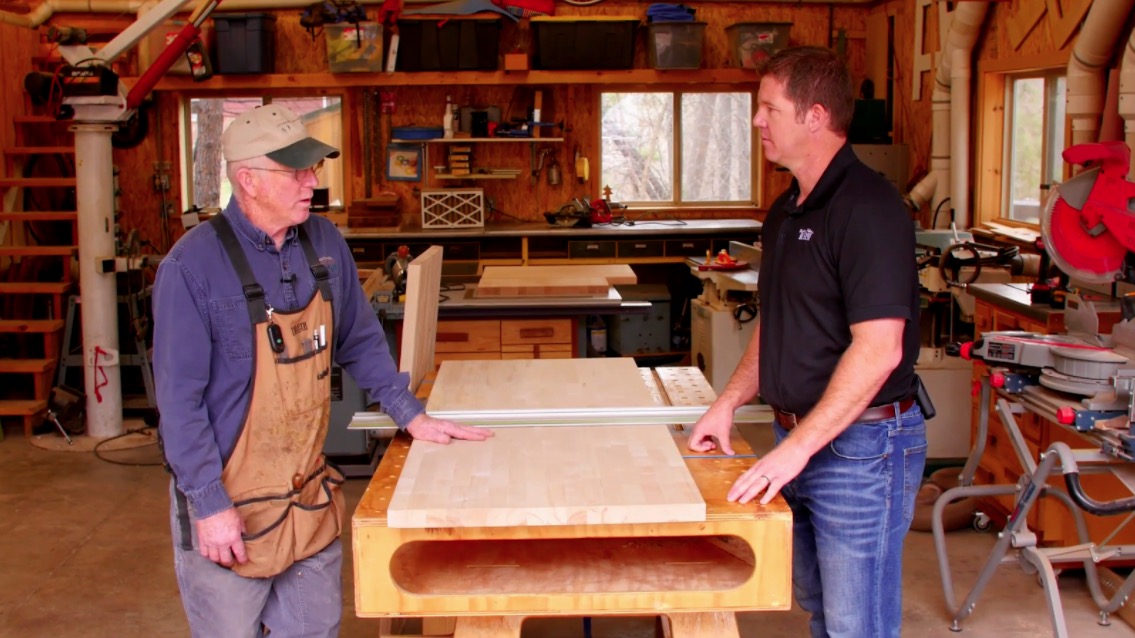
If you’re looking to assemble a long countertop or bar top from multiple pieces of butcher block, it’s important to properly adjoin the two pieces to prevent any uneven edges. Follow the steps below to ensure that your Hardwood Reflections butcher block is beautifully connected every time:

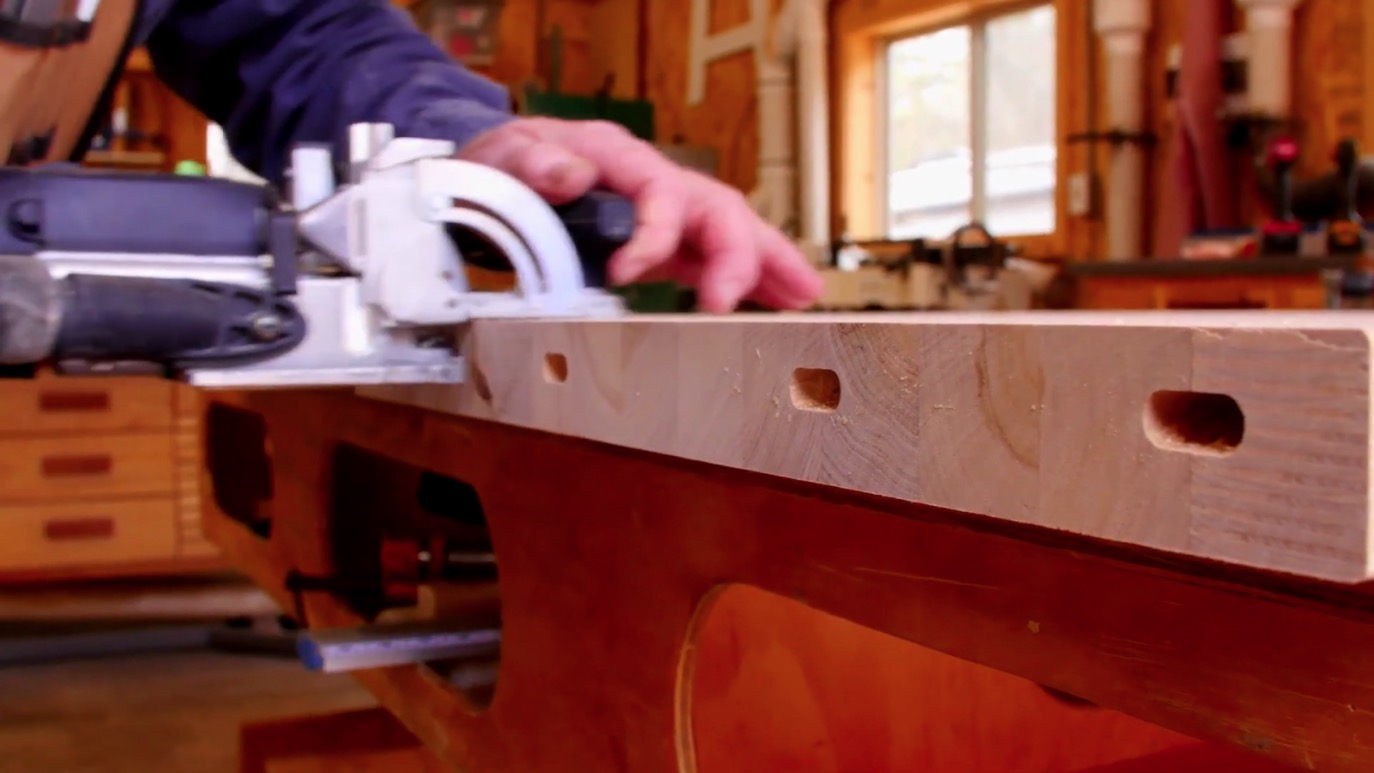
Before we get started, it’s important to note that butcher block typically features a hard edge to protect the wood during shipping. This edge will need to be removed so you can connect the two pieces smoothly.

When making your first cut, be sure to leave at least ½ inch of material on the other side of your blade to ensure that you can make an even, full-width cut. Be sure to include that additional ½ inch or so when creating the measurements for your initial order.
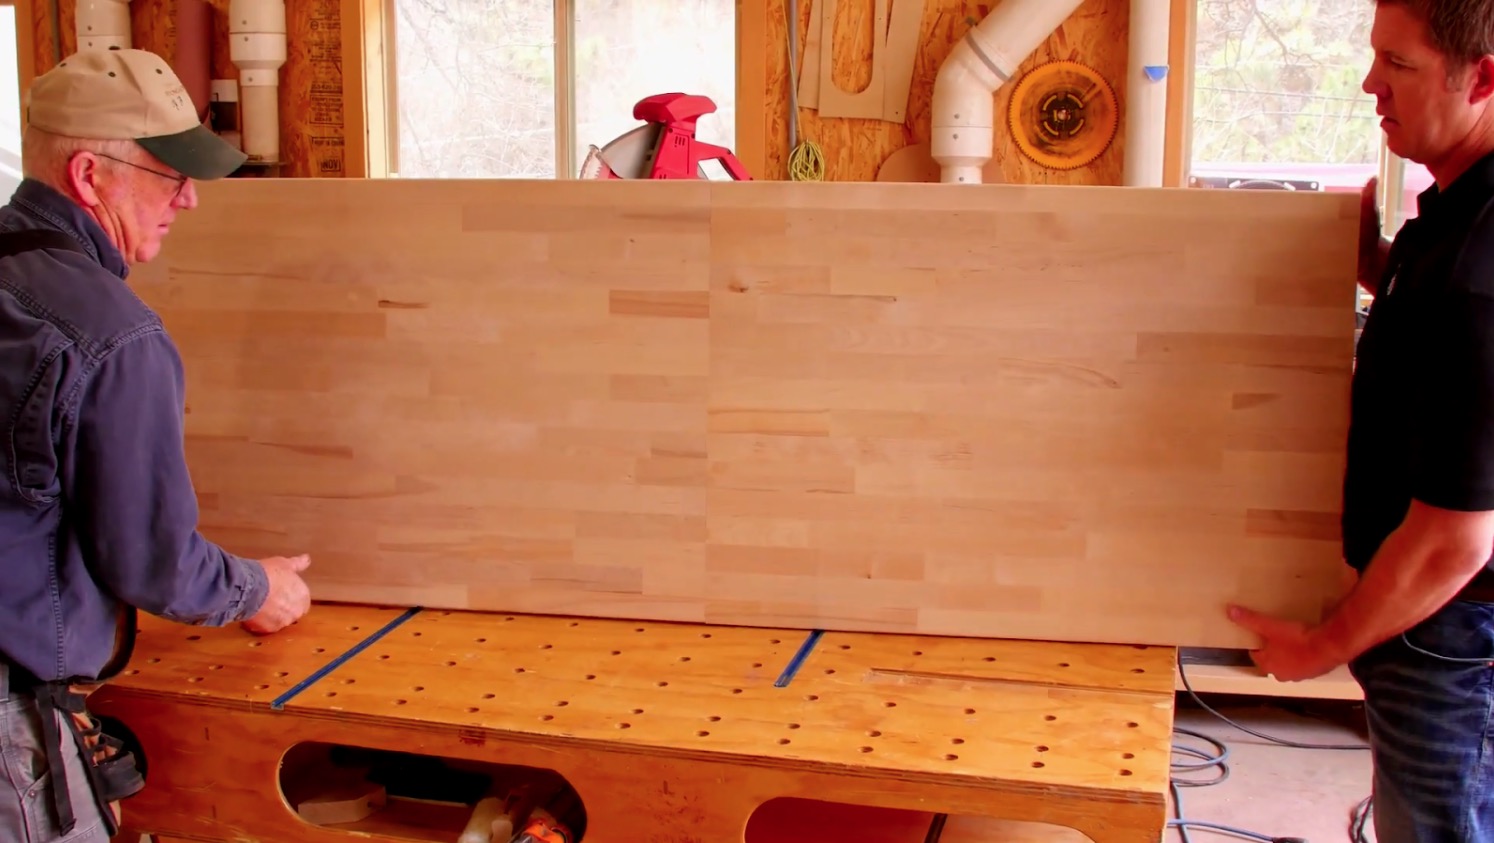
From here, you’ll be able to create a crisp, clean edge where you’ll eventually be adjoining the two pieces. Take a moment to test the fit of the two pieces before proceeding any further. They should match up without any uneven edges.
Next up, you’ll want to use a domino or biscuit joiner to make reference marks that match up on both pieces.
Mark an X on the corners that match to serve as a starting point. Your domino holes should be made moving towards the center, or shared edge, of the two pieces.
It’s okay if your domino holes aren’t totally centered on the block. The most important thing is that you’re always working from the same side.
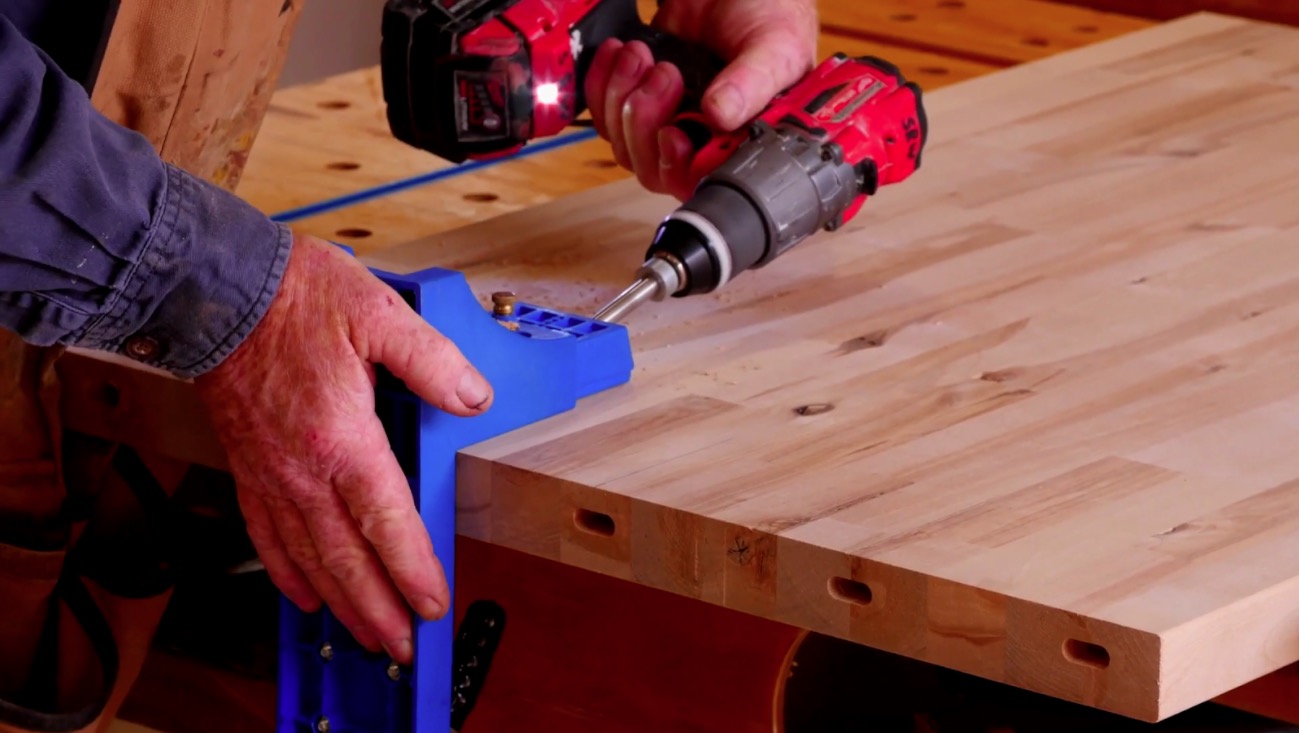
After creating your domino holes, you’ll want to use a pocket joinery to join the two pieces together. We recommend using a Craig pocket hole machine.
Your pocket holes don’t need to be specifically spaced, just try to put them in between your domino holes. This part will be under your counter so you won’t see it anyway!
An optional step is to use a 100-grit sanding block to clean out the edges. If you choose to use a sanding block, make sure that you stay away from that top edge because you don’t want to make any accidental marks on it. If you need to sand out the edges so things line up evenly, take away from the bottom of the block so it won’t be seen.
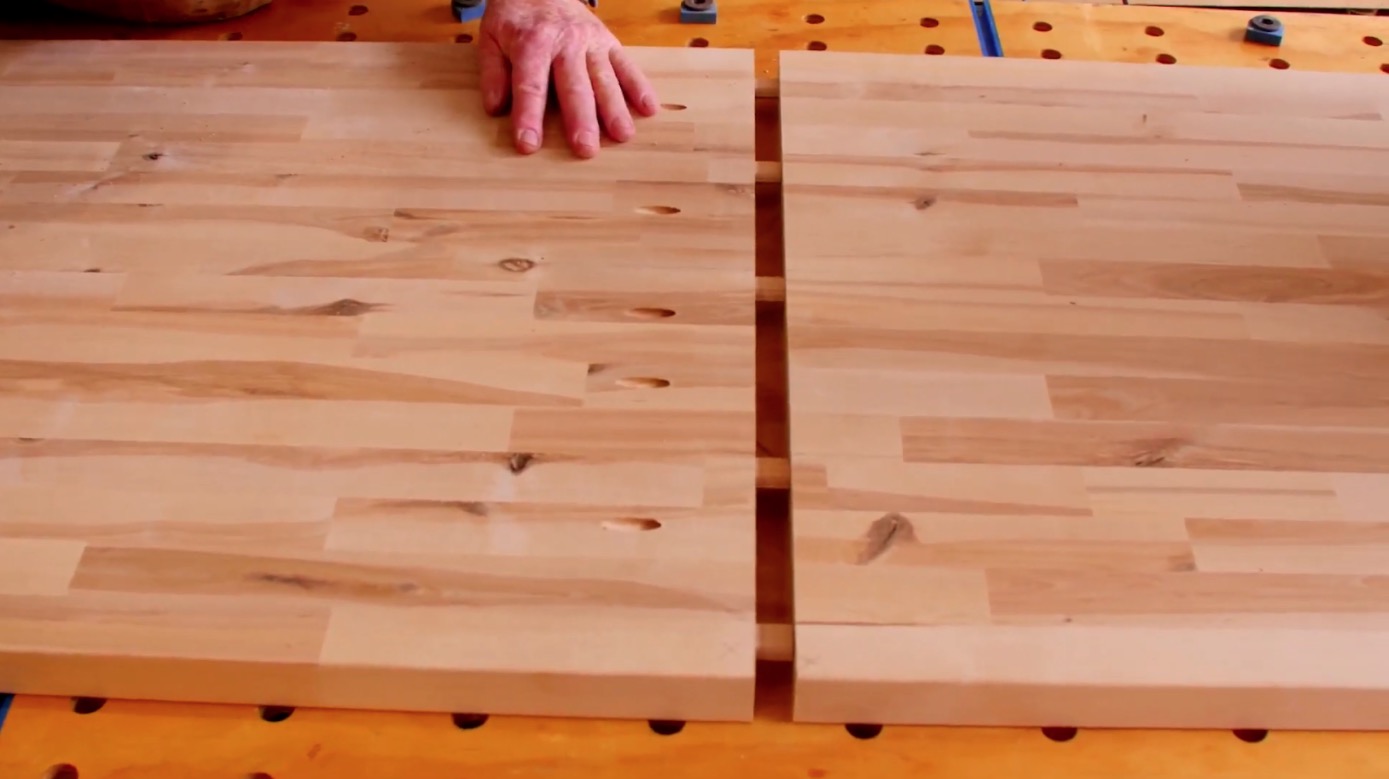
With the back side continuing to be facing up, set together the two pieces with your dominos.

To adjoin the two parts, you’ll want to use screws that were made for pocket hole joinery. In this example, we’re using 2 inch screws, but the length of your screw will be determined by how thick your material is.
Screw together the two parts and flip over to see the top.
If you’d like to sand the edge, we recommend applying glue and allowing it to set for at least 24 hours. From there, you can sand it smooth.
Enjoy your new butcher block countertops!