We love seeing how projects come together with our butcher block products across the USA and Canada. Here’s one of many that we look forward to publishing from designer and reno expert Melissa and her small team at Cottage and Key Homes.
Enjoy!

After many kitchen countertop projects, we looked for new projects for Hardwood Reflections butcher block countertops. We found that opportunity in our new build project in December 2020.

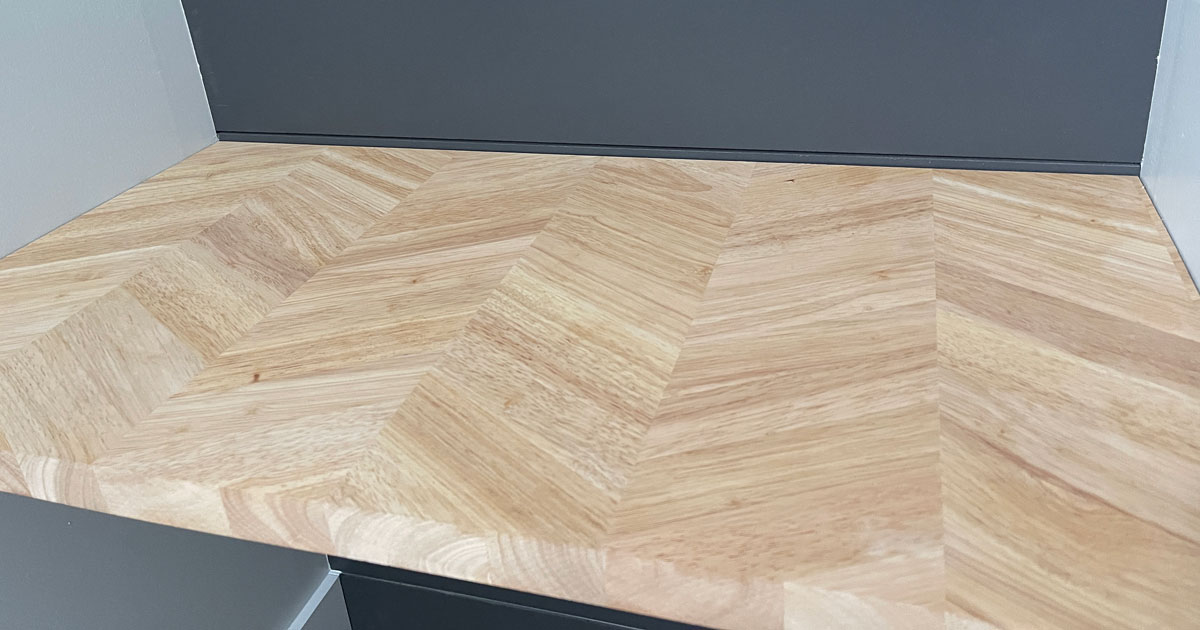
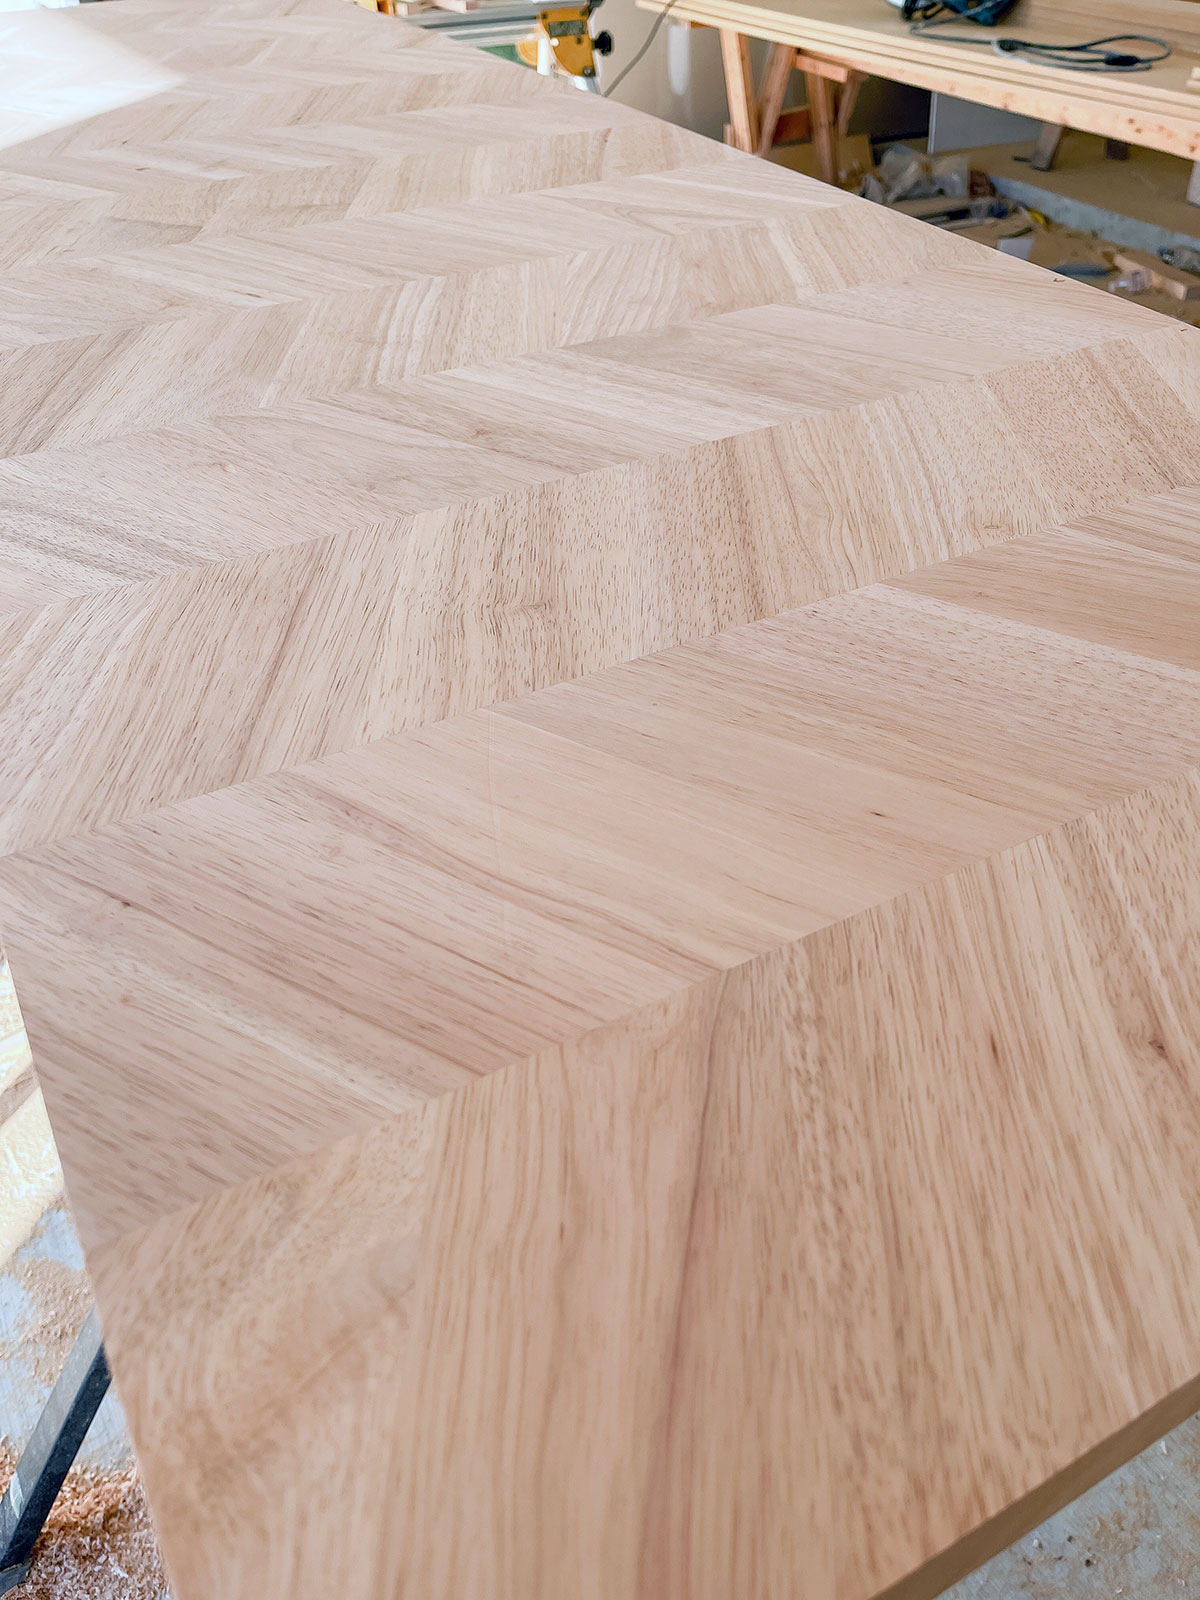
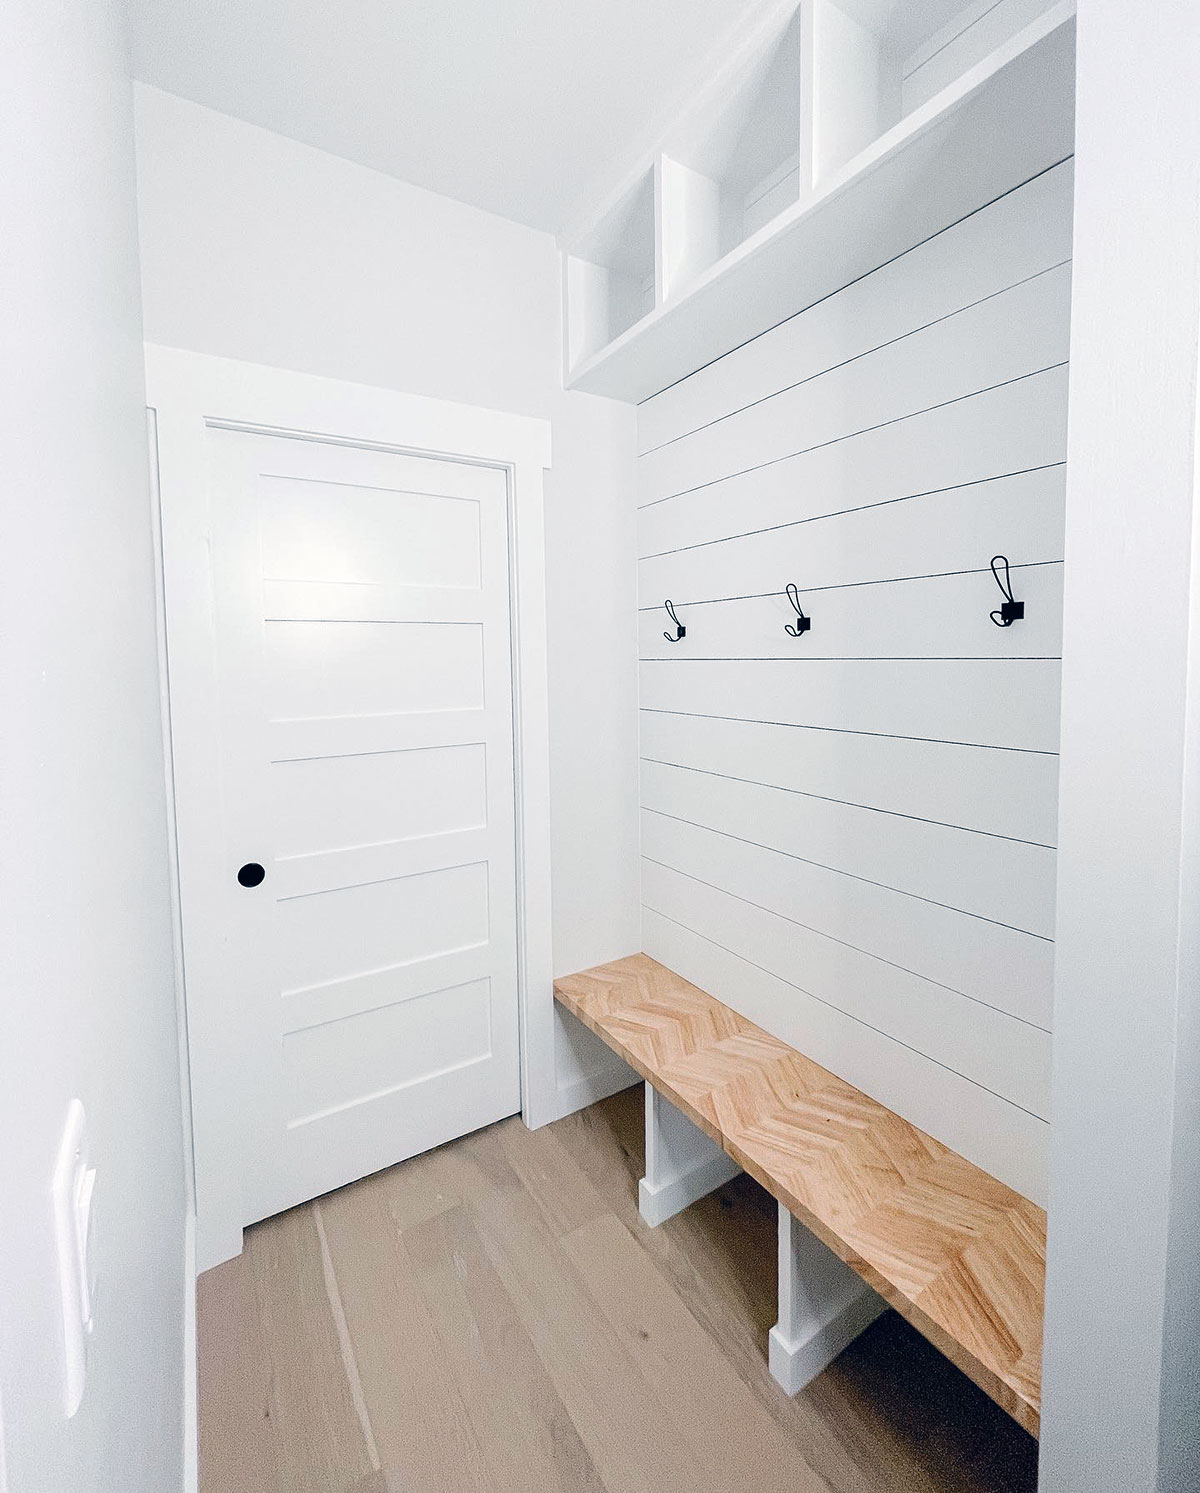
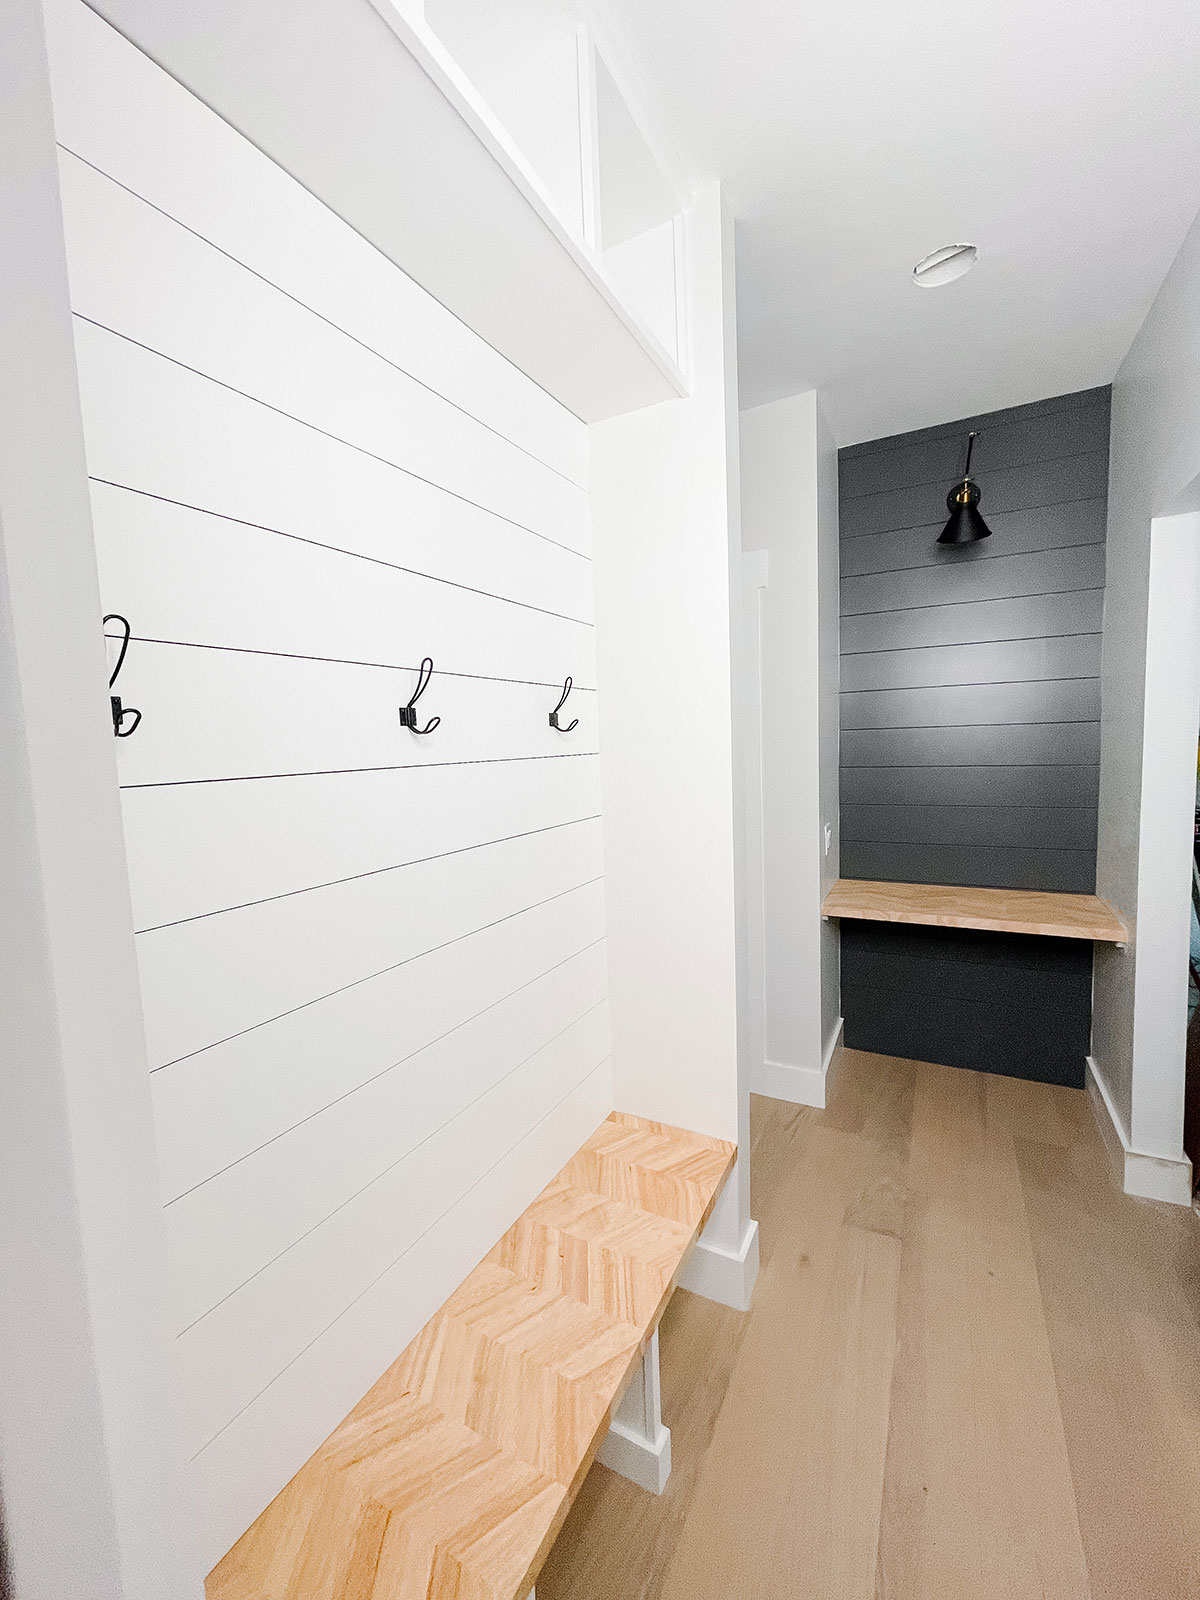
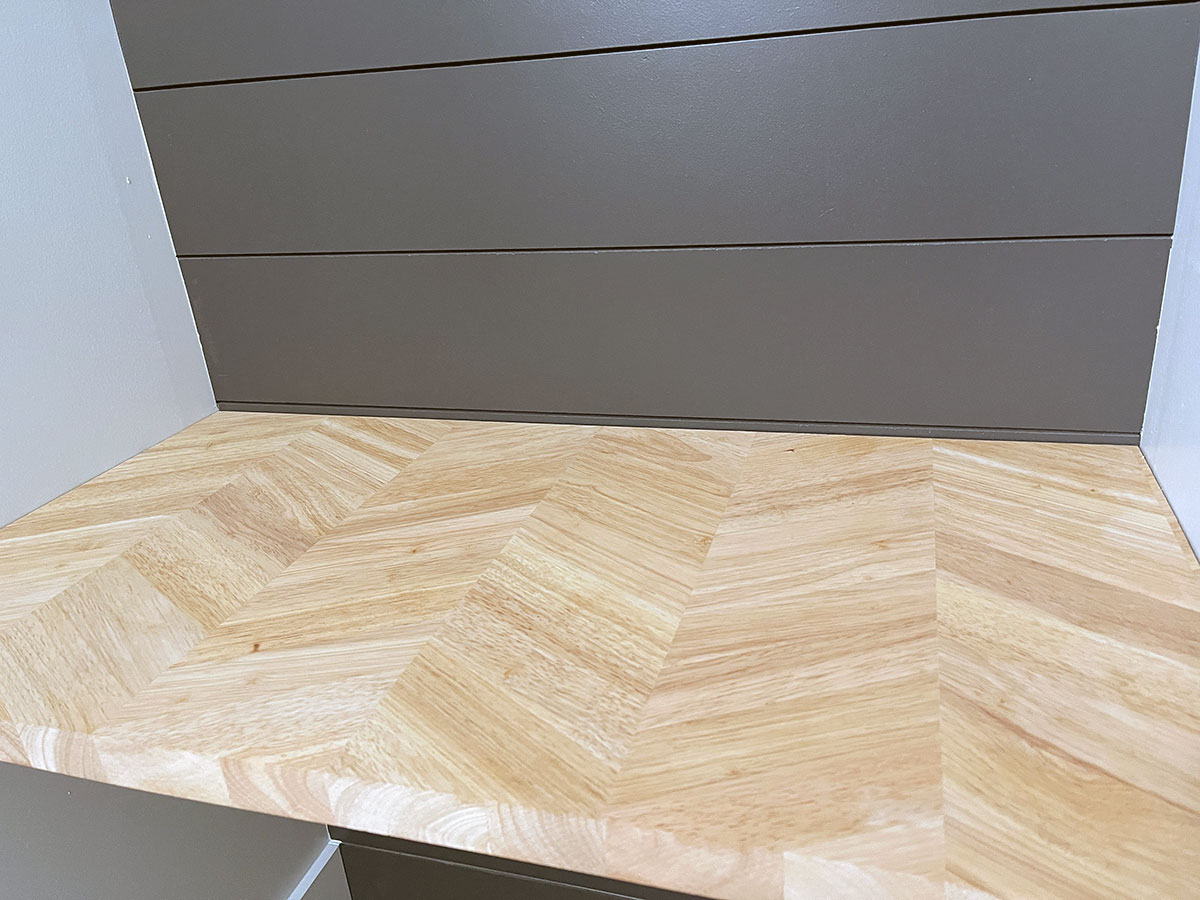
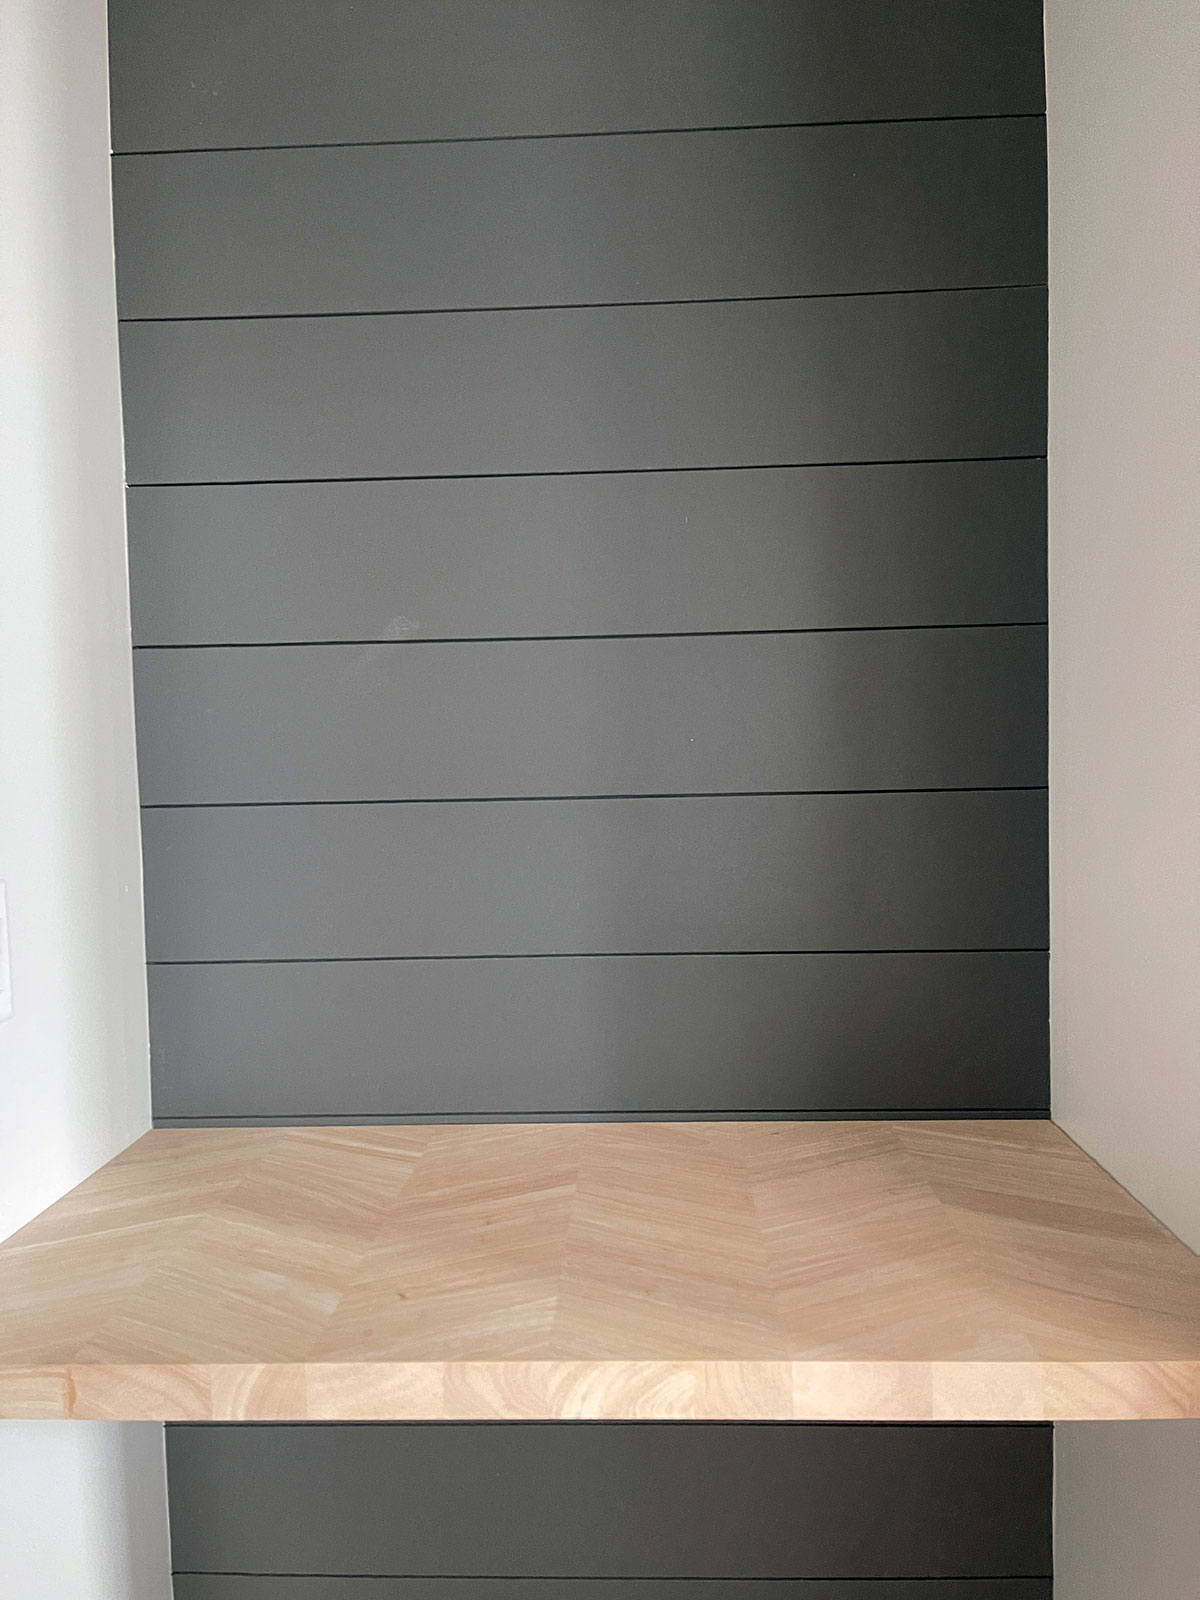
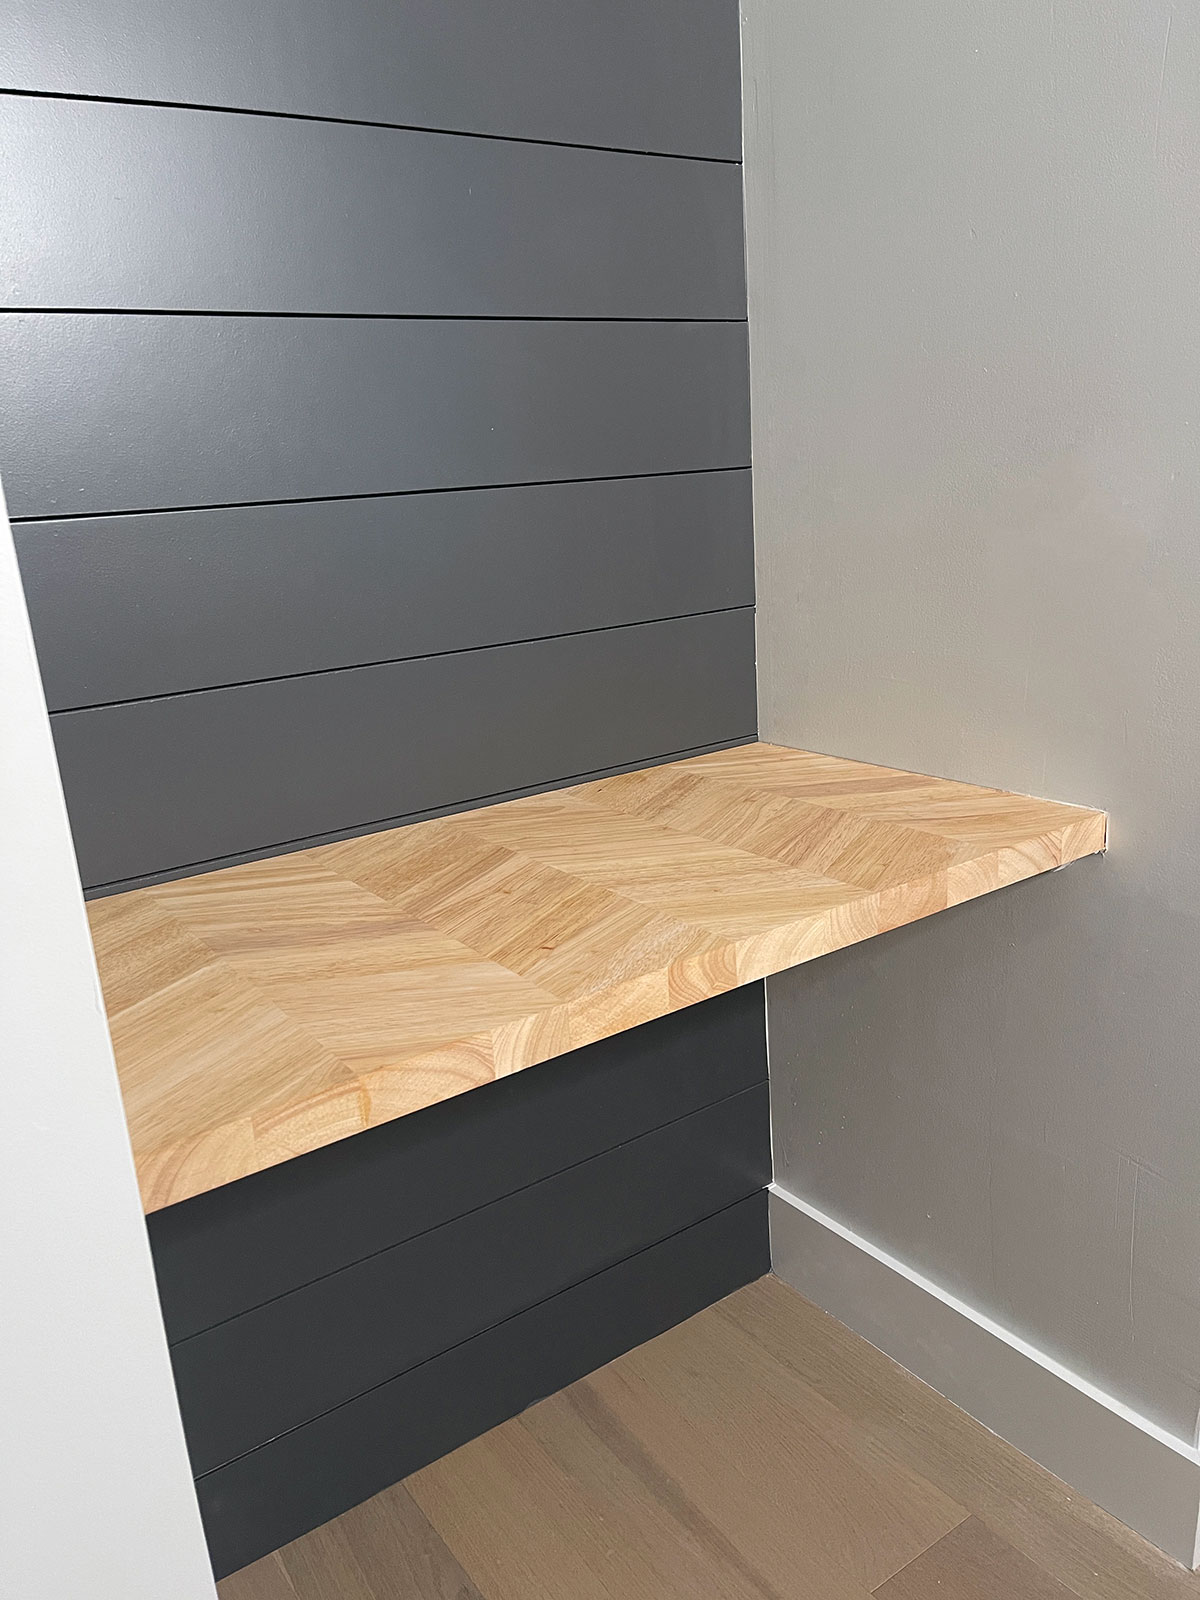
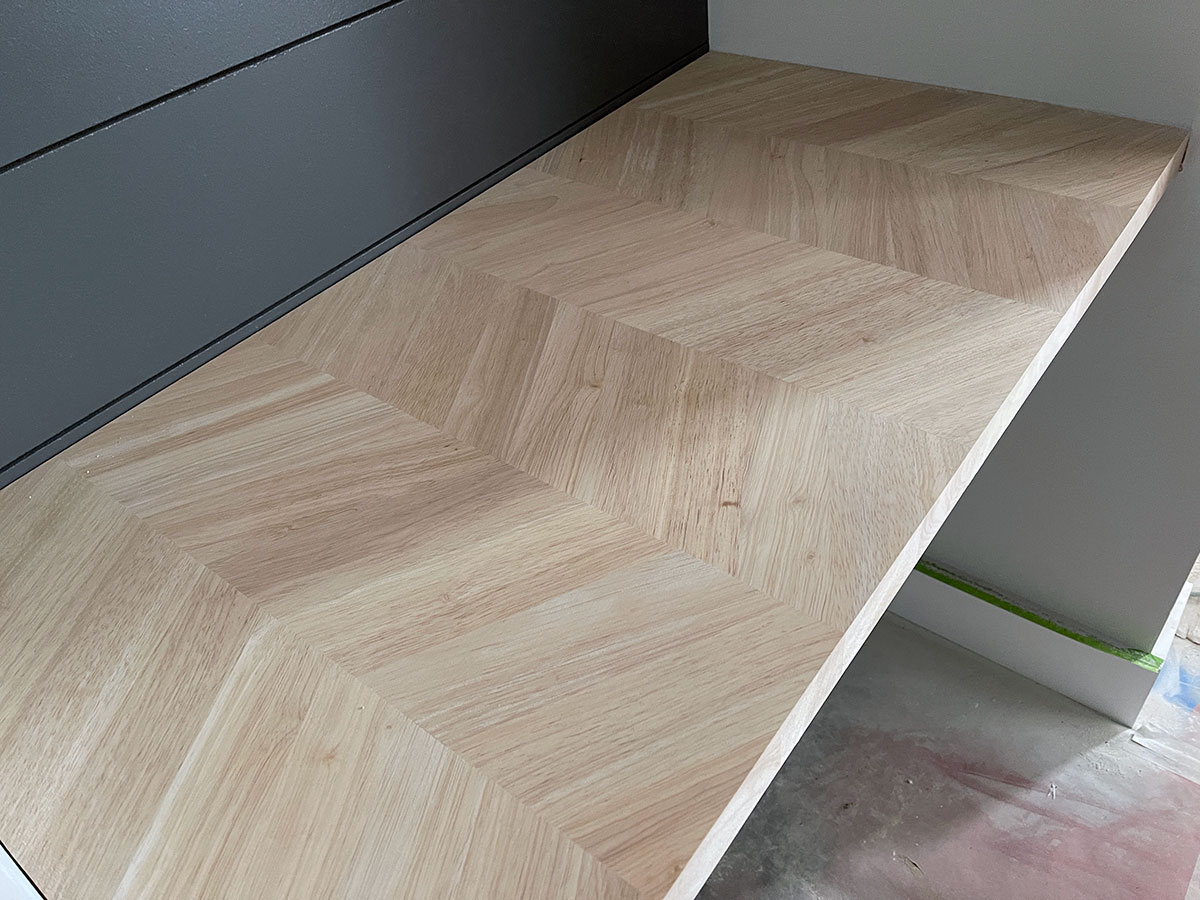
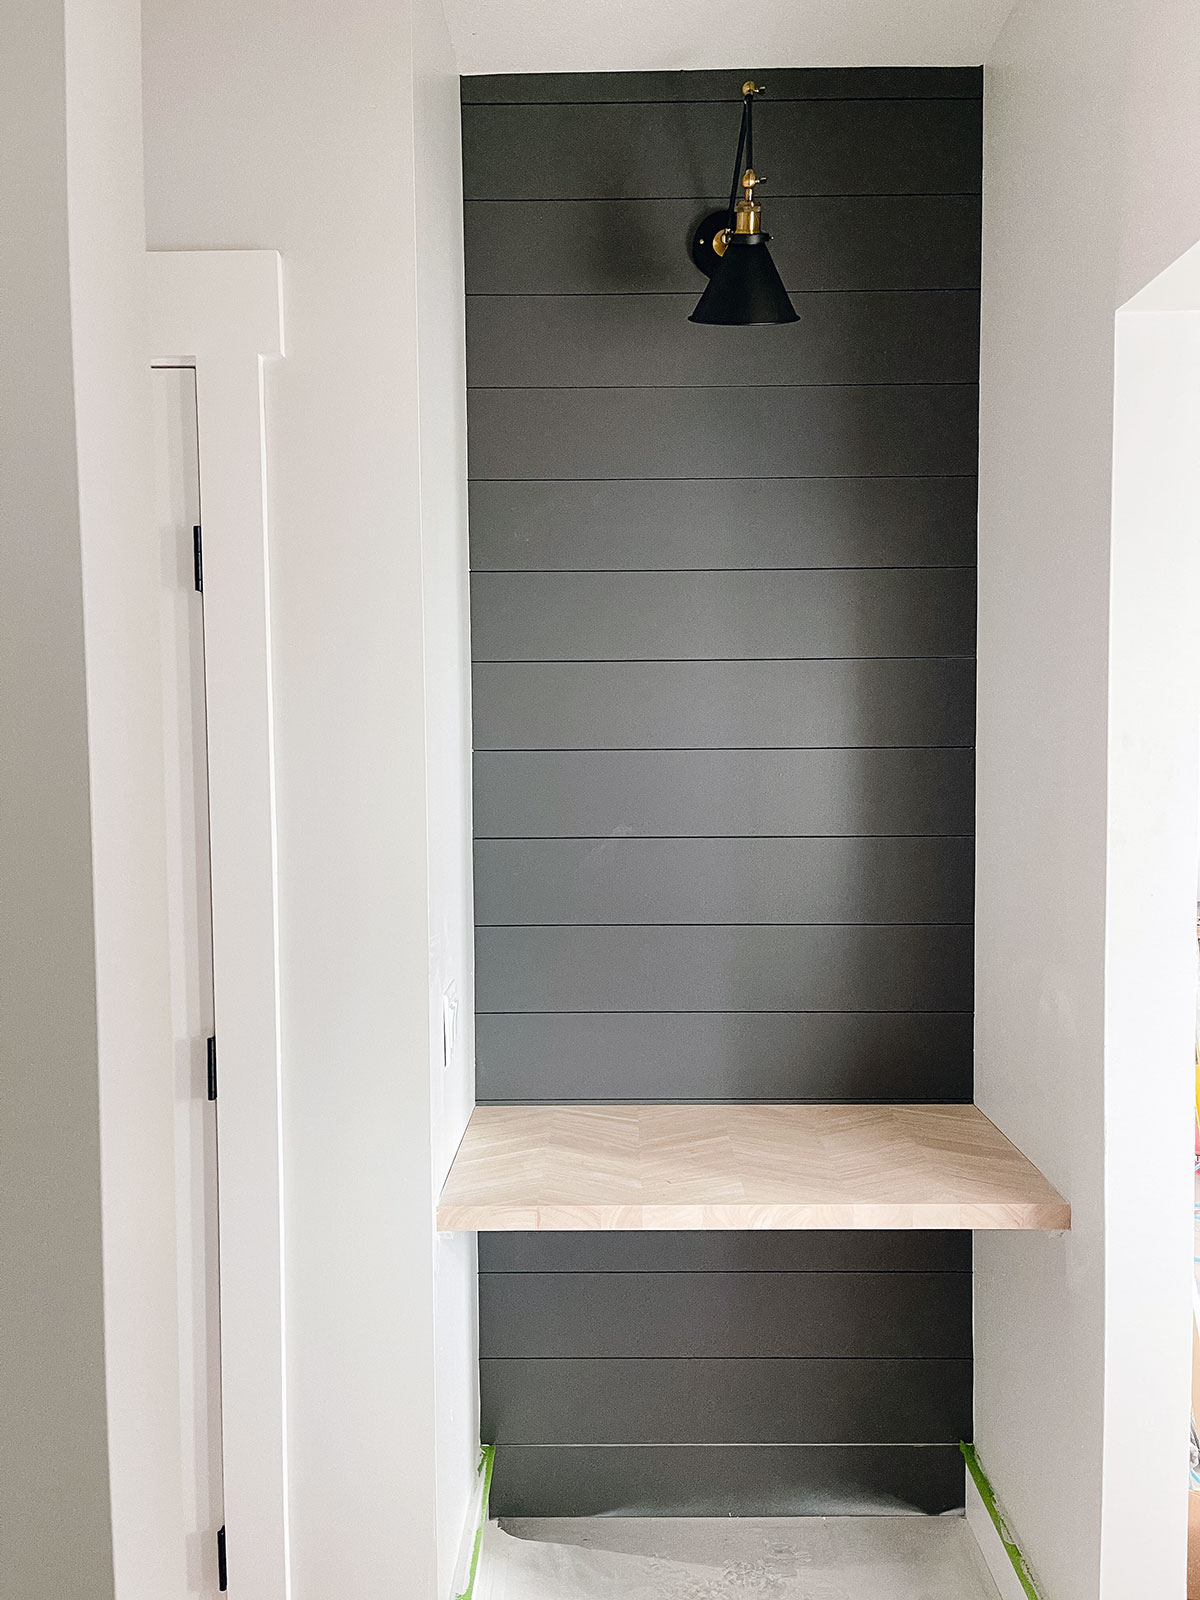
We used two Hevea Chevron countertops to complete this same room two-piece project. We chose the Chevron pattern because it was unique and able to add a wow factor to the home without going away from the modern farmhouse design.

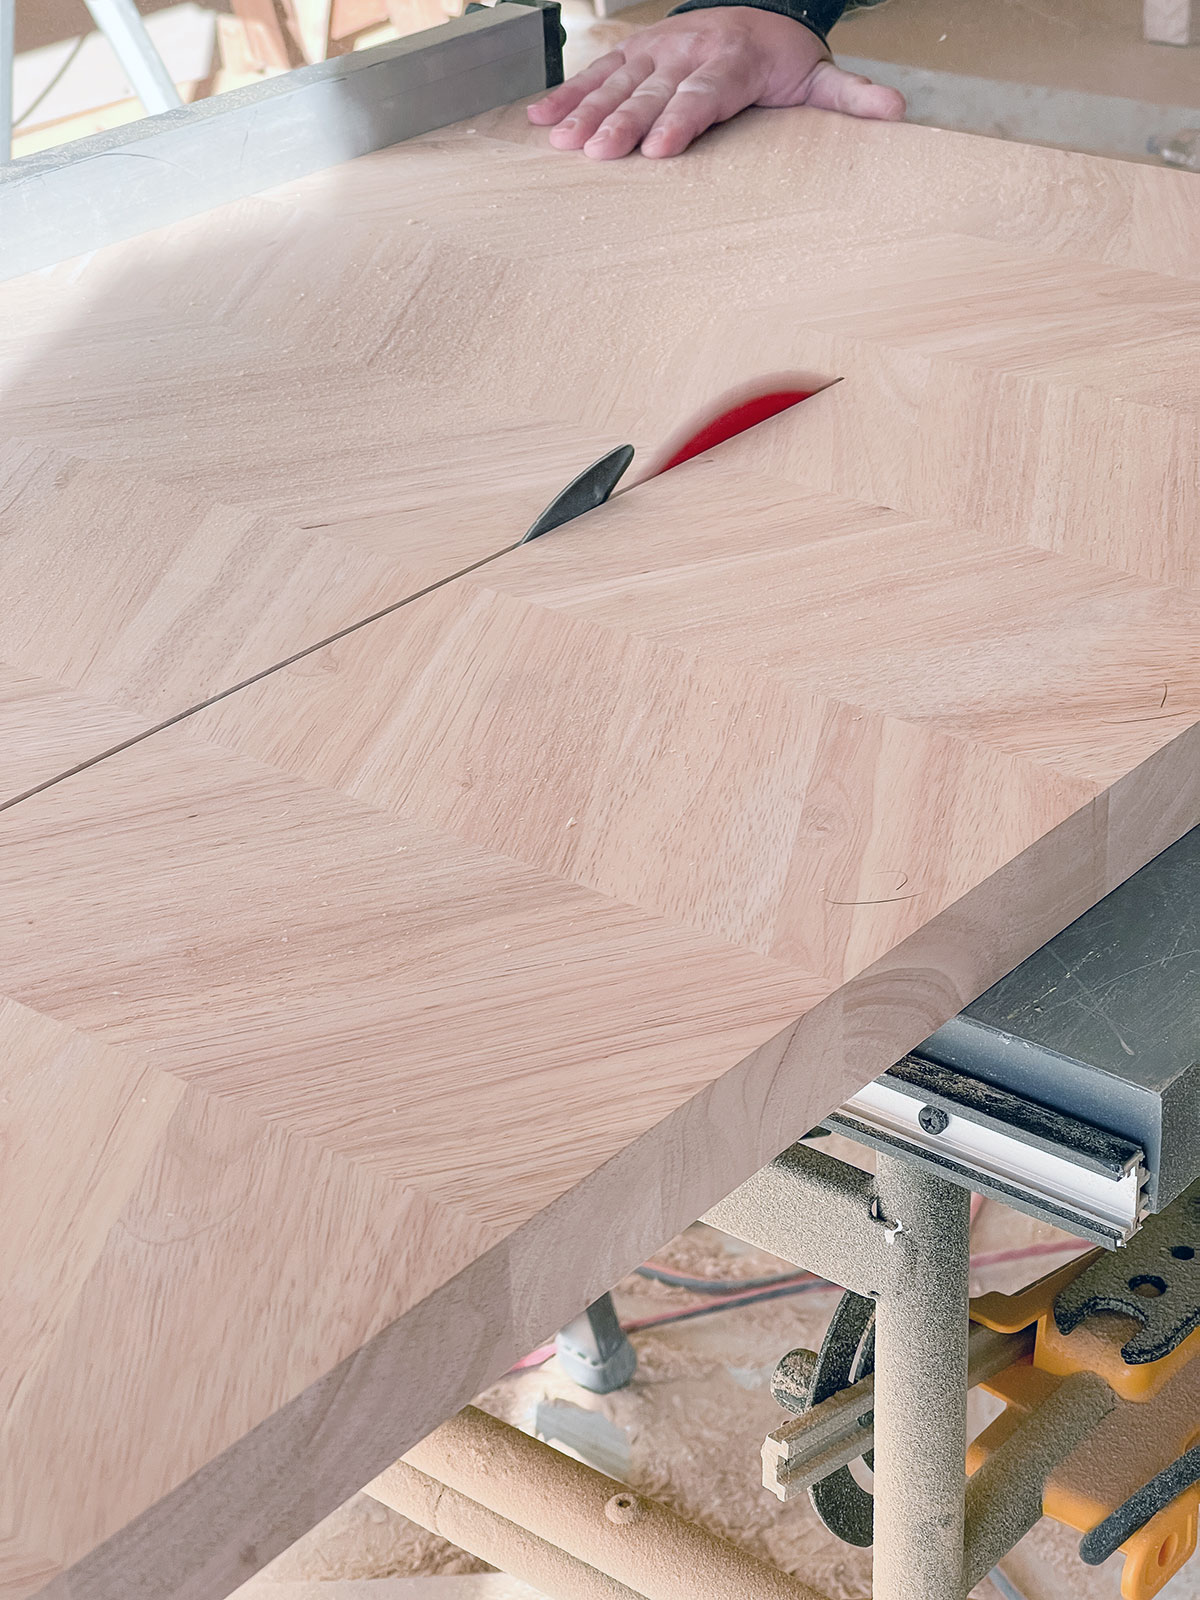
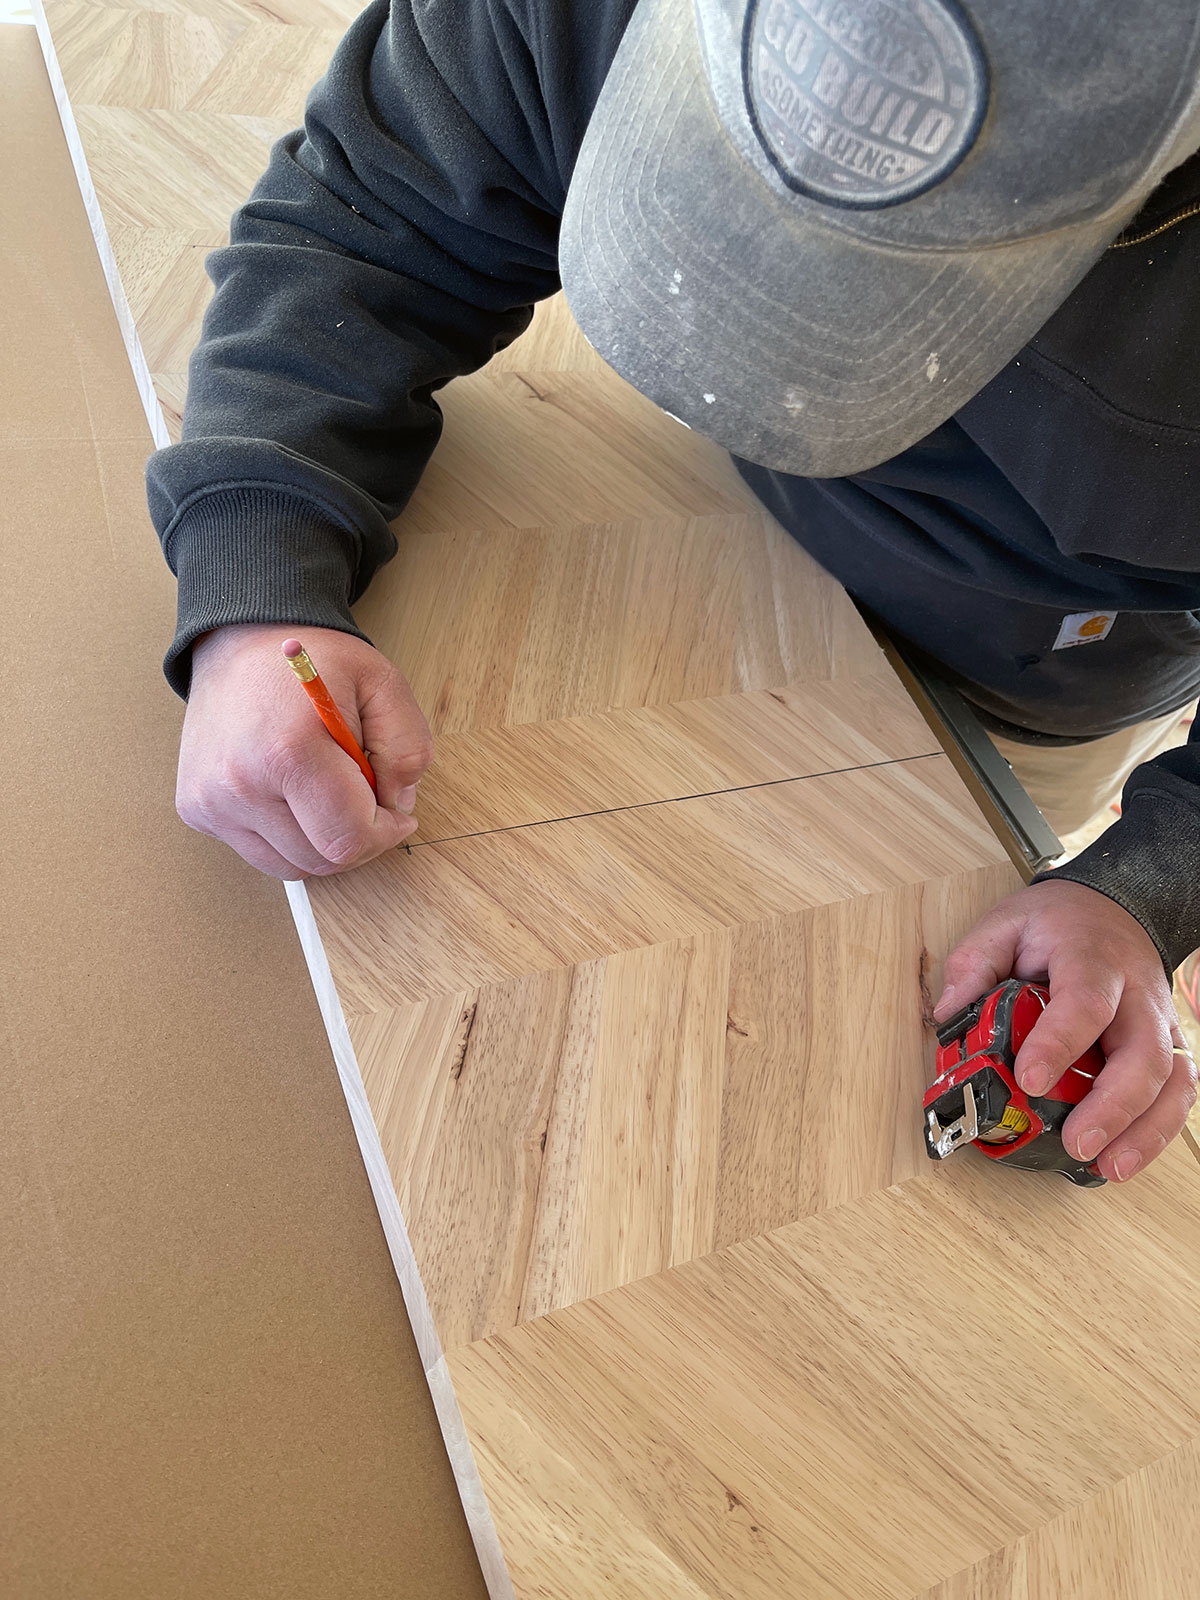
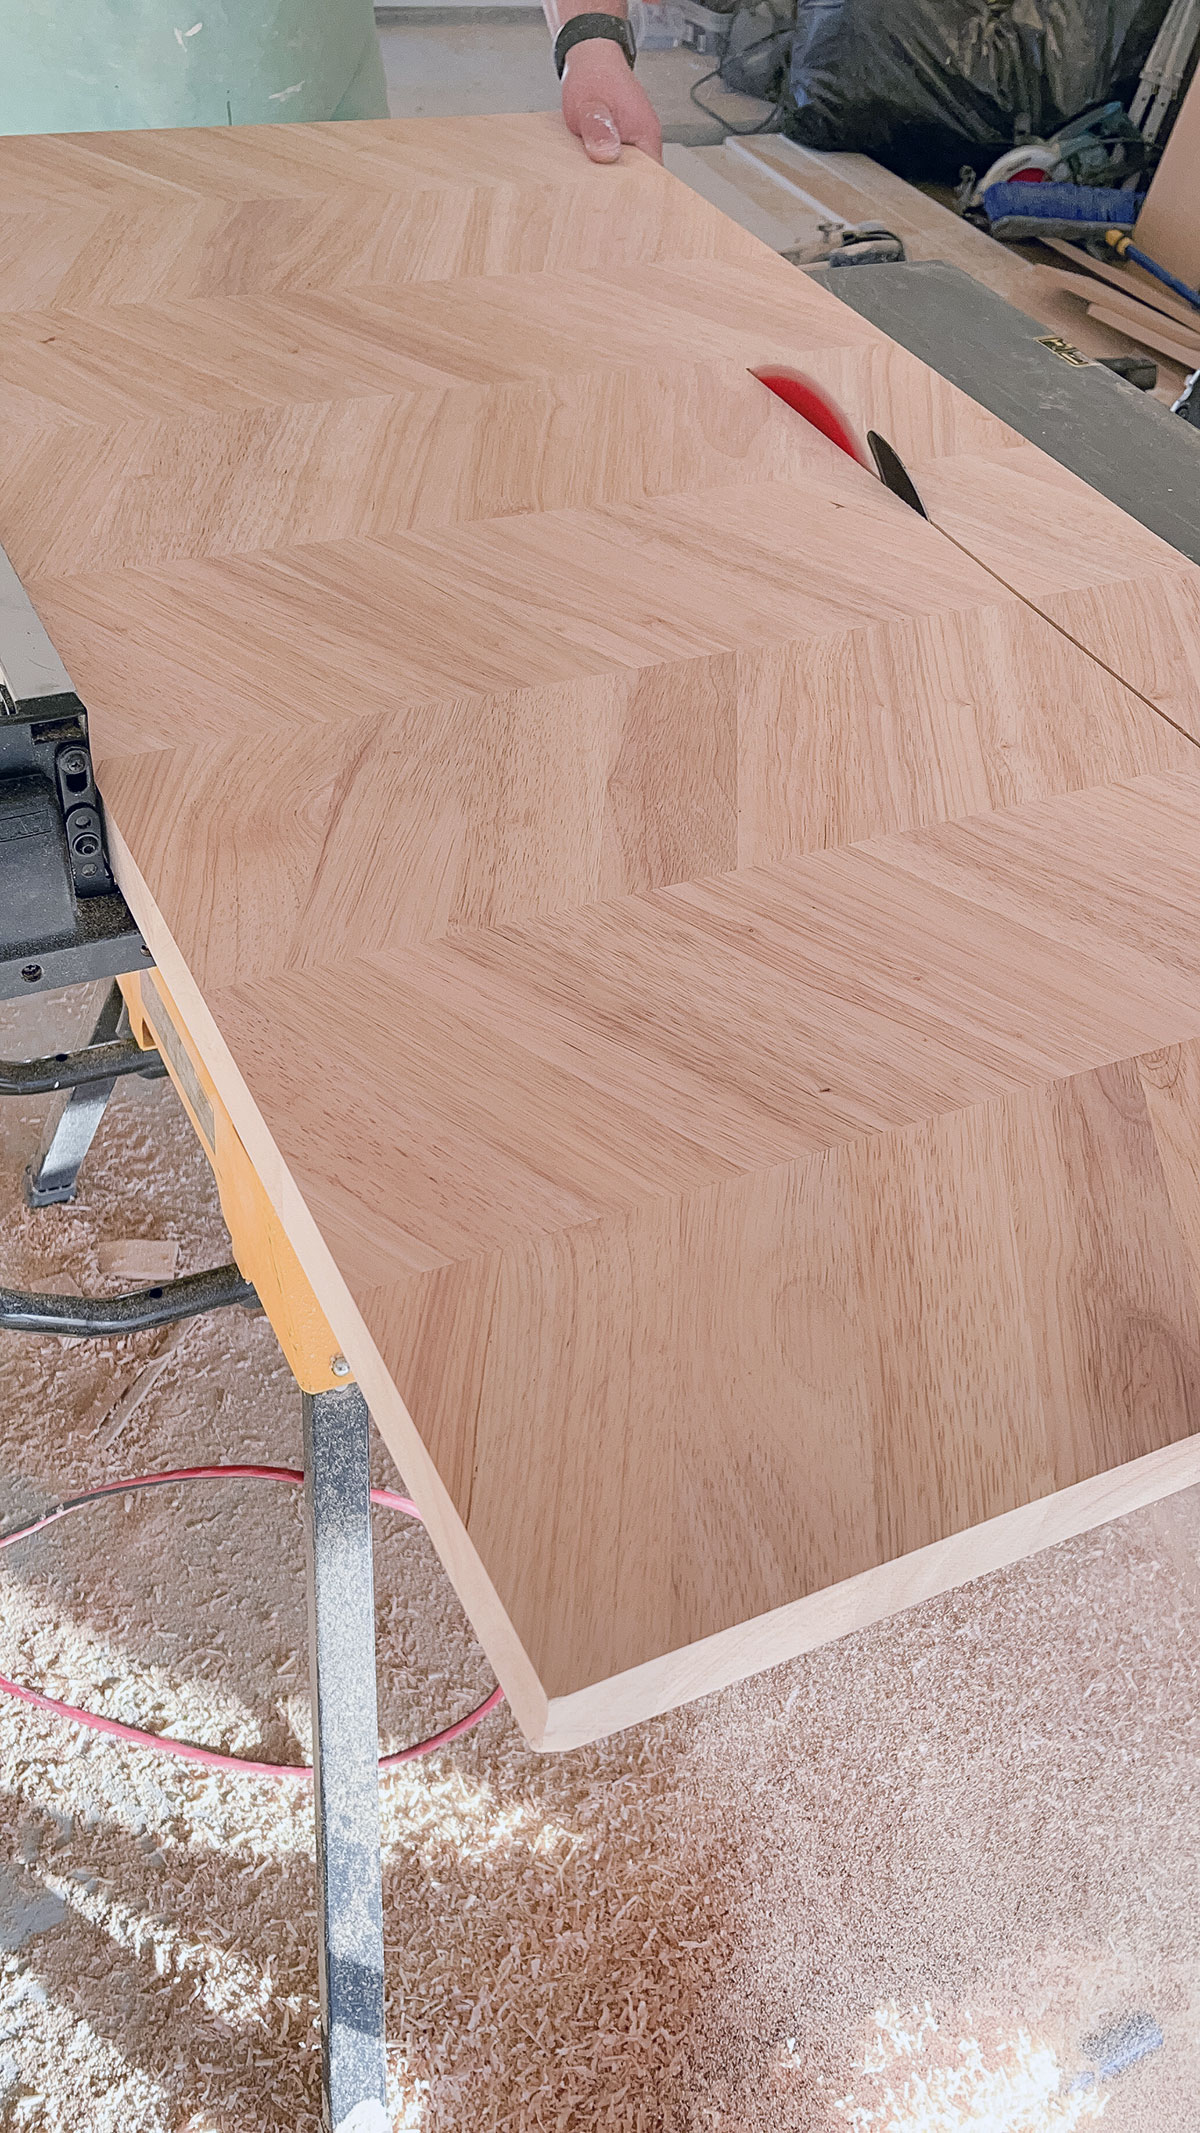
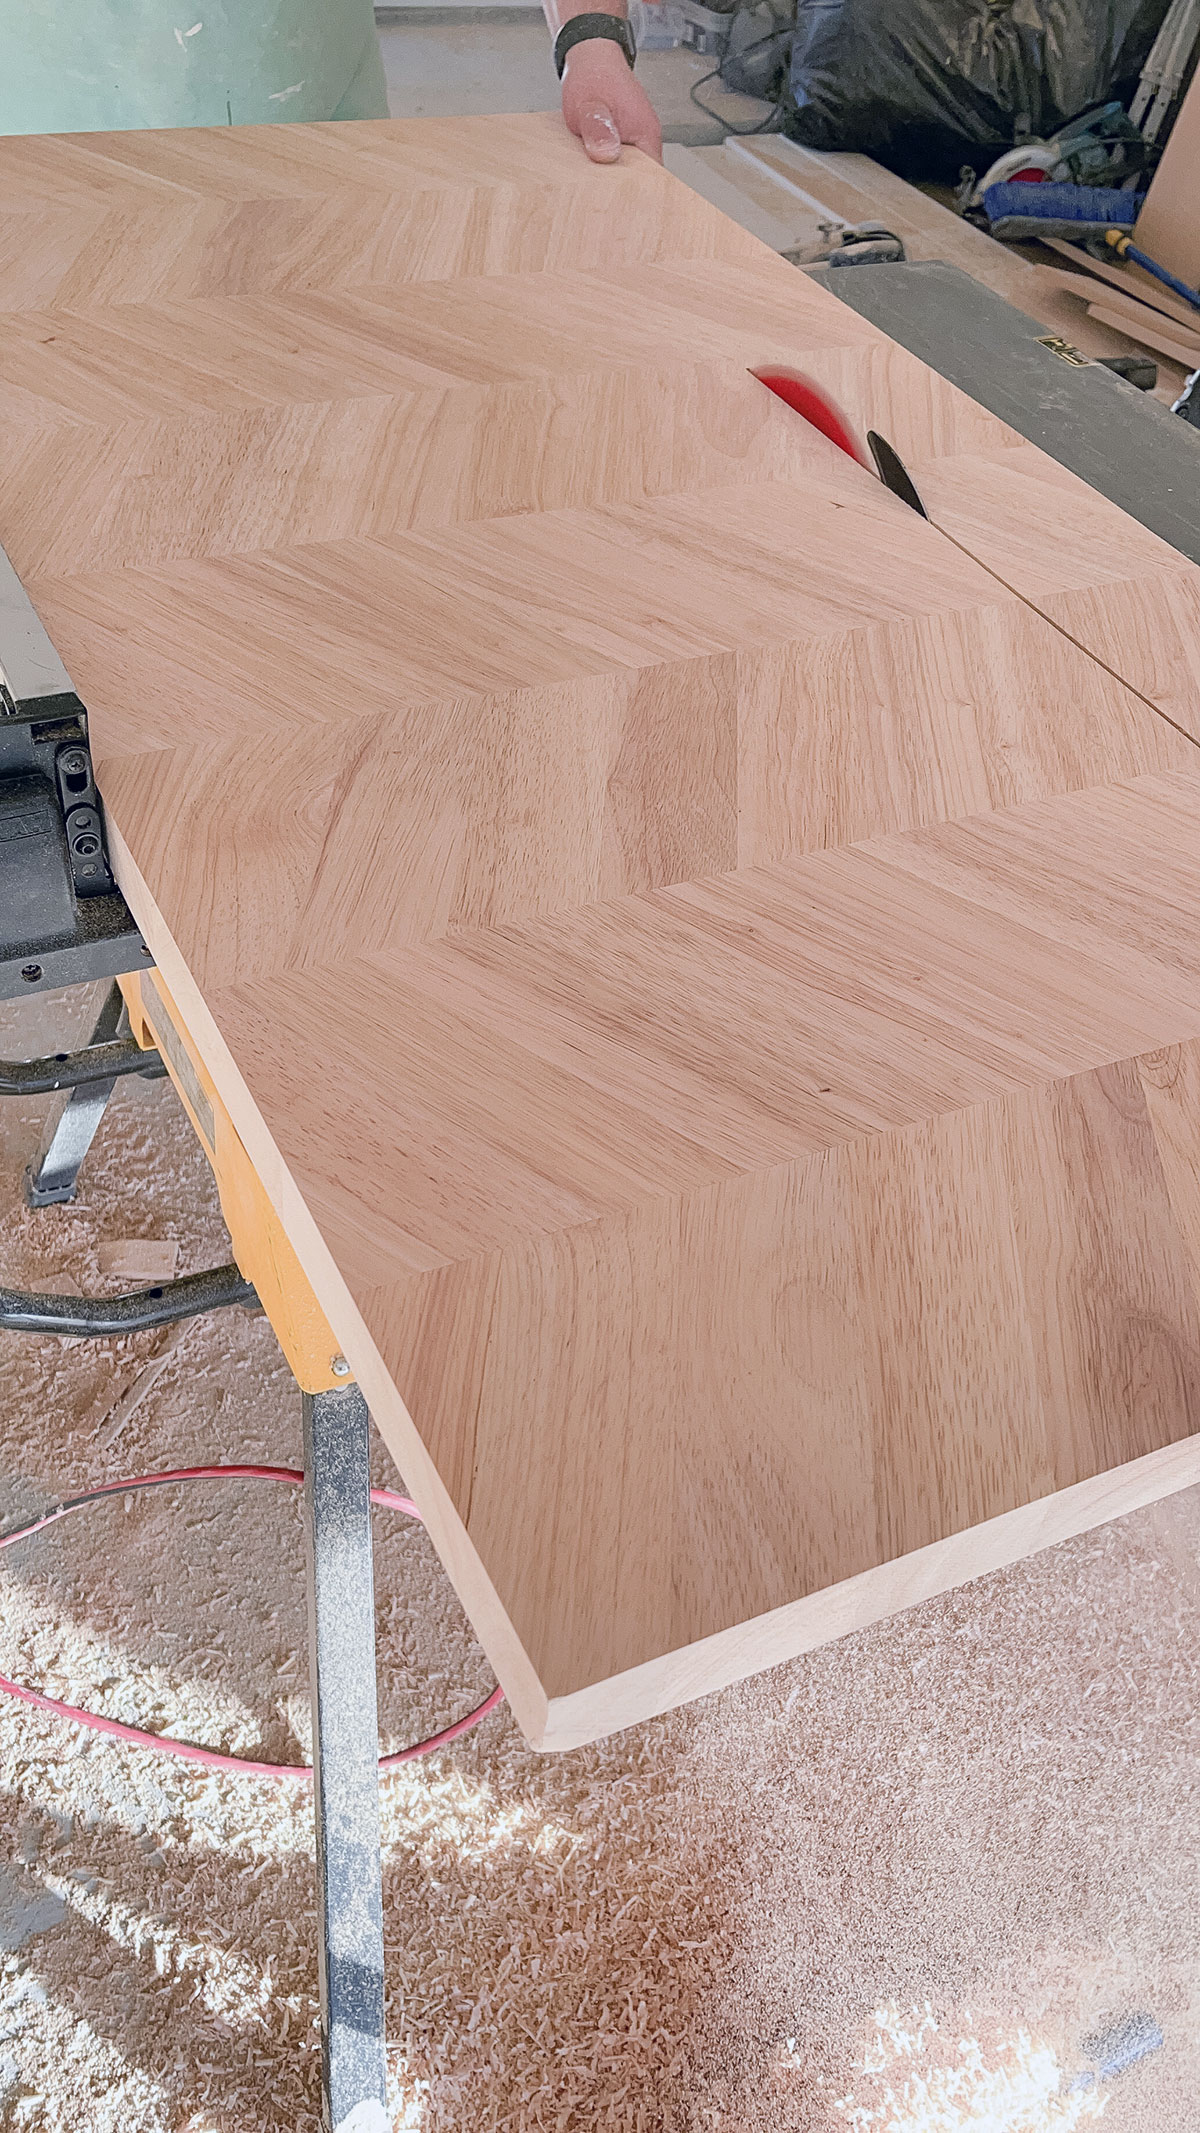
The nature of the hardwood butcher block hevea made it an easy decision to use it in the custom-sized space because we could cut the pieces to exact size. Cutting to size was easy to do with minimal tools and we didn’t have any hesitations when cutting or trimming because it is hardwood.

As soon as we unwrapped the Hevea Chevron countertops, we fell in love with the golden light nature of the whole board. It was perfect for the small room to keep it fresh and light. We did not stain the pieces but did finish all edges, and put extra coats of a waterproof permanent urethane on the bench.


Here is a short to-do list that we followed for our projects.
Mudroom Bench:
- Order Chevron Hevea from Home Depot: http://bit.ly/HRHevea – It usually arrives within 3 to 4 business days.
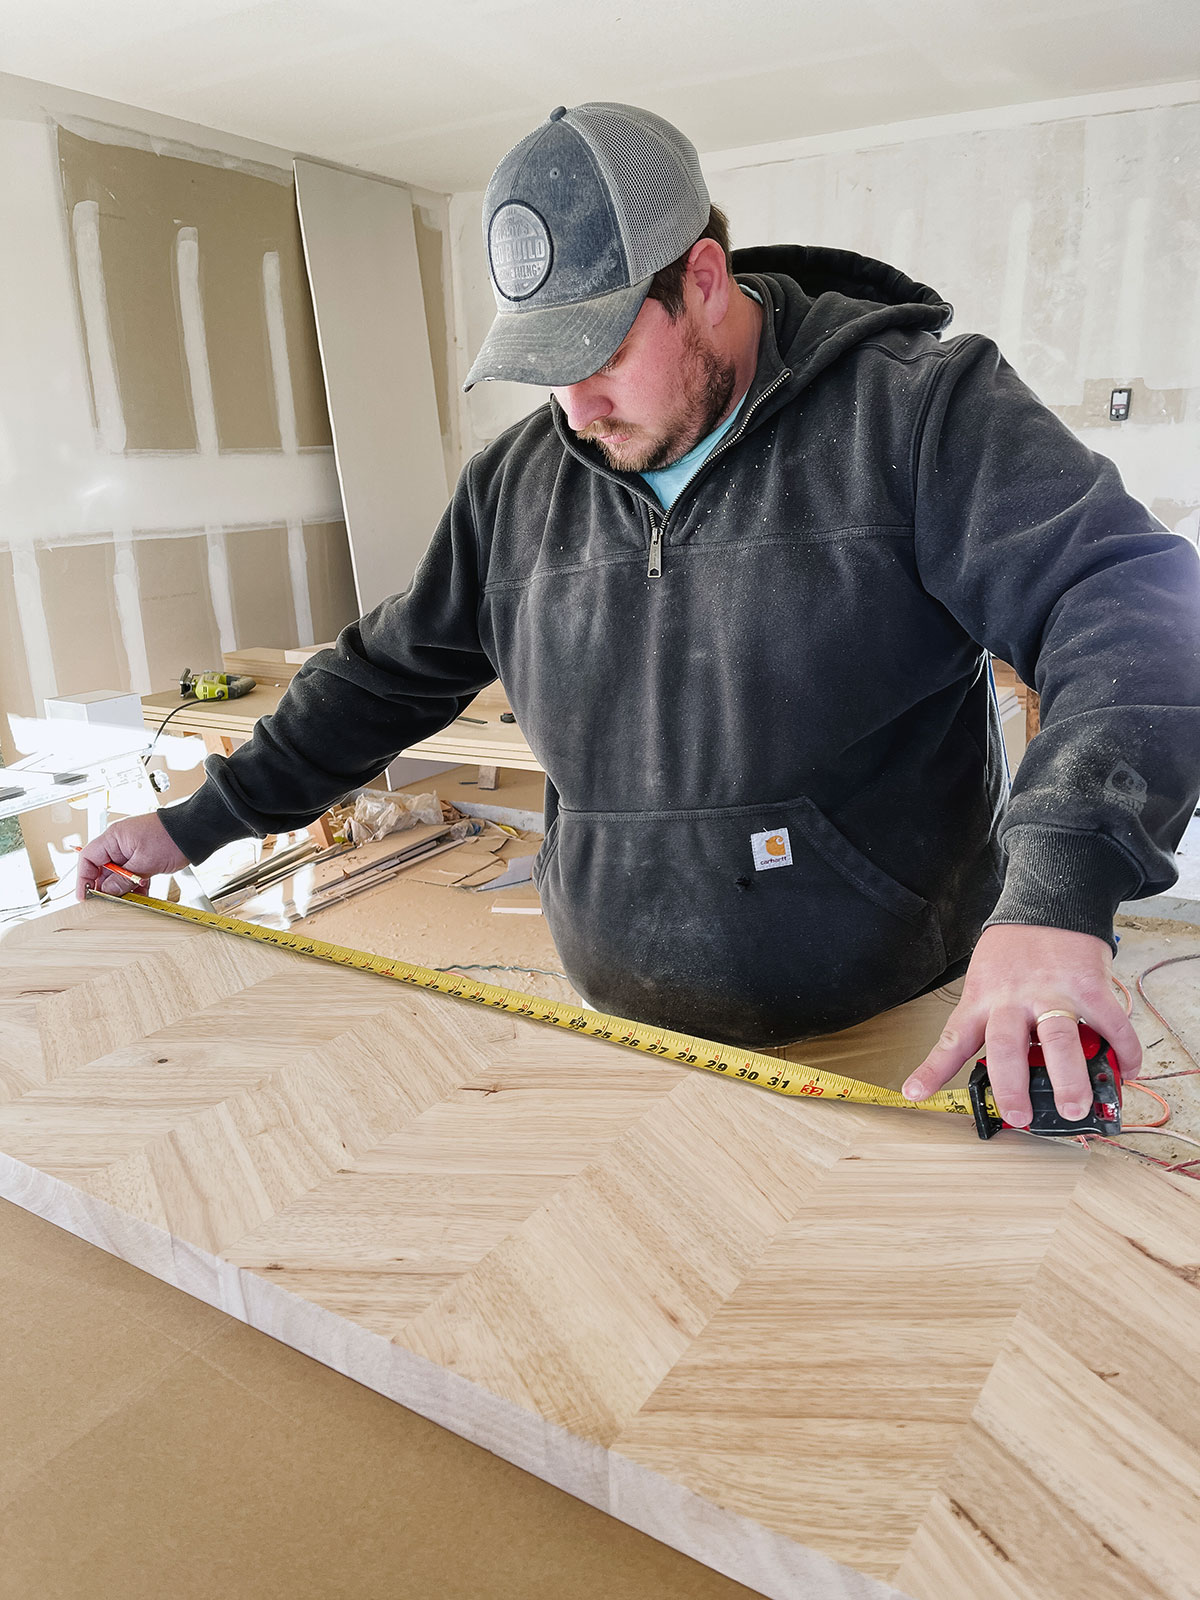
- Measure and cut the bench to size. Sand all edges and sides with fine-grit sandpaper in a circular motion
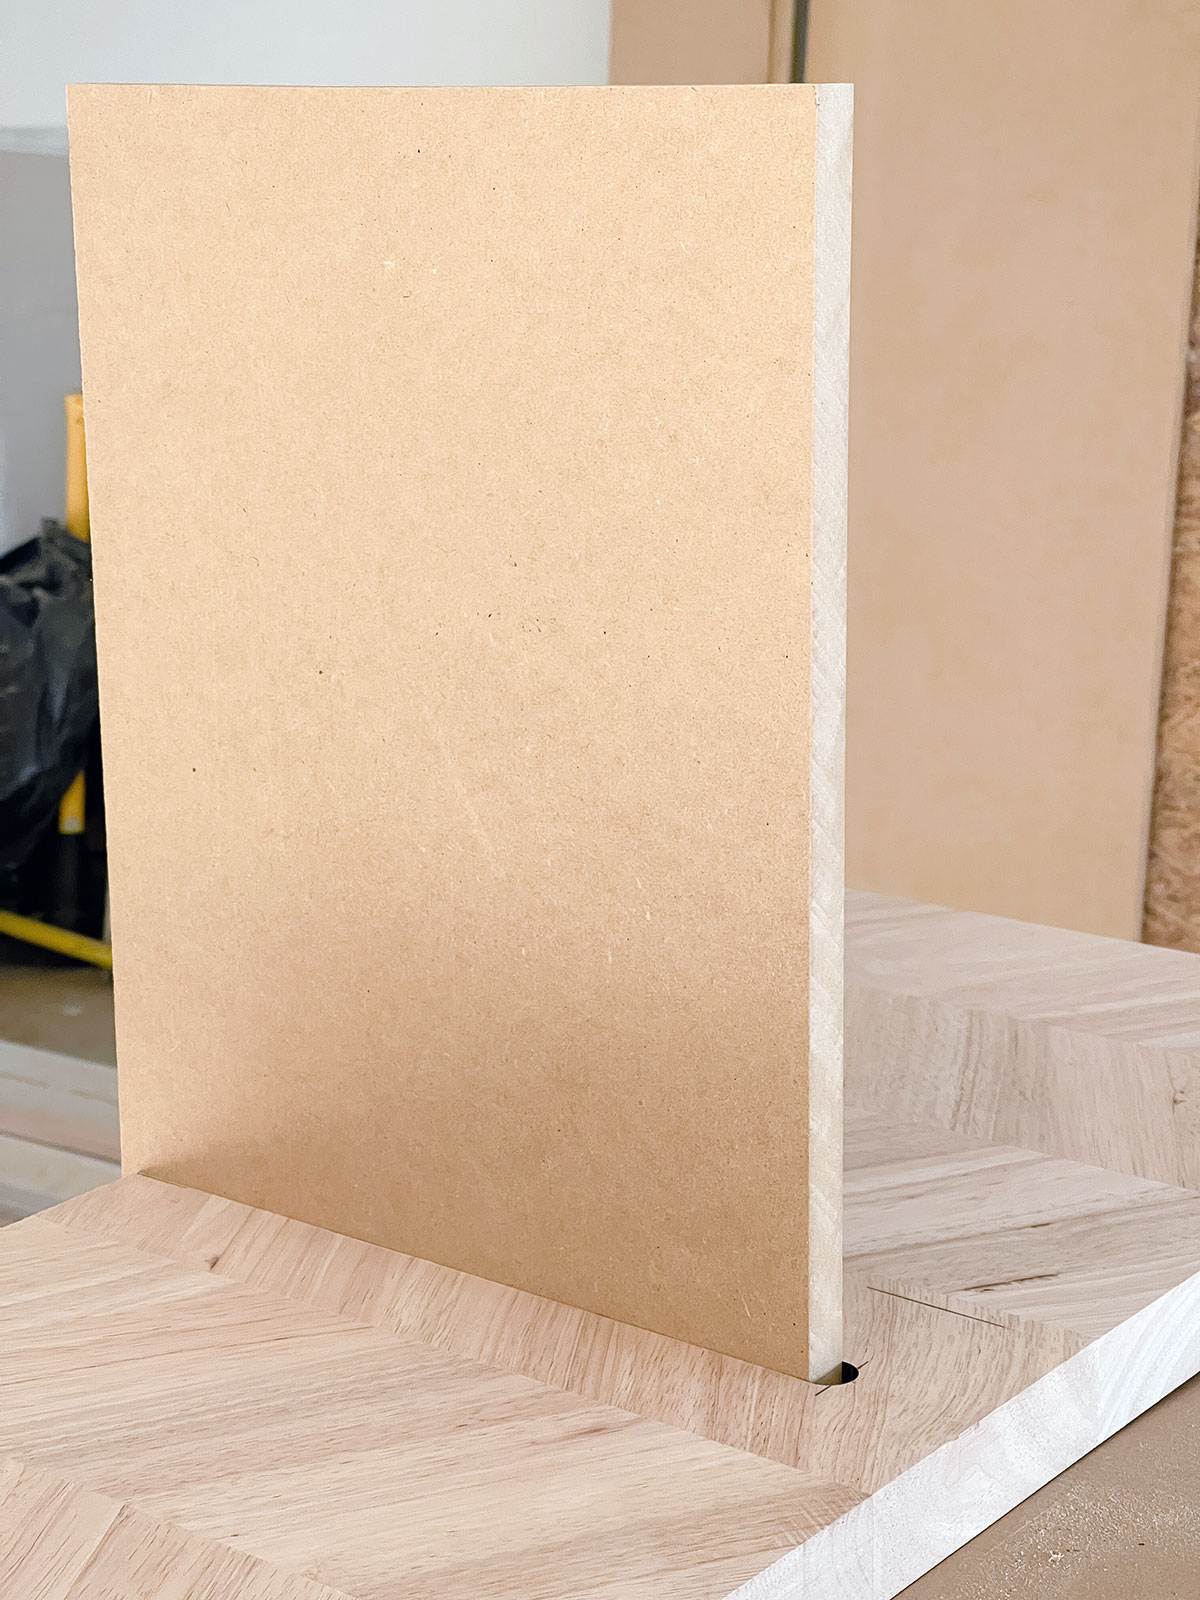
- Use a router and cut out two strips for the two base supports to rest in.
- Seal all sides and edges of the bench 6 times with Waterlox clear Urethane – Satin finish. This process took about 5 days of drying time.
- Glue each base support in place
- Install the bench in the mudroom area and finished the shiplap and painted the walls
- Celebrated how great the project went with a picture and a post!
Desktop:
- Order Chevron Hevea from Home Depot: http://bit.ly/HRHevea It usually arrives within 3 to 4 business days.
- Measure and cut the countertop to size. Sanded all edges and sides with fine-grit sandpaper in a circular motion.
- Measured and installed cleats to the wall to hold the butcher block desk. Painted the walls a light grey, Paper White by Benjamin Moore.
- Installed the desktop countertop
- Sealed the butcher block with 2 coats Waterlox Urethane – Satin Finish

If we were to do it all again we would:
We love it just as it is! Keeping the wood as natural looking as possible really highlights the beauty of the chevron pattern. We could stain it a lighter color to add some variation in the future. However, we are really happy with the color of the butcher block with sealer only. We love this chevron butcher block and are looking to use it in upcoming projects! We love how it’s affordable, stylish and durable.
See more butcher block projects by Melissa and Brent on their Instagram Channel.

