Here’s a tutorial to help you confidently cut the board even if it’s your first DIY project!
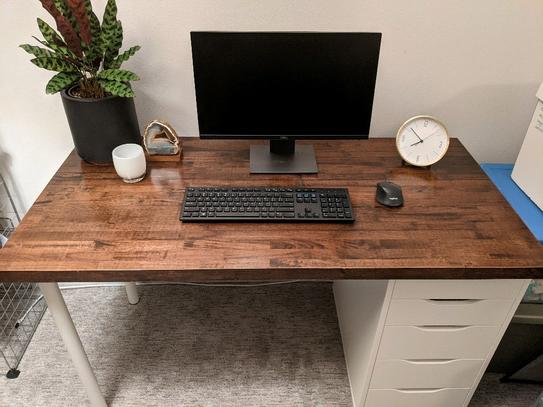
Our 100% hardwood butcher block makes it easy to trim or cut the board to size for any room’s custom countertop project. Be sure to practice safe tool handling and clear your work space for a smooth project.
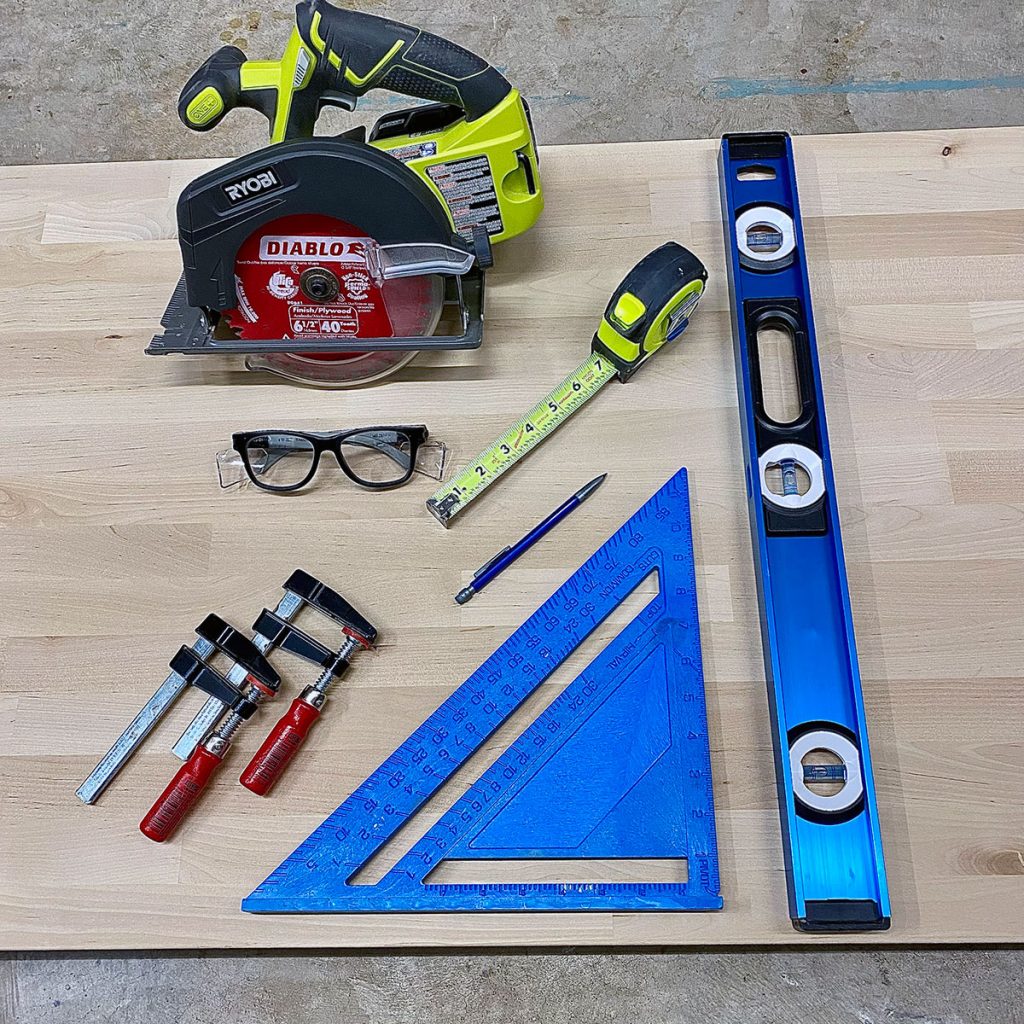
Tools you’ll need
- Safety Glasses
- Circular Saw
- Table Saw (optional)
- Carpenter Square
- Straight Edge (24 – 48” Level)
- Tape Measure
- Pencil
- Clamps
- Some can-do attitude

Safety First
Before you start any DIY project, safety should always be the top priority. This means Personal Protective Equipment (PPE) should be worn at all times. Also review all safety instructions provided with the tools you plan to use for the project.
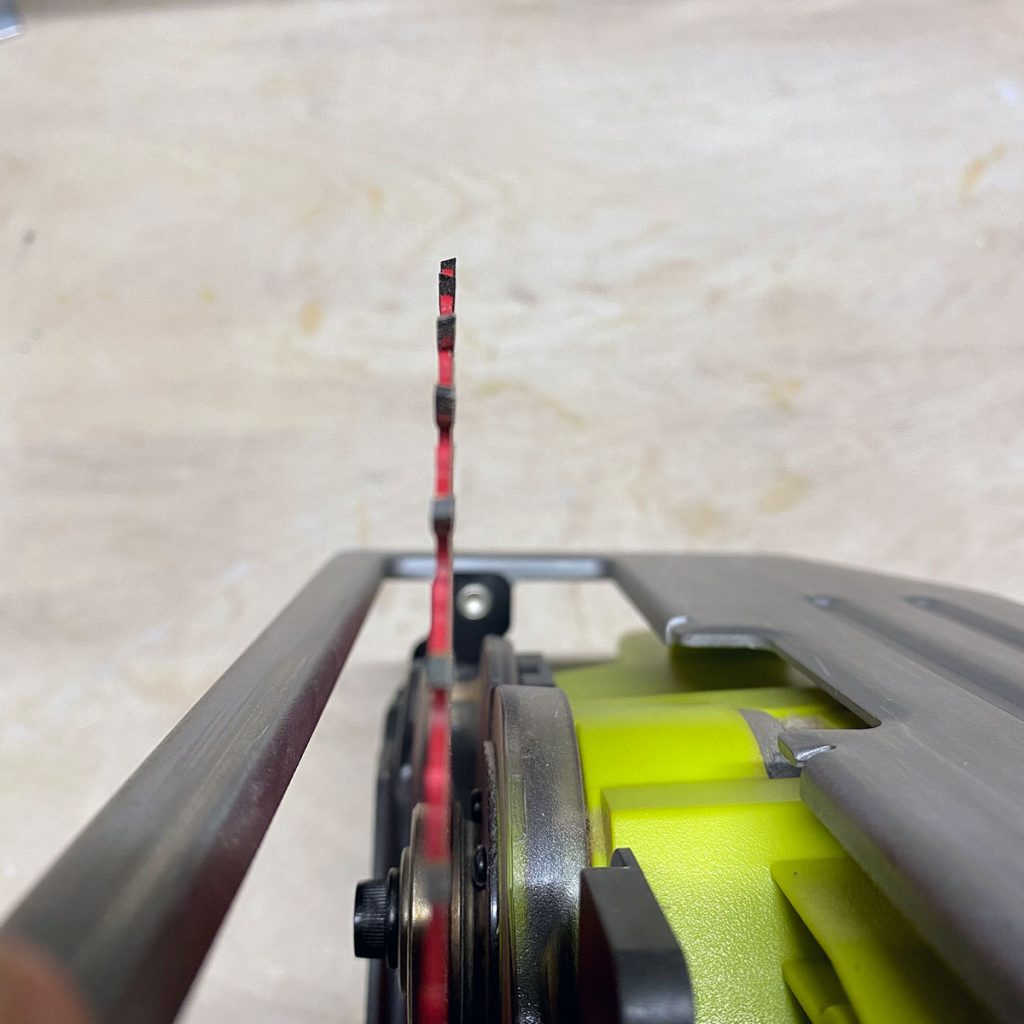
Pro Tip: The sharper the blade, the safer the cut. Sounds odd but it’s true. Dull or worn blades tend to cut slower and may require more force when used, leading to accidents. A sharper blade provides easier, cleaner cuts with less tear out or damage to the material.
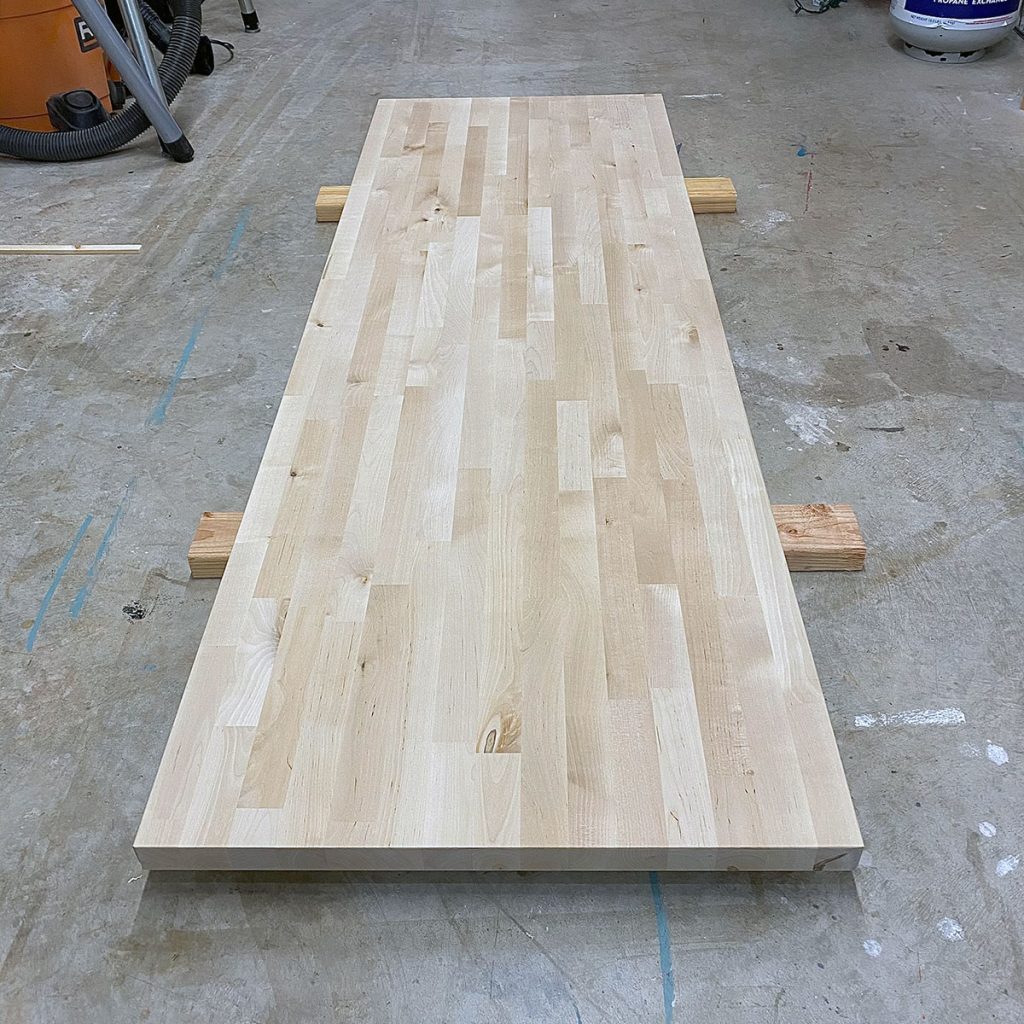
Work Area
Your work area is very important when making any type of cut. Set your butcher block on a sturdy work surface such as a work bench or saw horses. No…those two cracked wobbly recycling bins won’t be of any help to you for this job. Remember, this butcher block is made of solid hardwood, which you have probably found out by now, is heavy.
Pro Tip: A few 2x4s laid down on the garage floor can serve as a quick sturdy solution if a workbench or saw horses are not available. Whatever you use, the most important part is stability of the block during your cuts.
Measure Thrice…
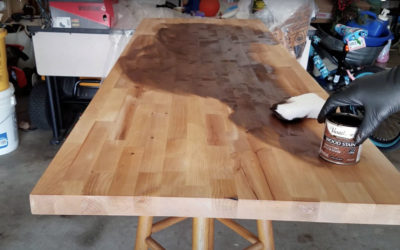
To avoid costly mistakes, Measure! Measure! Measure! You just purchased a beautiful butcher block. Don’t mess it up by measuring incorrectly. Measure the area you wish to install multiple times. Write down your measurement. Then transfer that measurement to the butcher block and double check it.
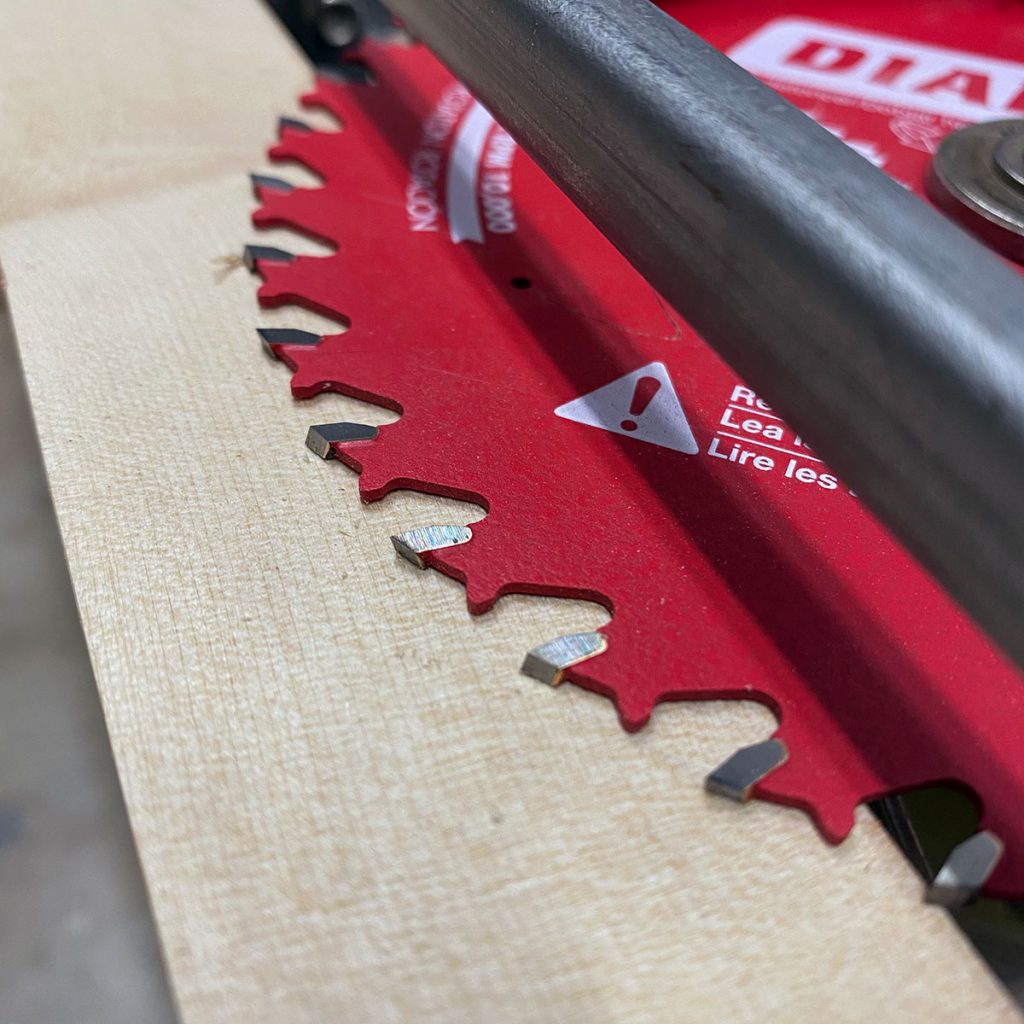
Pro Tip: Be sure to account for the kerf (or thickness) of your saw blade. Most blades remove 1/8th inch of material per cut. Also think of any other variables that could hinder proper measurements.
Cut Twice…if needed
Lots of variables come into play when making a cut. Blade size, sharpness, saw power, just to name a few. If you feel your saw is sluggish when you begin your cut, you may want to take a few passes instead of one. Adjust your blade depth to half of the board thickness. Make a pass. Adjust depth again to cut completely through. Then make a second pass. This will also help eliminate tear out or a ragged cut.
Pro Tip: If you are working on saw horses or a workbench, watch for falling cut offs. They can do damage to those piggy toes.
TYPES OF CUTS
The Crosscut – across the wood grain or width of a board.
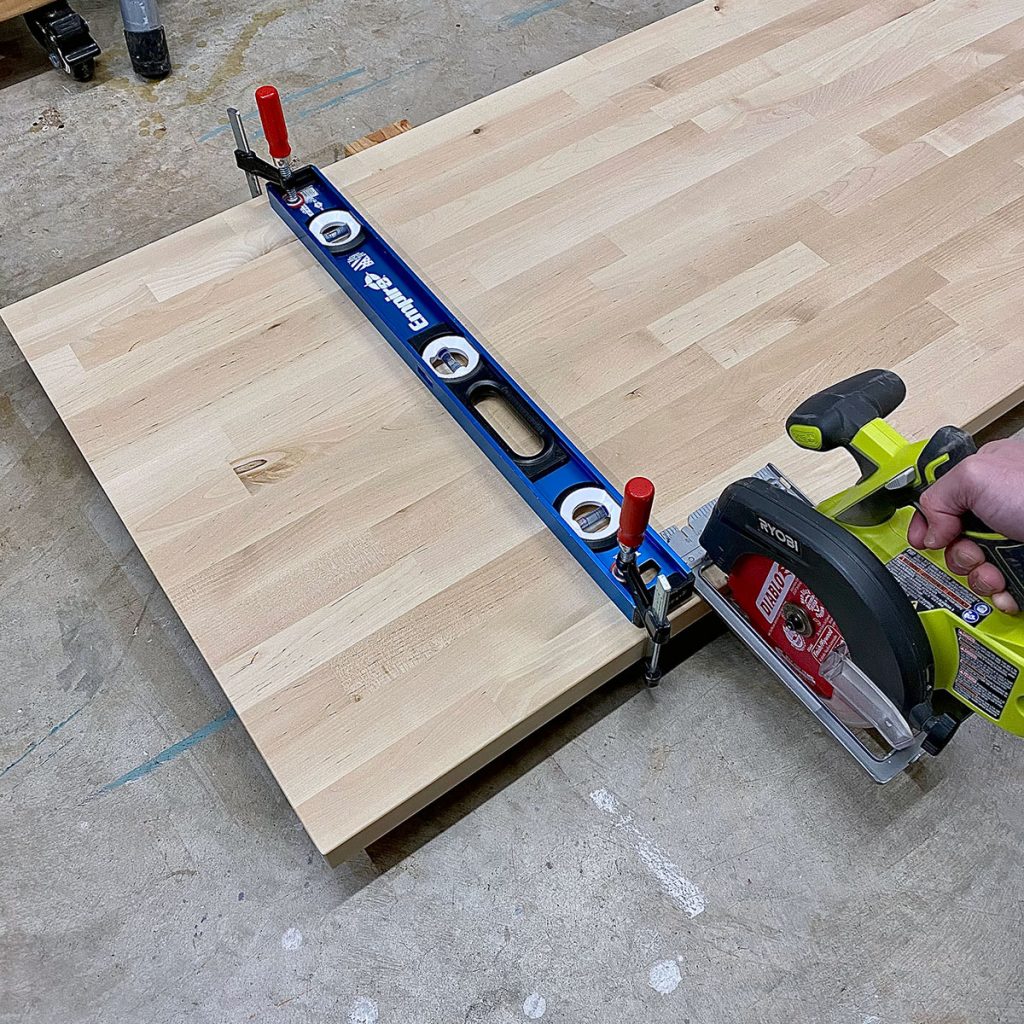
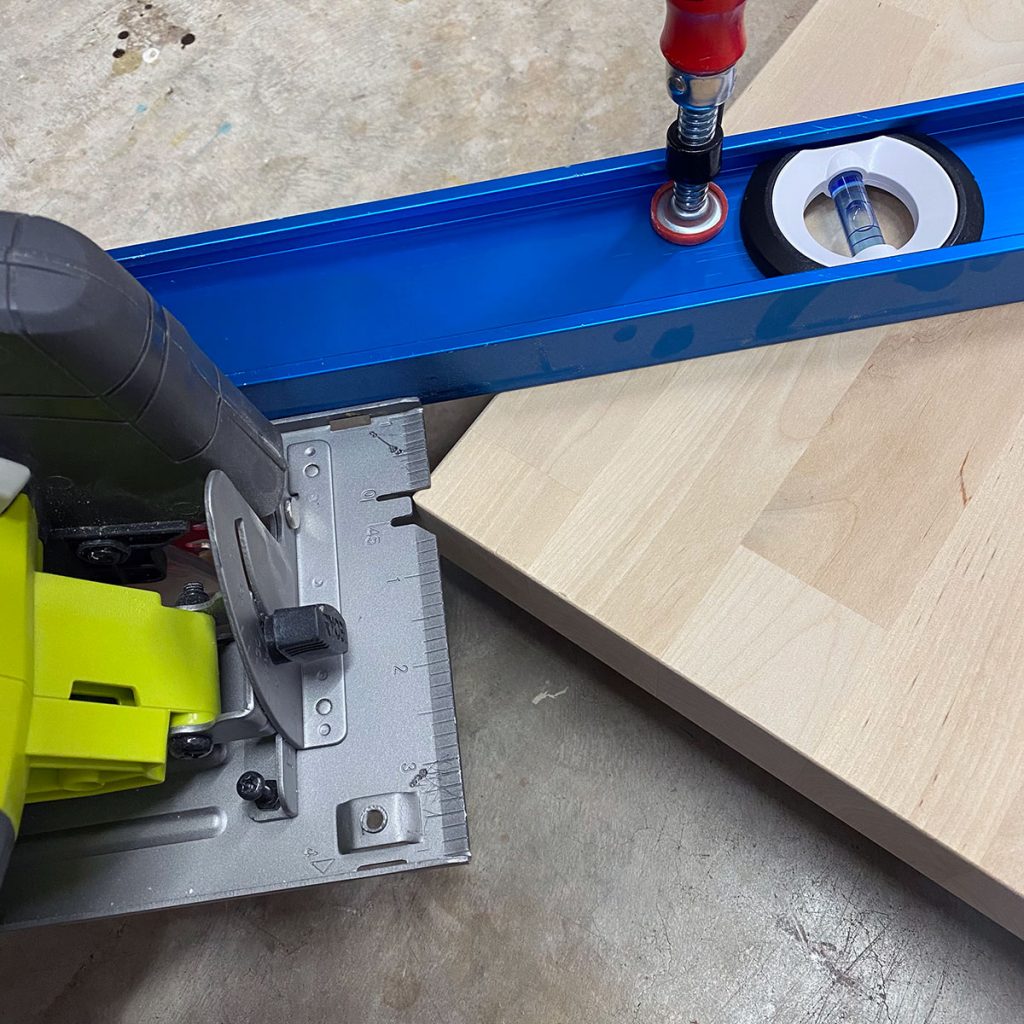
Crosscut Method #1 – Straight Edge (24” Level)
Clamp your straight edge across the board as a guide, aligning the blade with your cut line that you so carefully measured out. Keep in mind your saw has a blade offset. It is normally marked on the baseplate of the saw.
Pro Tip: Check to make sure your guide is aligned properly by using your carpenter square.
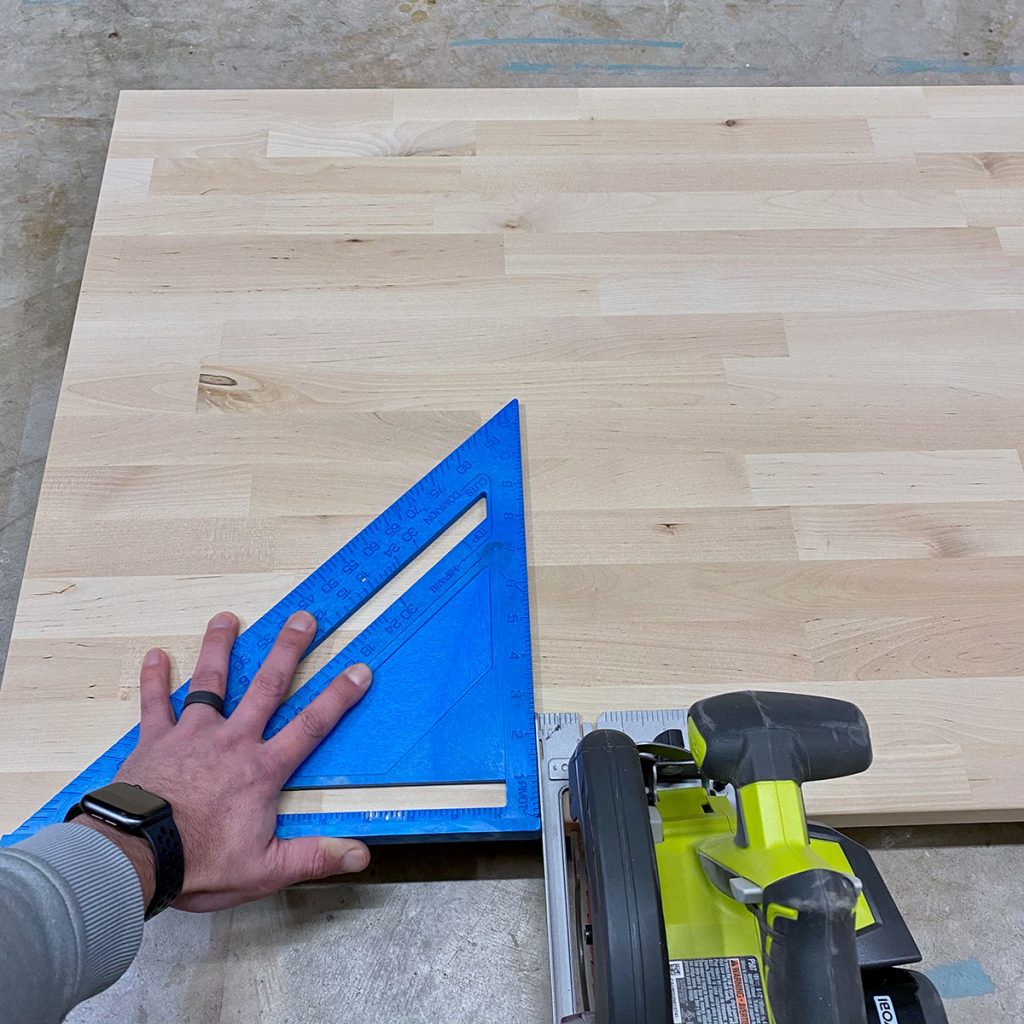
Crosscut Method #2 – 12” Carpenter Square
A 12” carpenter square held or clamped in place will act as a perfect guide for this cross cut. Once you reach the end of the square with your saw, pause…Flip the square to the other side of the board aligning it with the base plate of the circular and resume to complete the rest of your cut.
The Rip-Cut – along the wood grain or length of a board.

Rip-cut Method #1 – Straight Edge (Long piece of straight lumber)
Since this is a longer cut, you can use a straight piece of dimensional lumber as your guide. Clamp each end of the guide to your butcher block and use your circular saw to make the cut.
Pro Tip: Your piece of lumber being used for a guide should not flex in the middle.
Rip-cut Method #2 – Table Saw
Adjust the rip fence of the table saw to desired measurement and rip. Push slowly and steady during the cut. Feeding the board through too quickly will result in a bad cut or jamming of the saw. 2 people are recommended for this cut. One to push the wood through the saw and the other to receive it as the cut is made.
Pro Tip: The rip fence is your friend. The wood should remain square against the fence as you push your cut through.
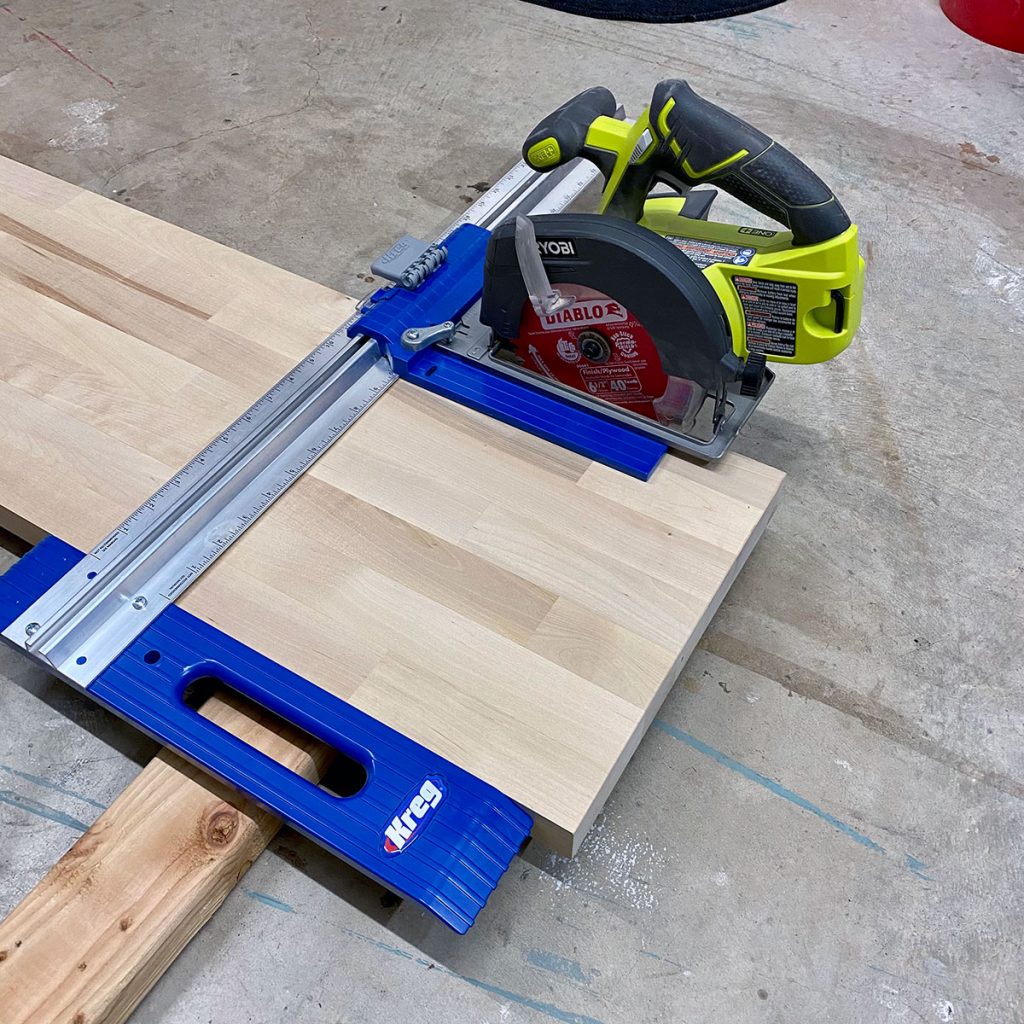
Rip-cut Method #3 – Ripping Jig
A few different tool companies make a ripping jig that your circular saw clamps into to make cuts in larger material. Pictured is the Kreg Rip-Cut Jig. Mount your saw in place, set your dimensions on the rail, and you’re ready to rip.
Pro Tip: This affordable jig can be found at your local Home Depot. A bonus buy, as this jig can also be used for cross cuts up to 24 inches.
The Miter Cut – angled cut across the width of the board.
*Note – This is a corner cut and will be utilized when making an inside or outside corner. Examples include countertop installation or L-shaped desk building.
Method #1 – Straight Edge (48” Level)
Line your circular saw blade up with the corner of the butcher block. Bring your straight edge to one side of your circular saw base plate. Lightly clamp down this end of the guide and check for proper alignment with your square. Check the other side of the guide with your square and clamp. Now tighten each clamp and you’re ready for your cut.
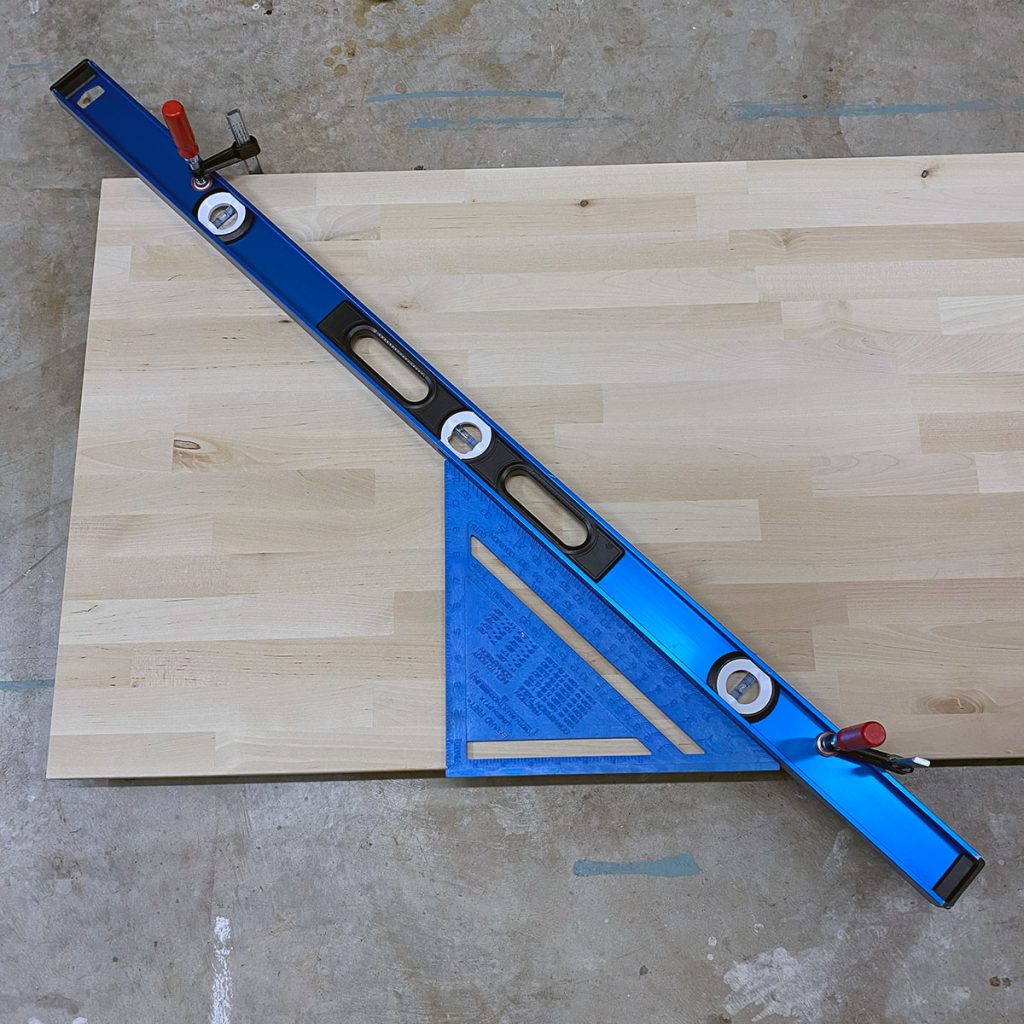
Pro Tip: Do not assume that all corners are exactly 90 degrees. Use an angle finder tool to find exact angles needed for your miter cuts. You can also use a scrap piece of wood to determine angles before making the final cut on your butcher block.