Treating the Underside of Your Butcher Block
When looking at your butcher block, you’ll notice that one side is very clear and one side has knots. Before our install, we want to treat the underside (knotted side) of our butcher block. This will help prolong the life of the block by sealing in all of the elements. We recommend using one or two coats of the Hardwood Reflections Satin Top Coat. You will want to also consider using a vapor barrier on the underside if your countertop is going over a dishwasher.
Keep in mind that you will need to seal all sides of the block, not just the top and outer-facing edges.
Measuring and Cutting Your Butcher Block Countertop
After measuring your sink, you’ll want to cut and sand your butcher block to your desired length. If your countertop is 10’ or longer, we find the sink to be a great place to make the connection of two butcher block countertop pieces.
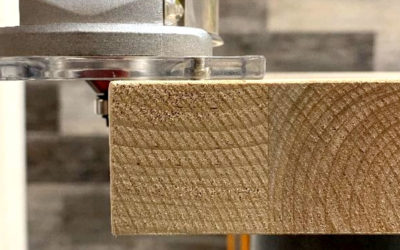
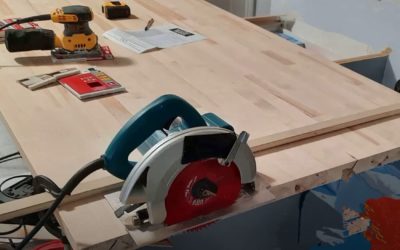
We cut our butcher block using a circular saw. Our favorite tool to use for cutting the miter is a metal piece known as a Kreg Track Guide. If you don’t have this tool, similar results can be achieved with a track saw, aftermarket guide, or by clamping a straight edge to the top.
When you seam the sink, you want it to be directly in the middle of the two pieces, making the line between your butcher blocks almost invisible. Double-check to make sure everything fits correctly in your kitchen.
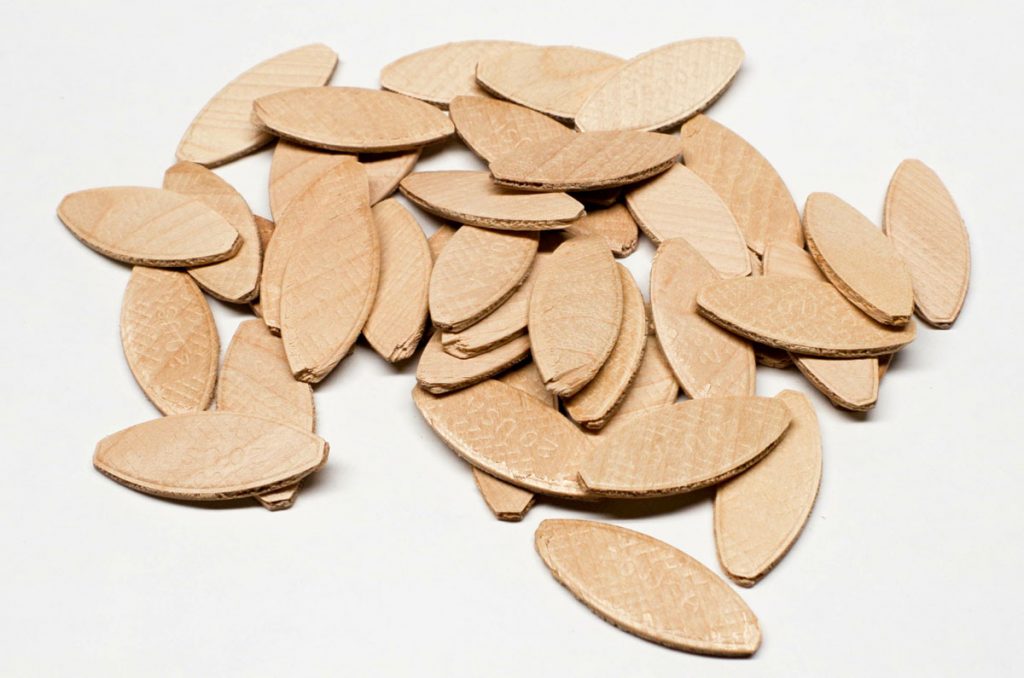
Wooden Joining Biscuits
Using Biscuit Joints to Connect Your Butcher Block Pieces
To make sure that the corners are lining up correctly, use a biscuit joiner to install biscuits every six to seven inches on the connecting line of your butcher blocks. Pour some glue inside the corner line and into the holes created by your biscuit joiner before placing the biscuits inside.
Watch the How To Video: